Import Documents
To import initial or additional documents into your project, click the green Import Documents button when the project is empty, or select Import Documents from the Project Actions menu.
Note
You can only import new documents into the latest revision of a project.
After clicking the Import Documents button or menu entry, the import assistant will be displayed.
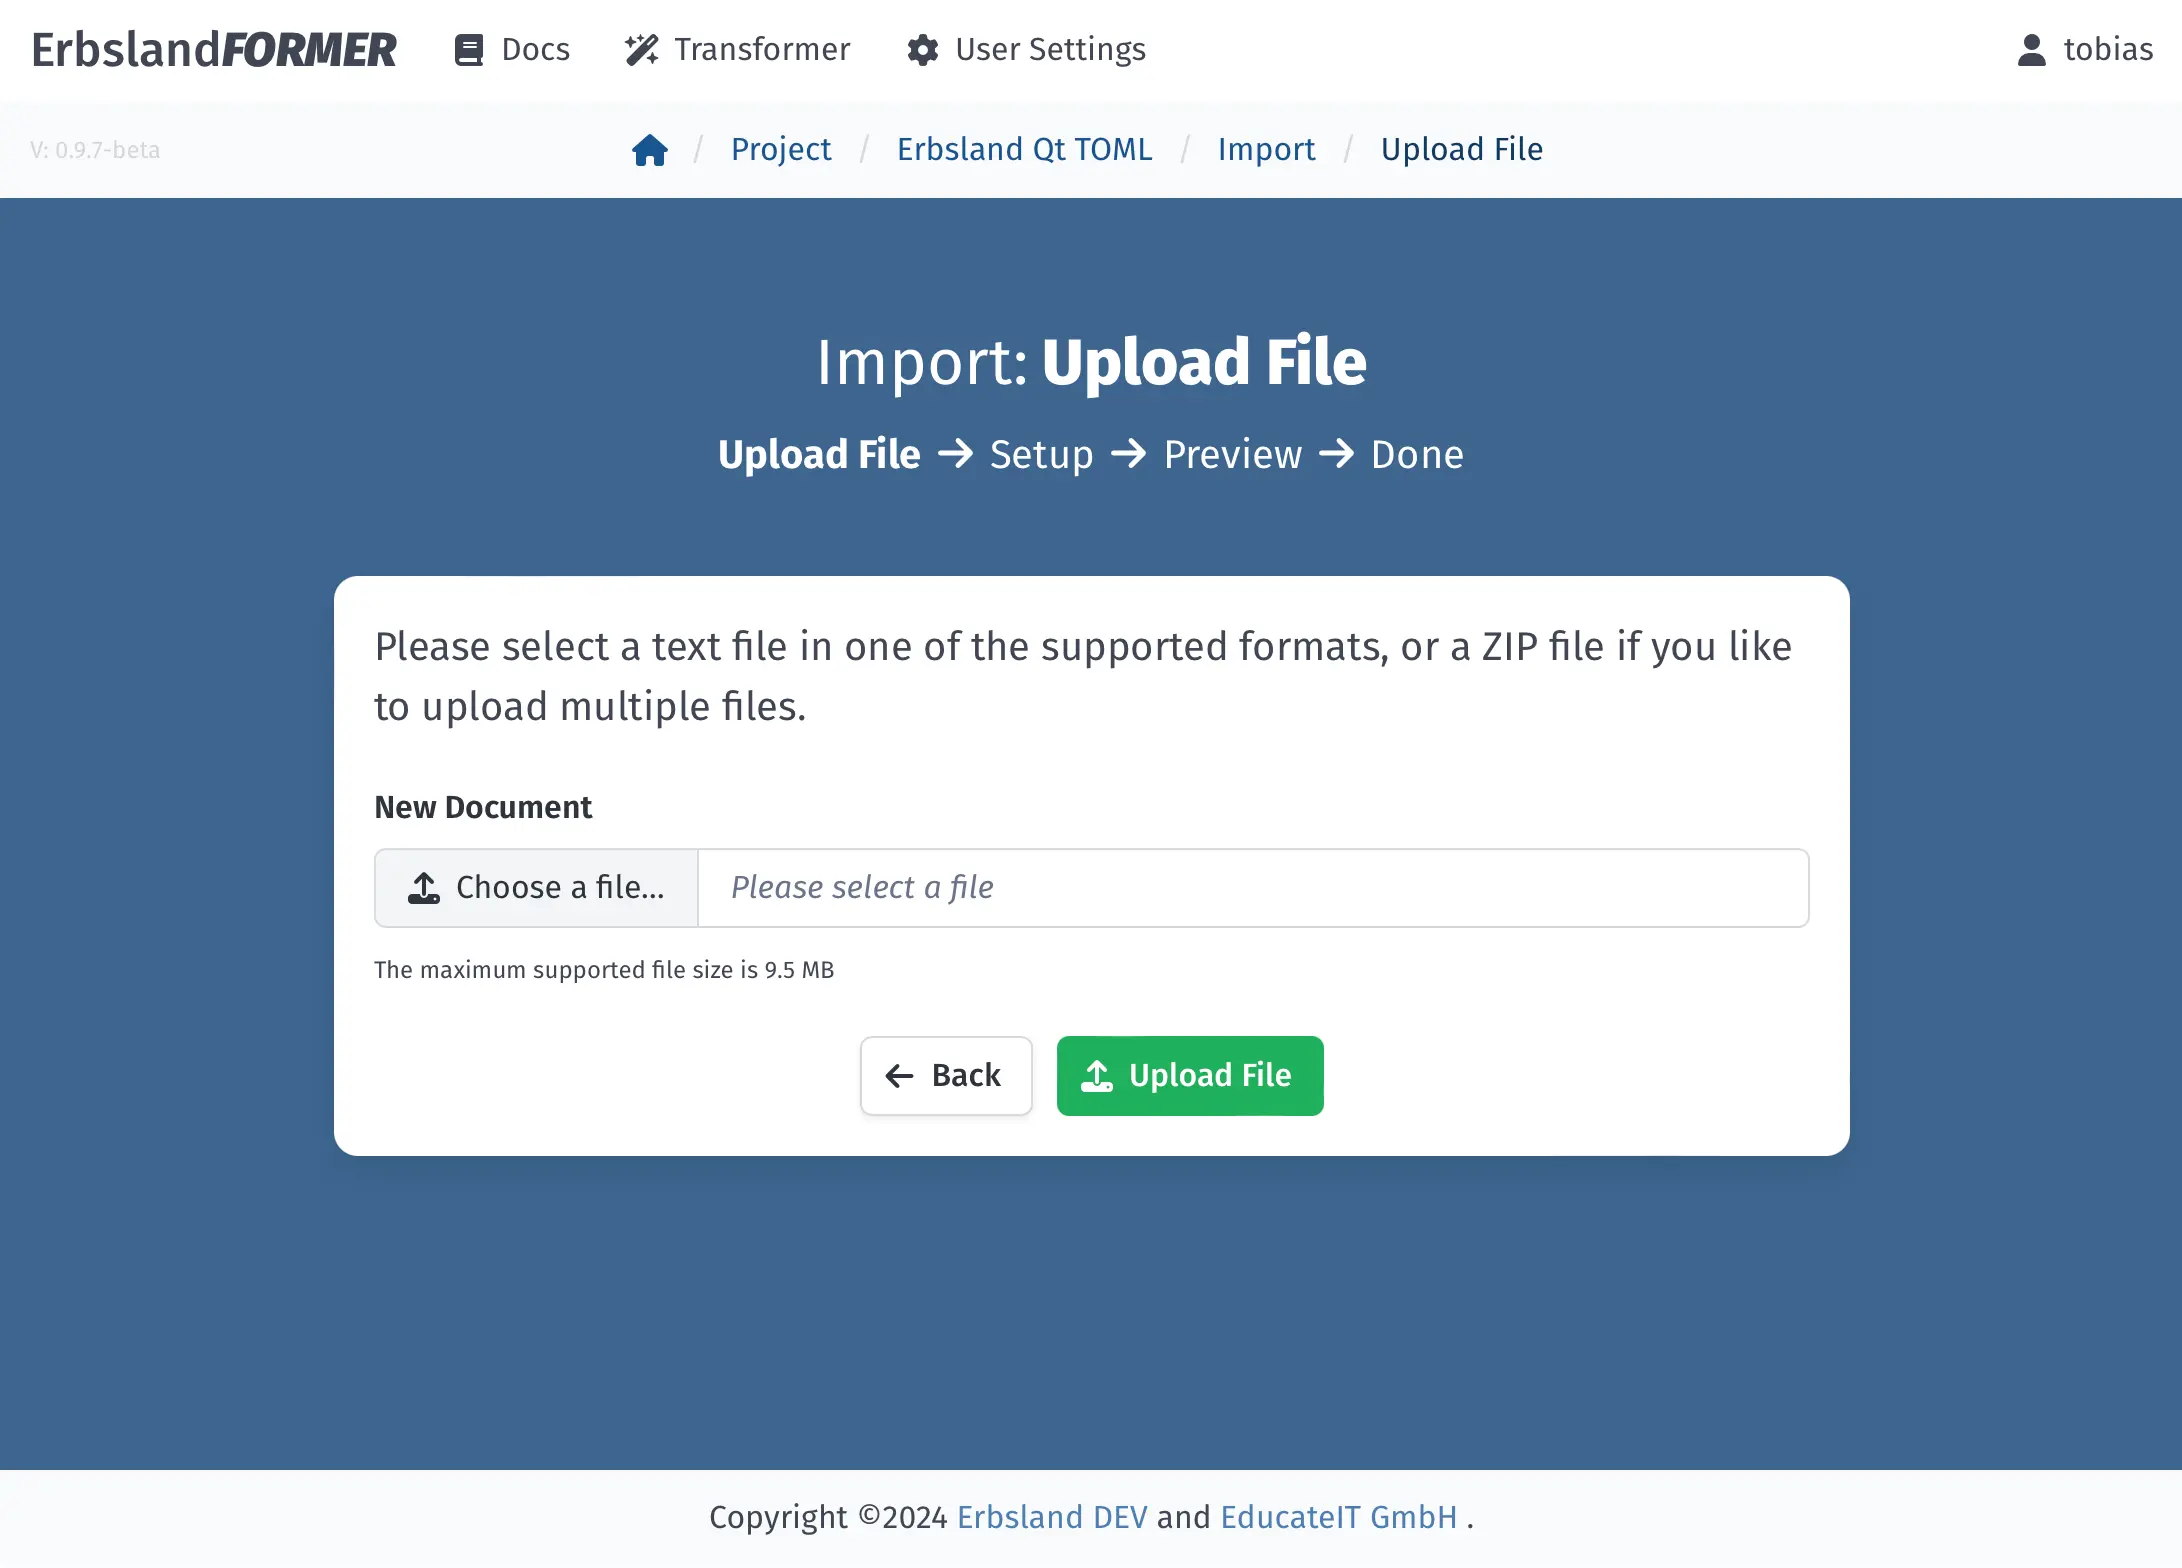
The first page of the import assistant.
Select either a single text document or a ZIP archive containing multiple documents, then click the green Upload File button to start the analysis of the selected file.
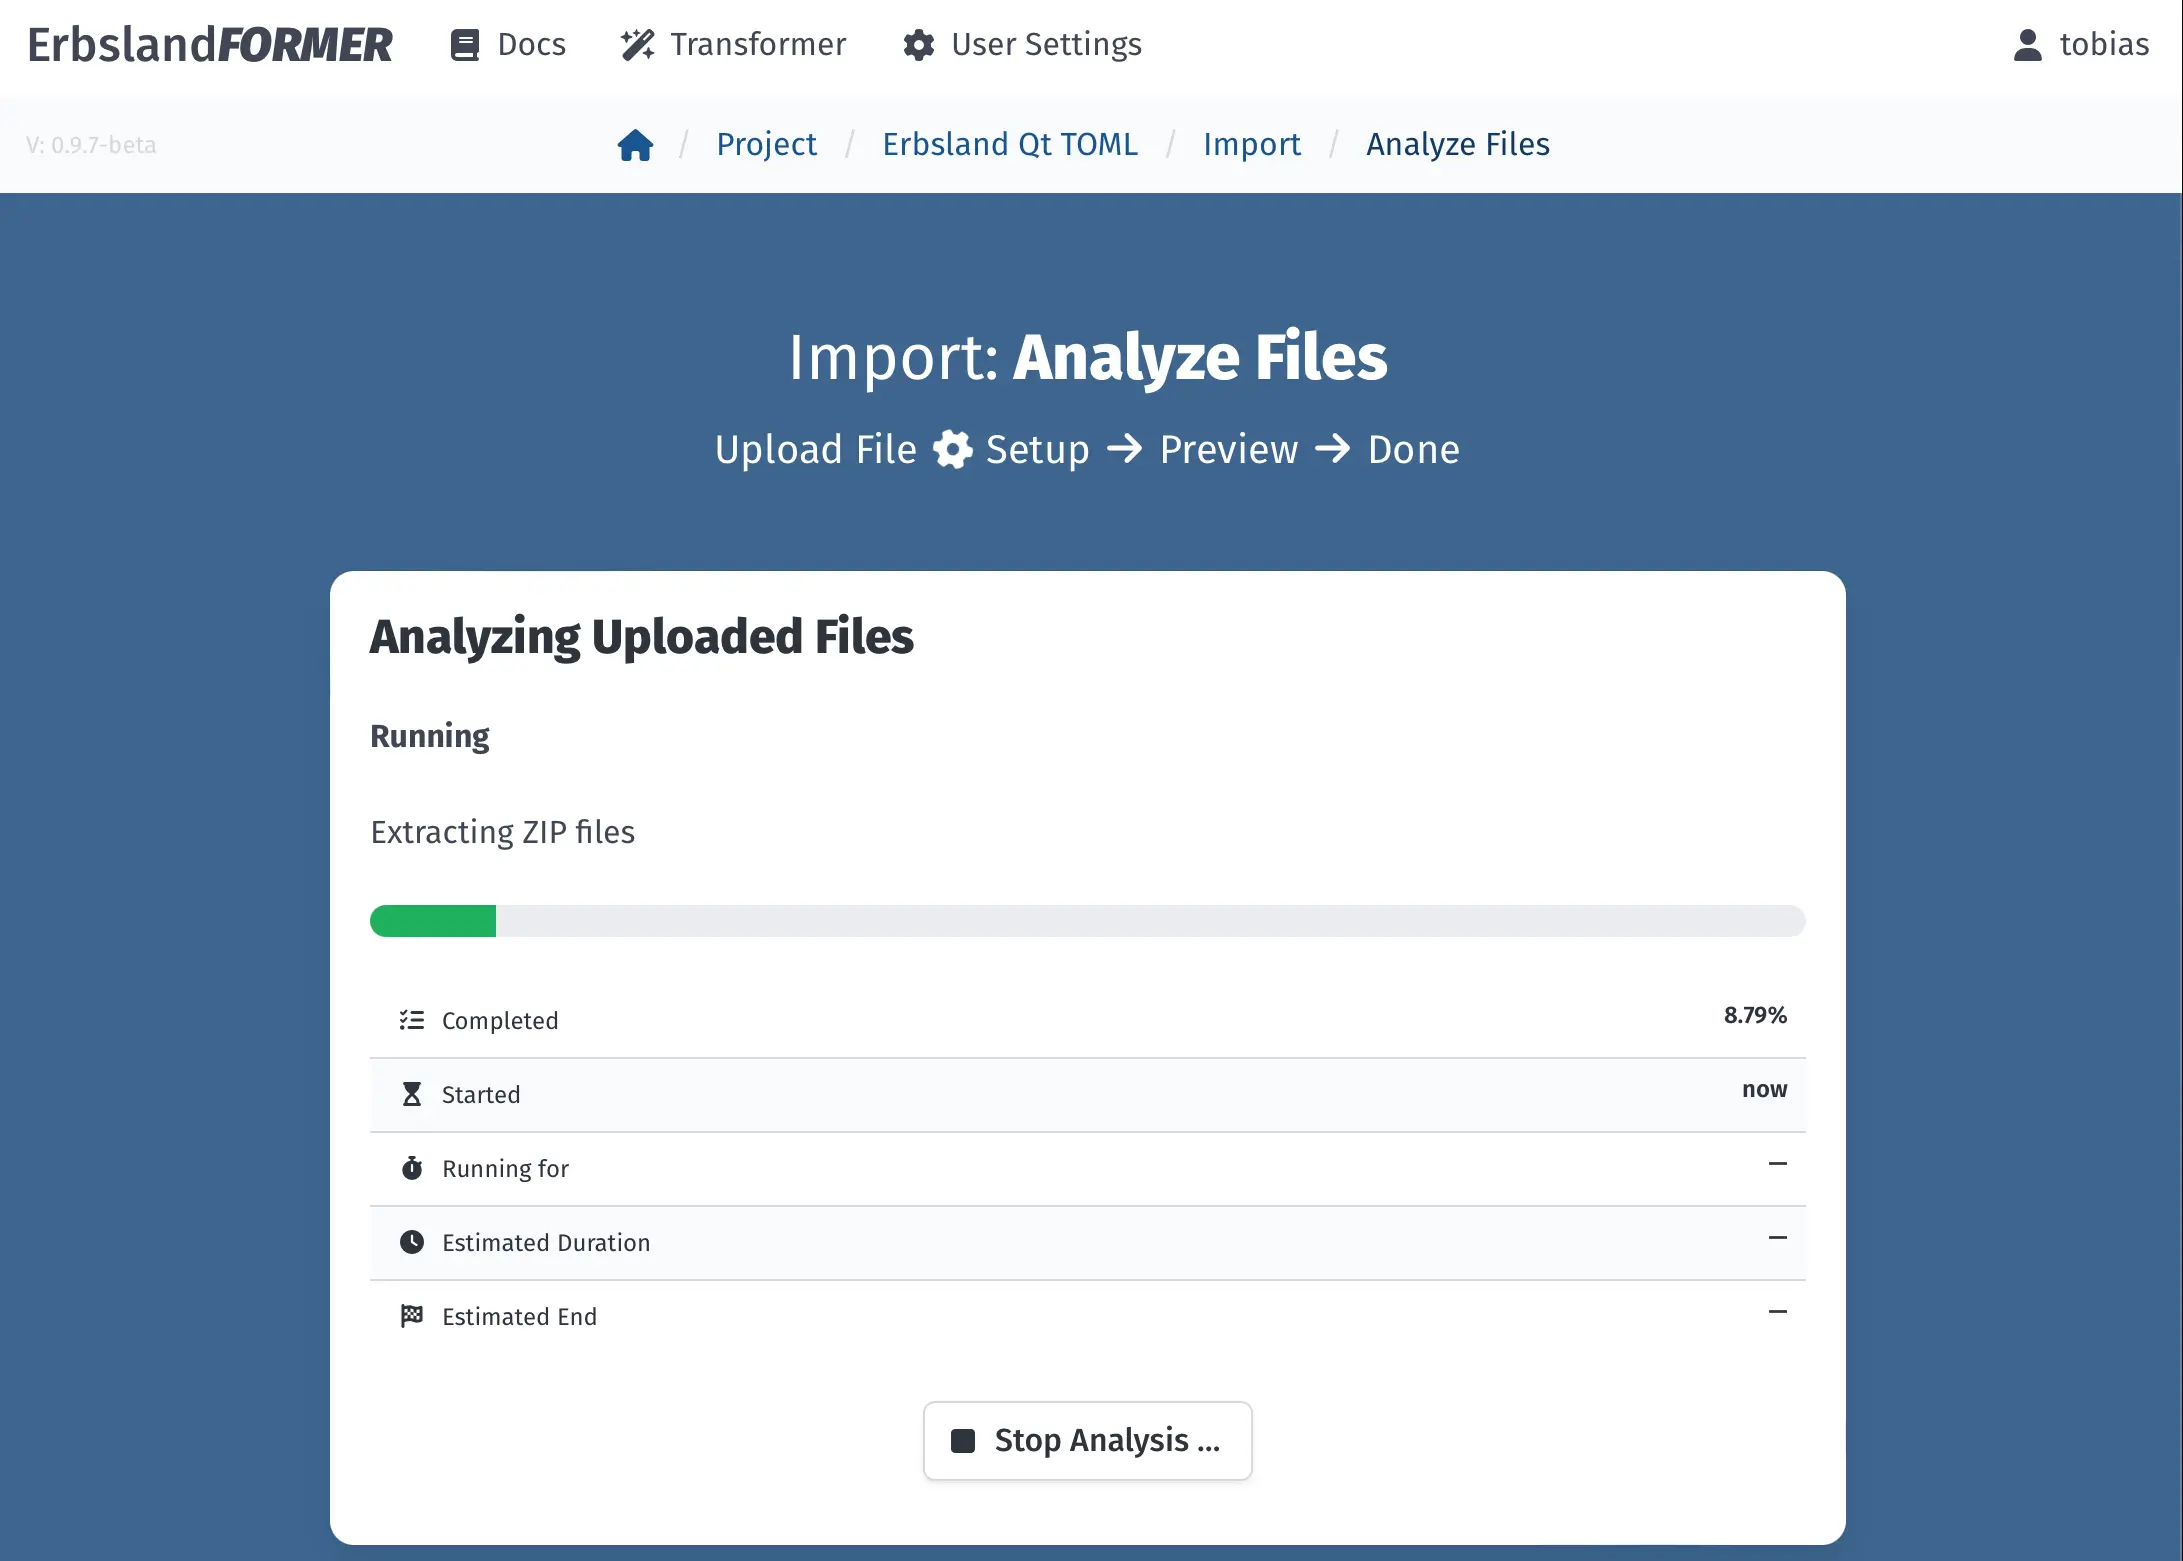
The progress view while the upload is analyzed.
The Import Setup
After the analysis is complete, the setup page will display a list of all suitable documents for import.
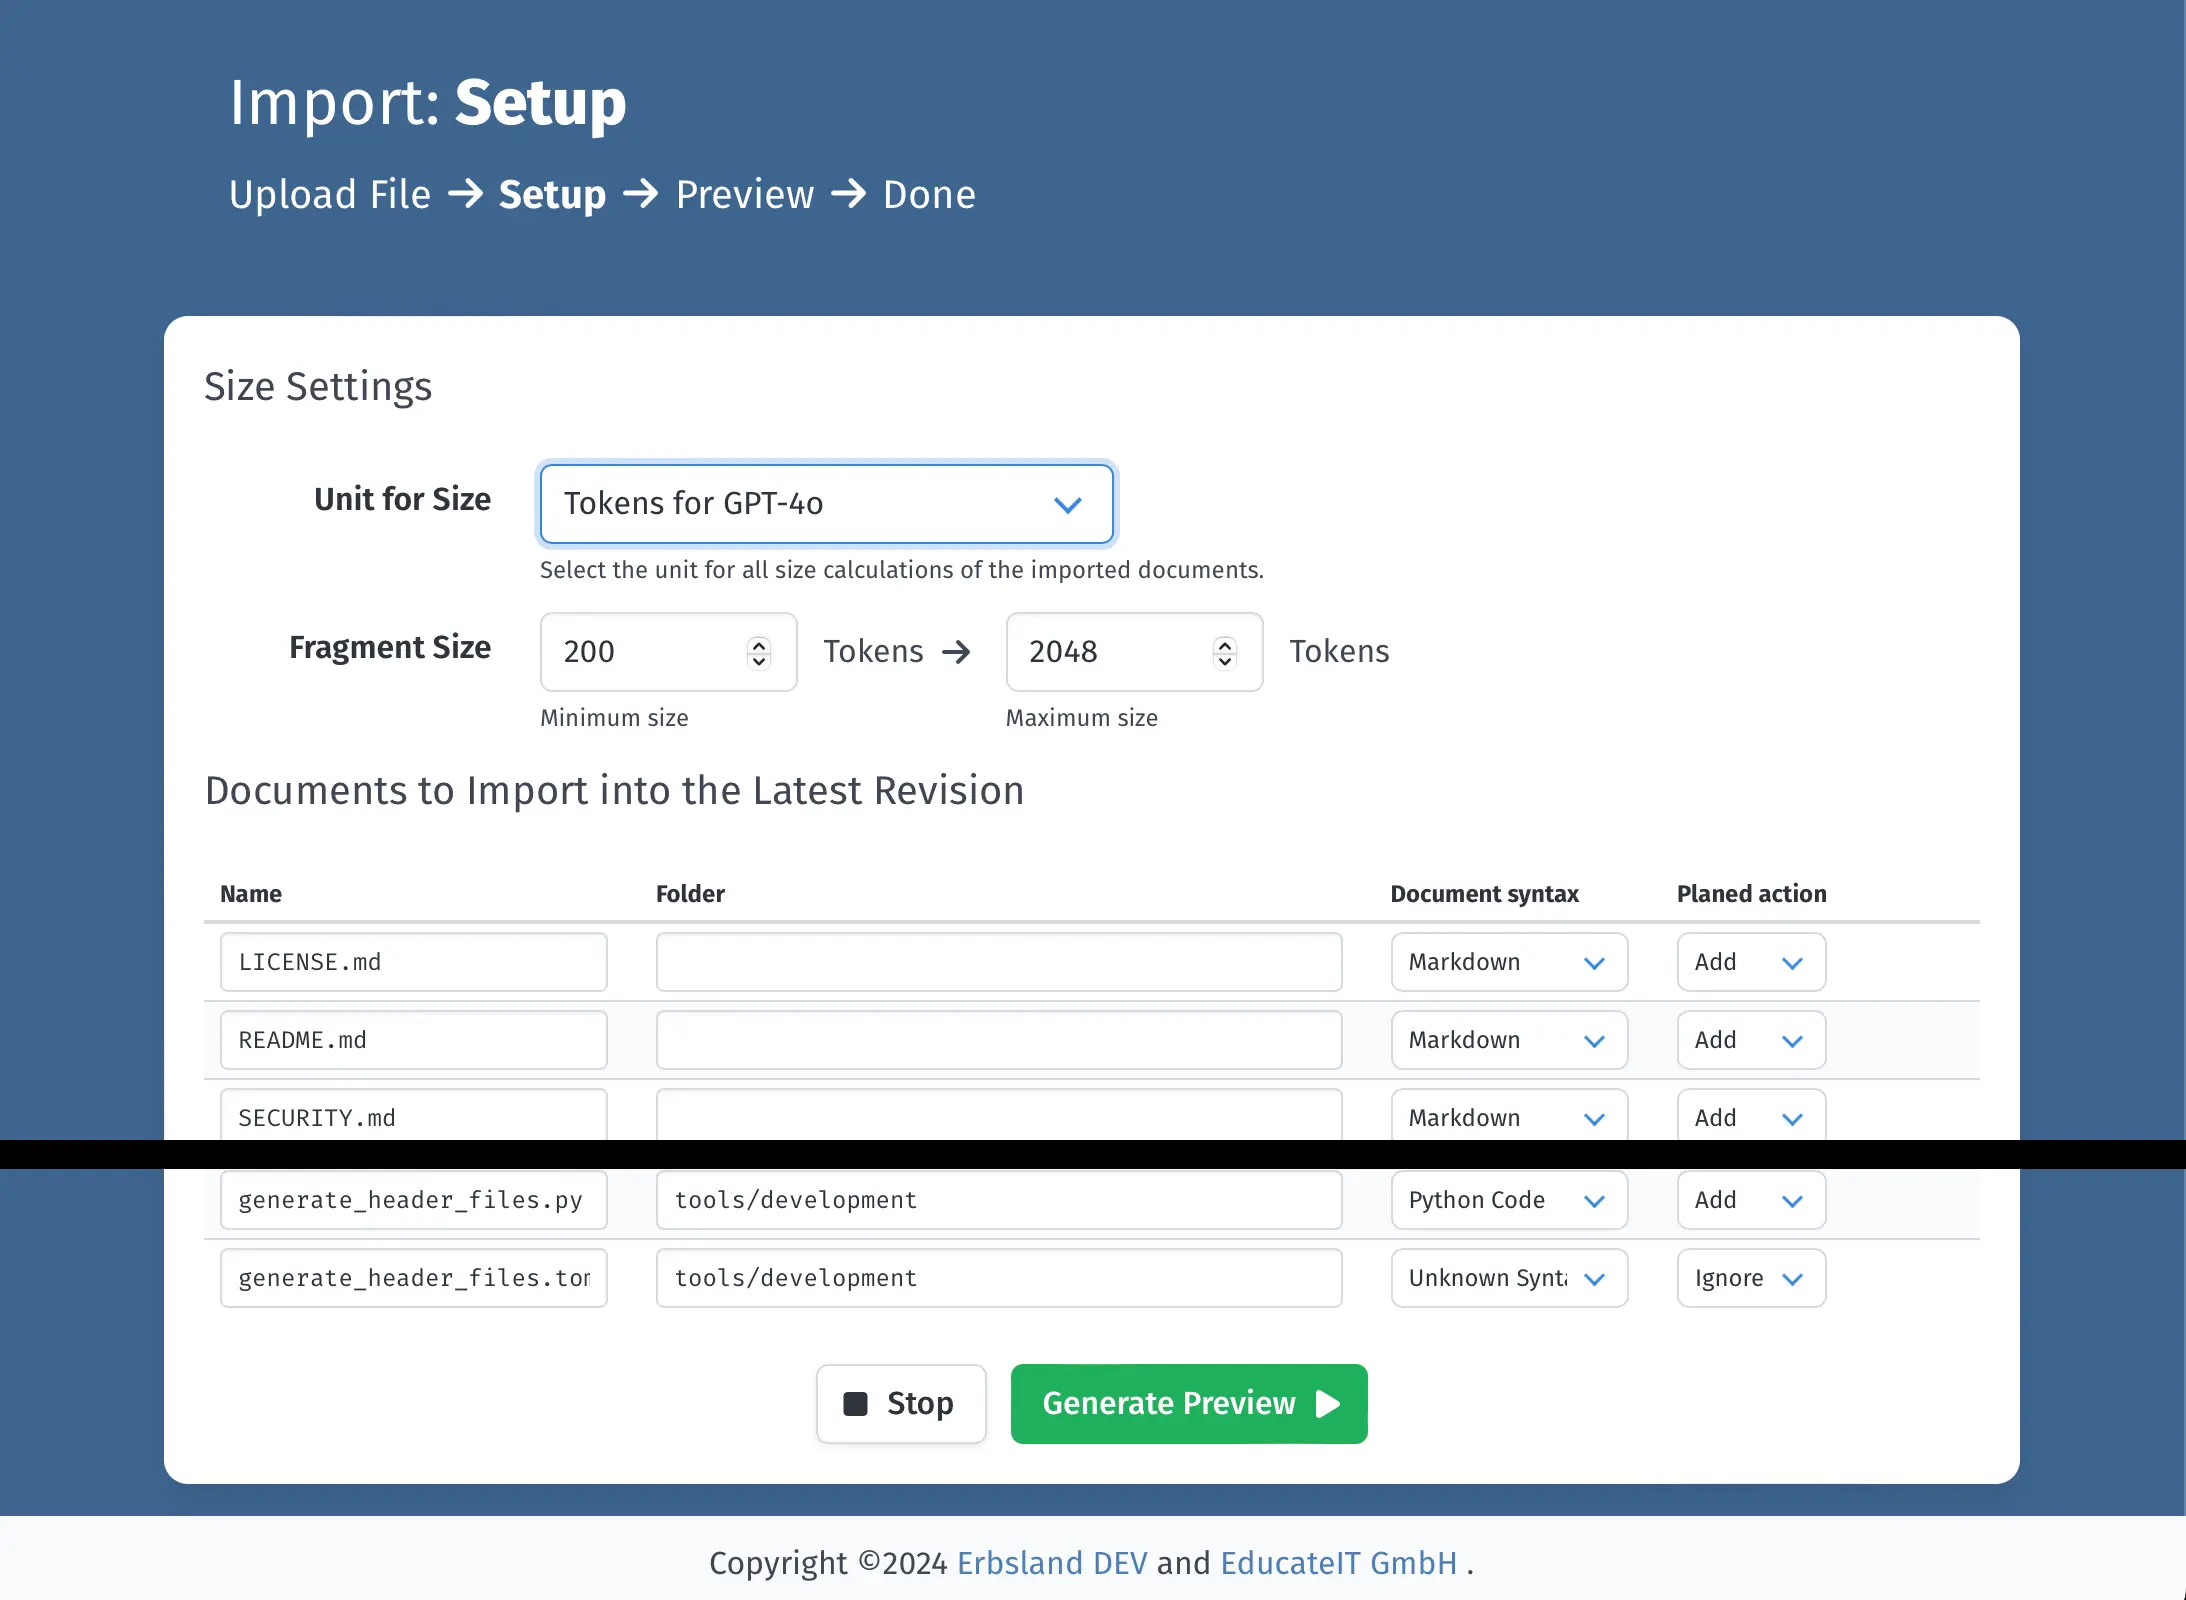
The import setup with the list of documents from the upload.
Configuring Size Unit and Range
On the setup page, configure the size unit you want to use for splitting the documents into fragments. When you select a new unit from the Unit for Size dropdown, the Fragment Range below will update with the recommended range.
The size unit should match the transformation method you intend to use, allowing the splitting algorithm to choose optimal fragment sizes. For example, if you plan to transform the text using the GPT-4o language model, select “Tokens for GPT-4o” with the recommended range.
Minimum Size: The minimum size a fragment should be. Depending on the situation, the splitter may need to create smaller fragments.
Maximum Size: The maximum size of a fragment. If the splitter cannot keep fragments smaller or equal to this size, the splitting process will stop with an error.
Document List Overview
The document list shows all documents found in your import. Here are the columns you’ll see:
Name: The name of the document in your project. You can edit this to simplify or shorten names, but remember that these names will also be used for export.
Folder: The folder where the document will be stored in your project. This can also be edited.
Document Syntax: The detected document syntax. Choosing the correct syntax is crucial, as the splitting algorithm depends on it. For example, the algorithm for Markdown files differs from that for Python source code.
Planned Action: Indicates whether the document will be added to the project (Add) or ignored (Ignore).
Click the green Generate Preview button at the end of the document list to proceed with the assistant.
The Import Preview
More documentation is coming soon