Quick Start
What is ErbslandFORMER?
ErbslandFORMER is a web based tool, for individuals, small teams or companies to reliable process large amounts of text. Processing can be done using ChatGPT prompts, regular expressions or any custom developed extension. The imported documents are automatically split into text fragments, suitable for the chosen processing method. After processing, the individual results can be reviewed, approved or rejected. New revisions for additional processing can be created and finally the processed documented exported.
Install the Application
Have a look in the chapter Installation for ways to install the application on a server or on your local machine.
Basic Workflow

ErbslandFORMER provides all tools for a classic document processing workflow. You first create a new project and import documents into it. Next, the documents are transformed using one more more transformation profiles you prepared. You review the results of the transformation and accept or reject them. If you do complex transformations, you create a new revision and do more transformations. If you are satisfied with the result, you export the documents and re-integrate them.
Visual Walkthrough
In this visual walkthrough, you will see how Sphinx-based documentation is translated from English to German using ChatGPT-4 with just a few clicks. This example uses the file erbsland_qt_toml.zip, which is included in the distribution and located in the backend/tests/data folder.
After a fresh installation, entering your server’s address in your browser will bring you to the login screen.
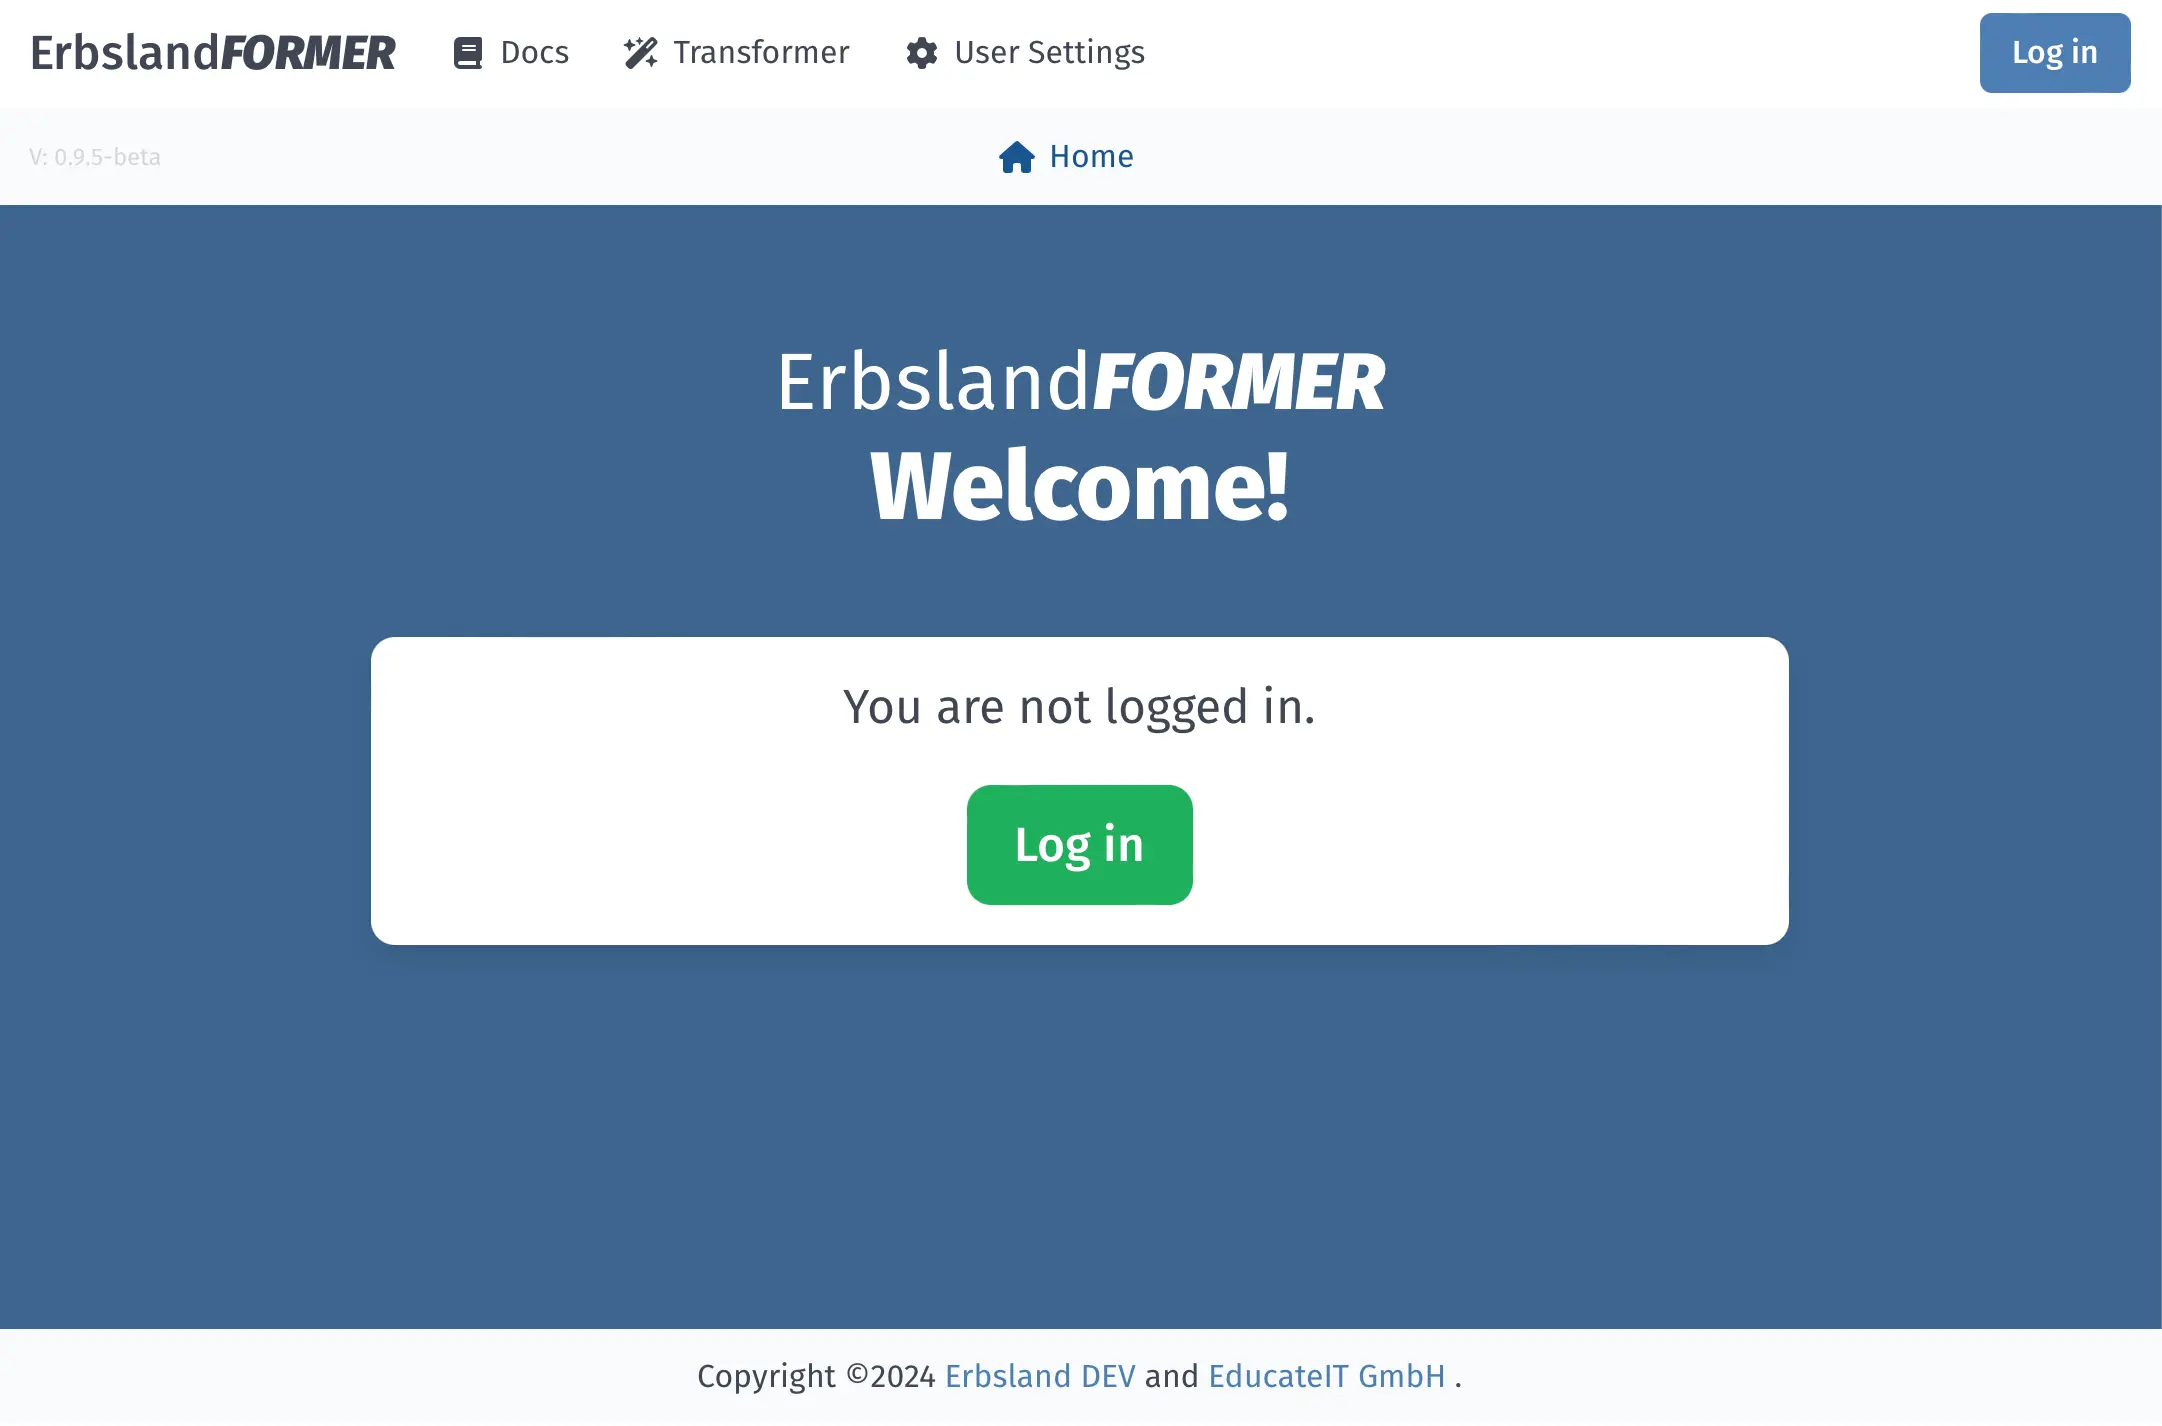
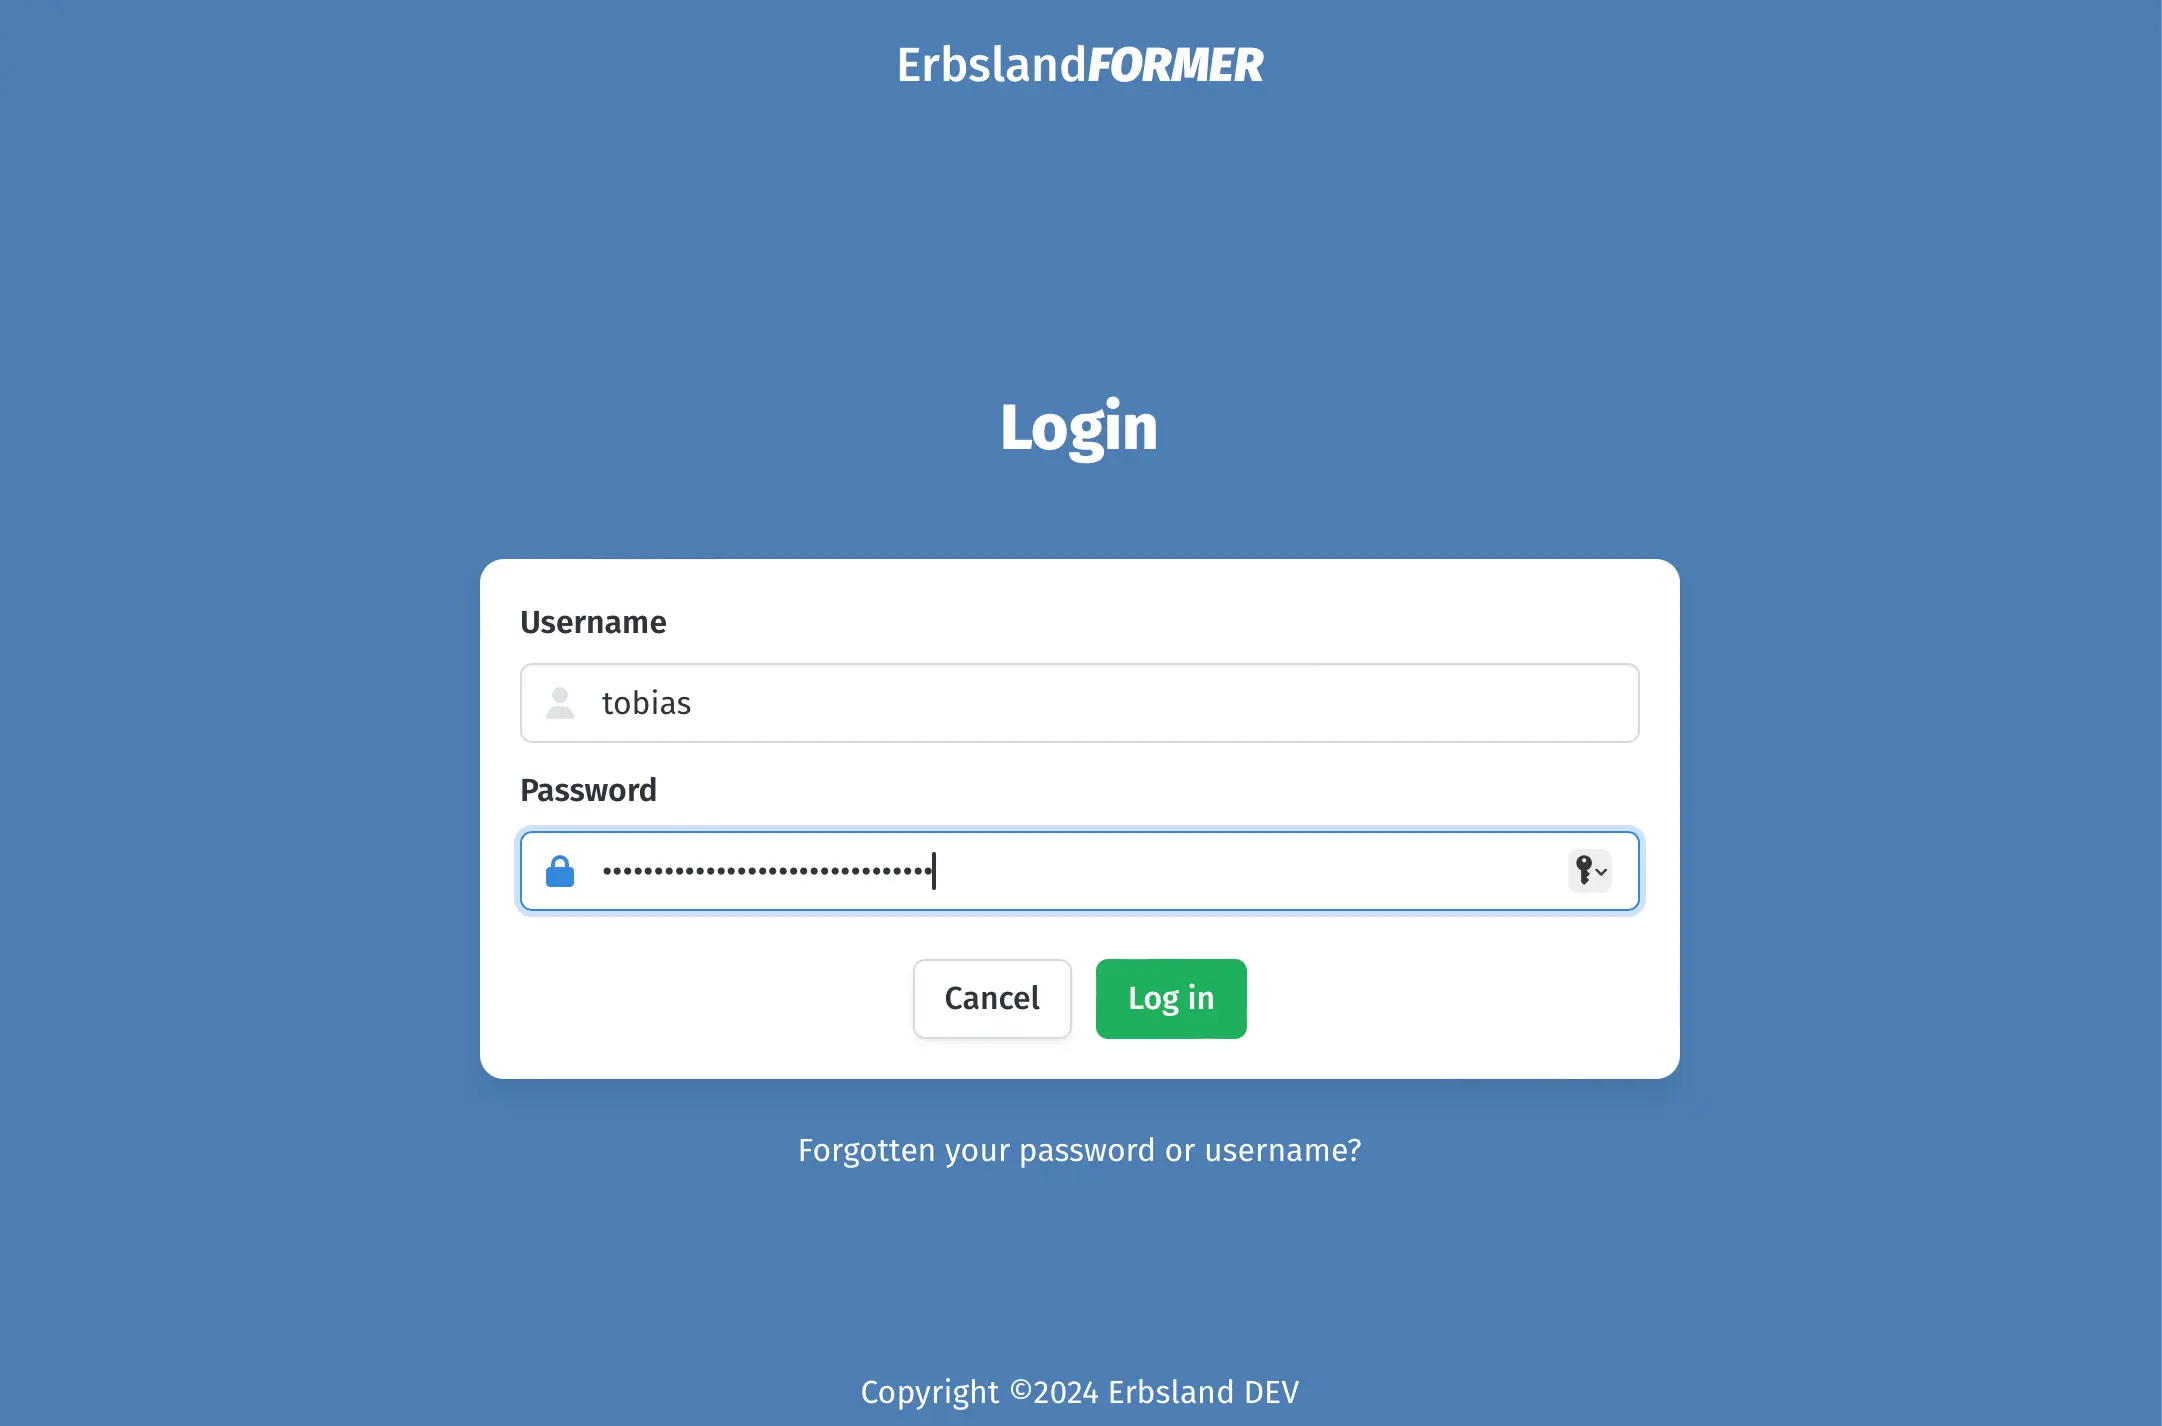
Log in with the credentials you set up during installation or the ones provided by your system administrator.
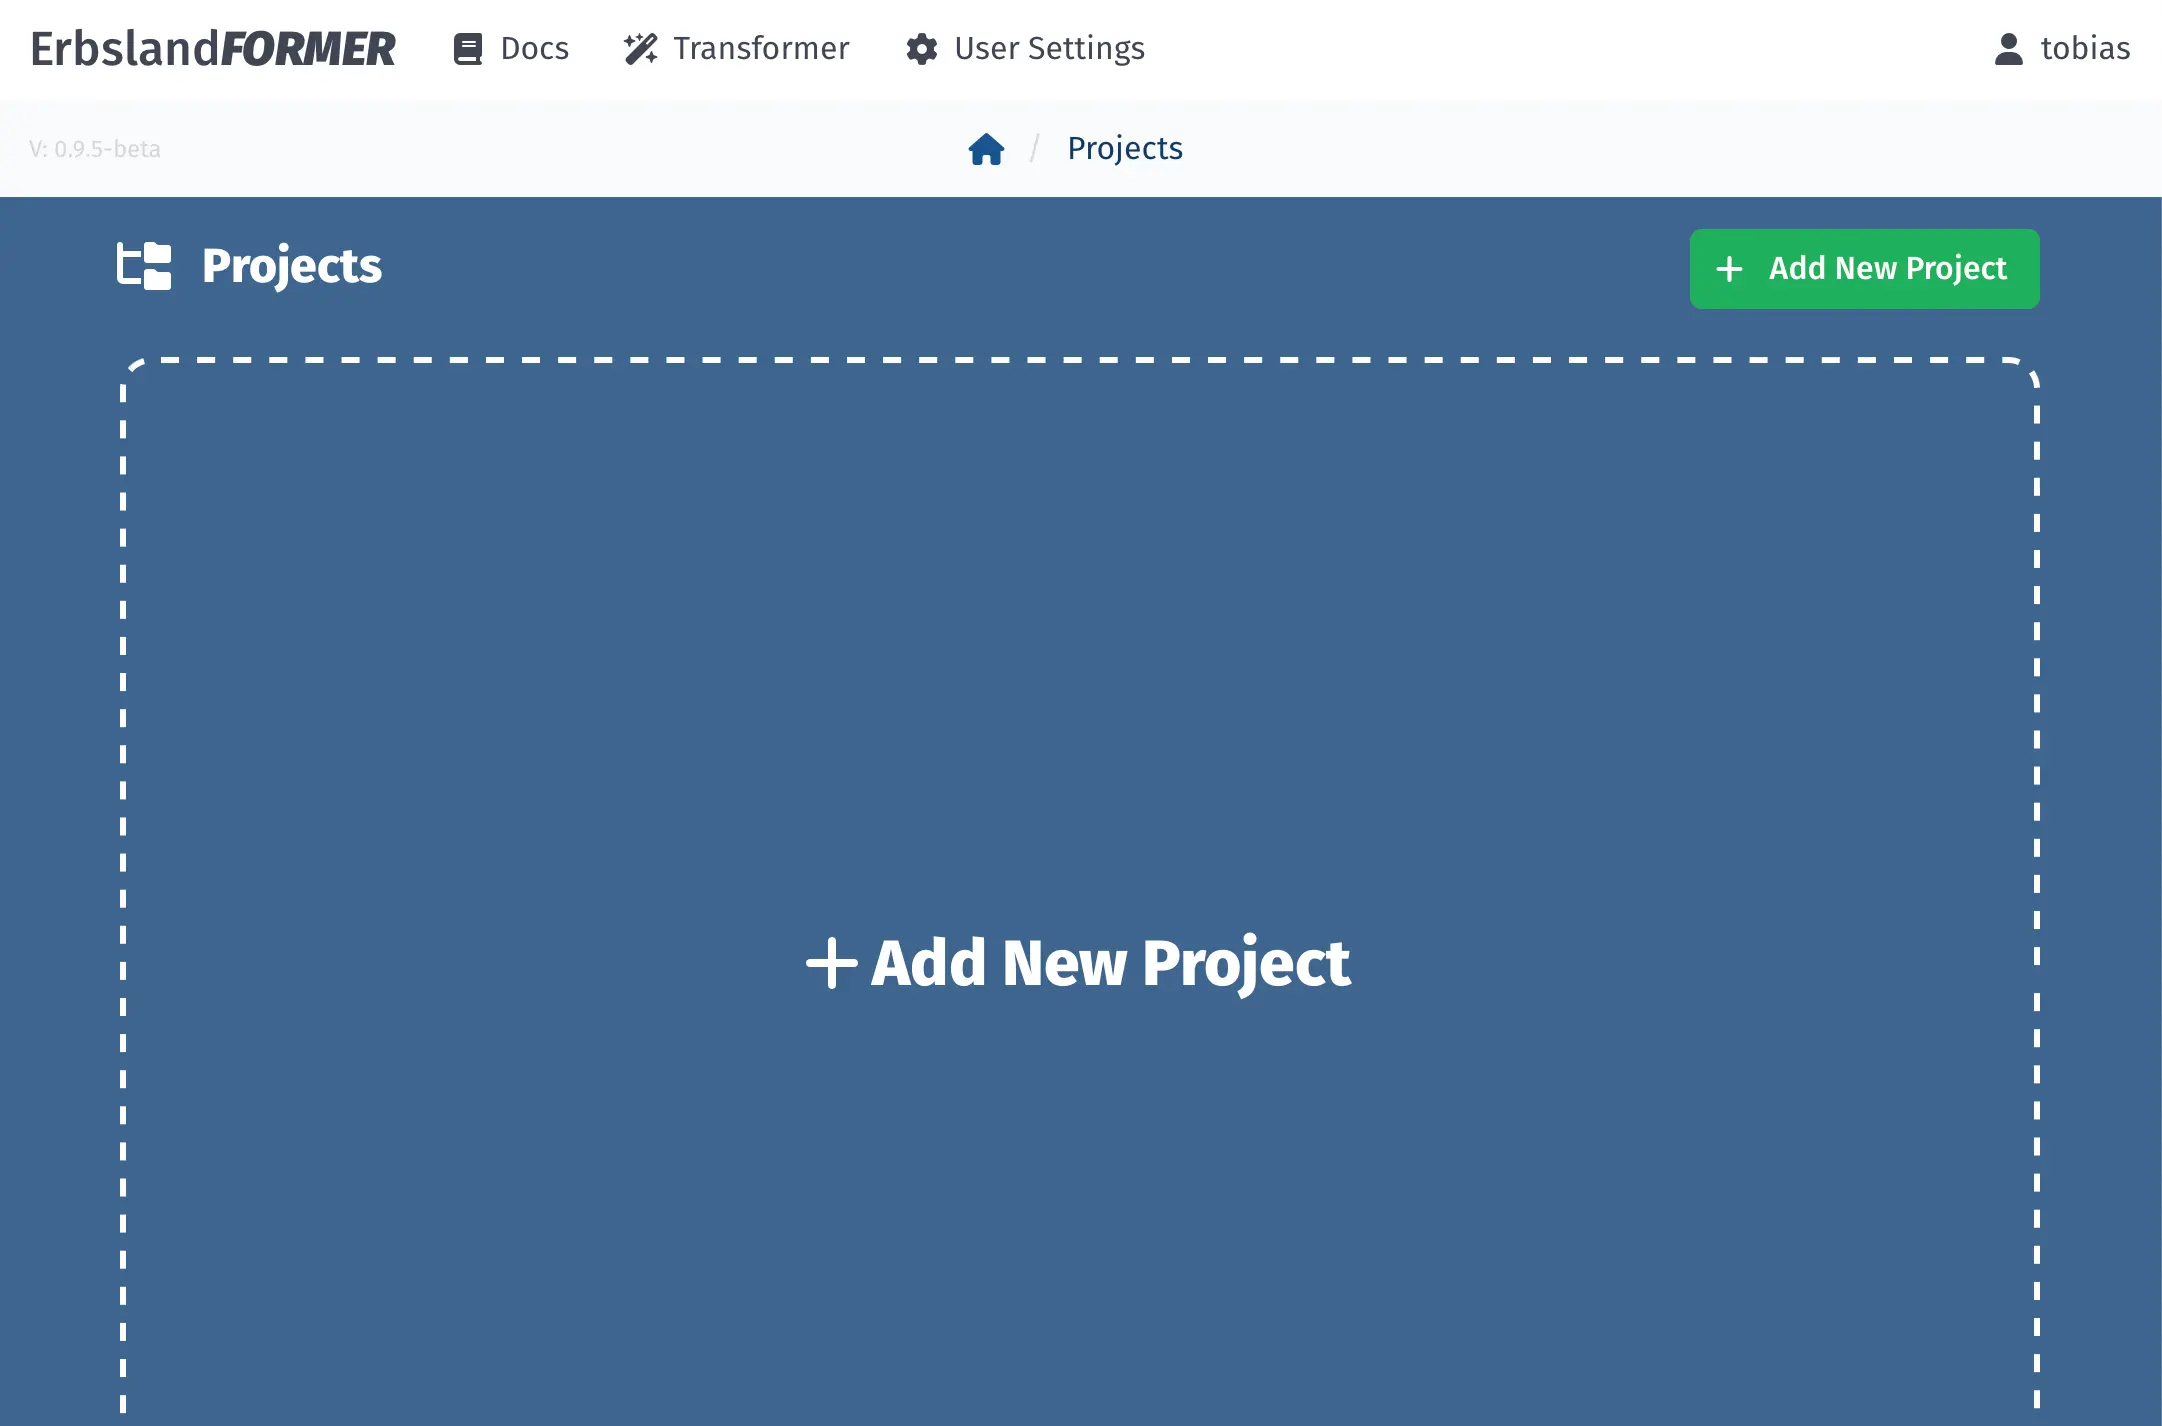
If you don’t have any projects yet, you will see an empty project overview. Click on Add New Project to start a new project.
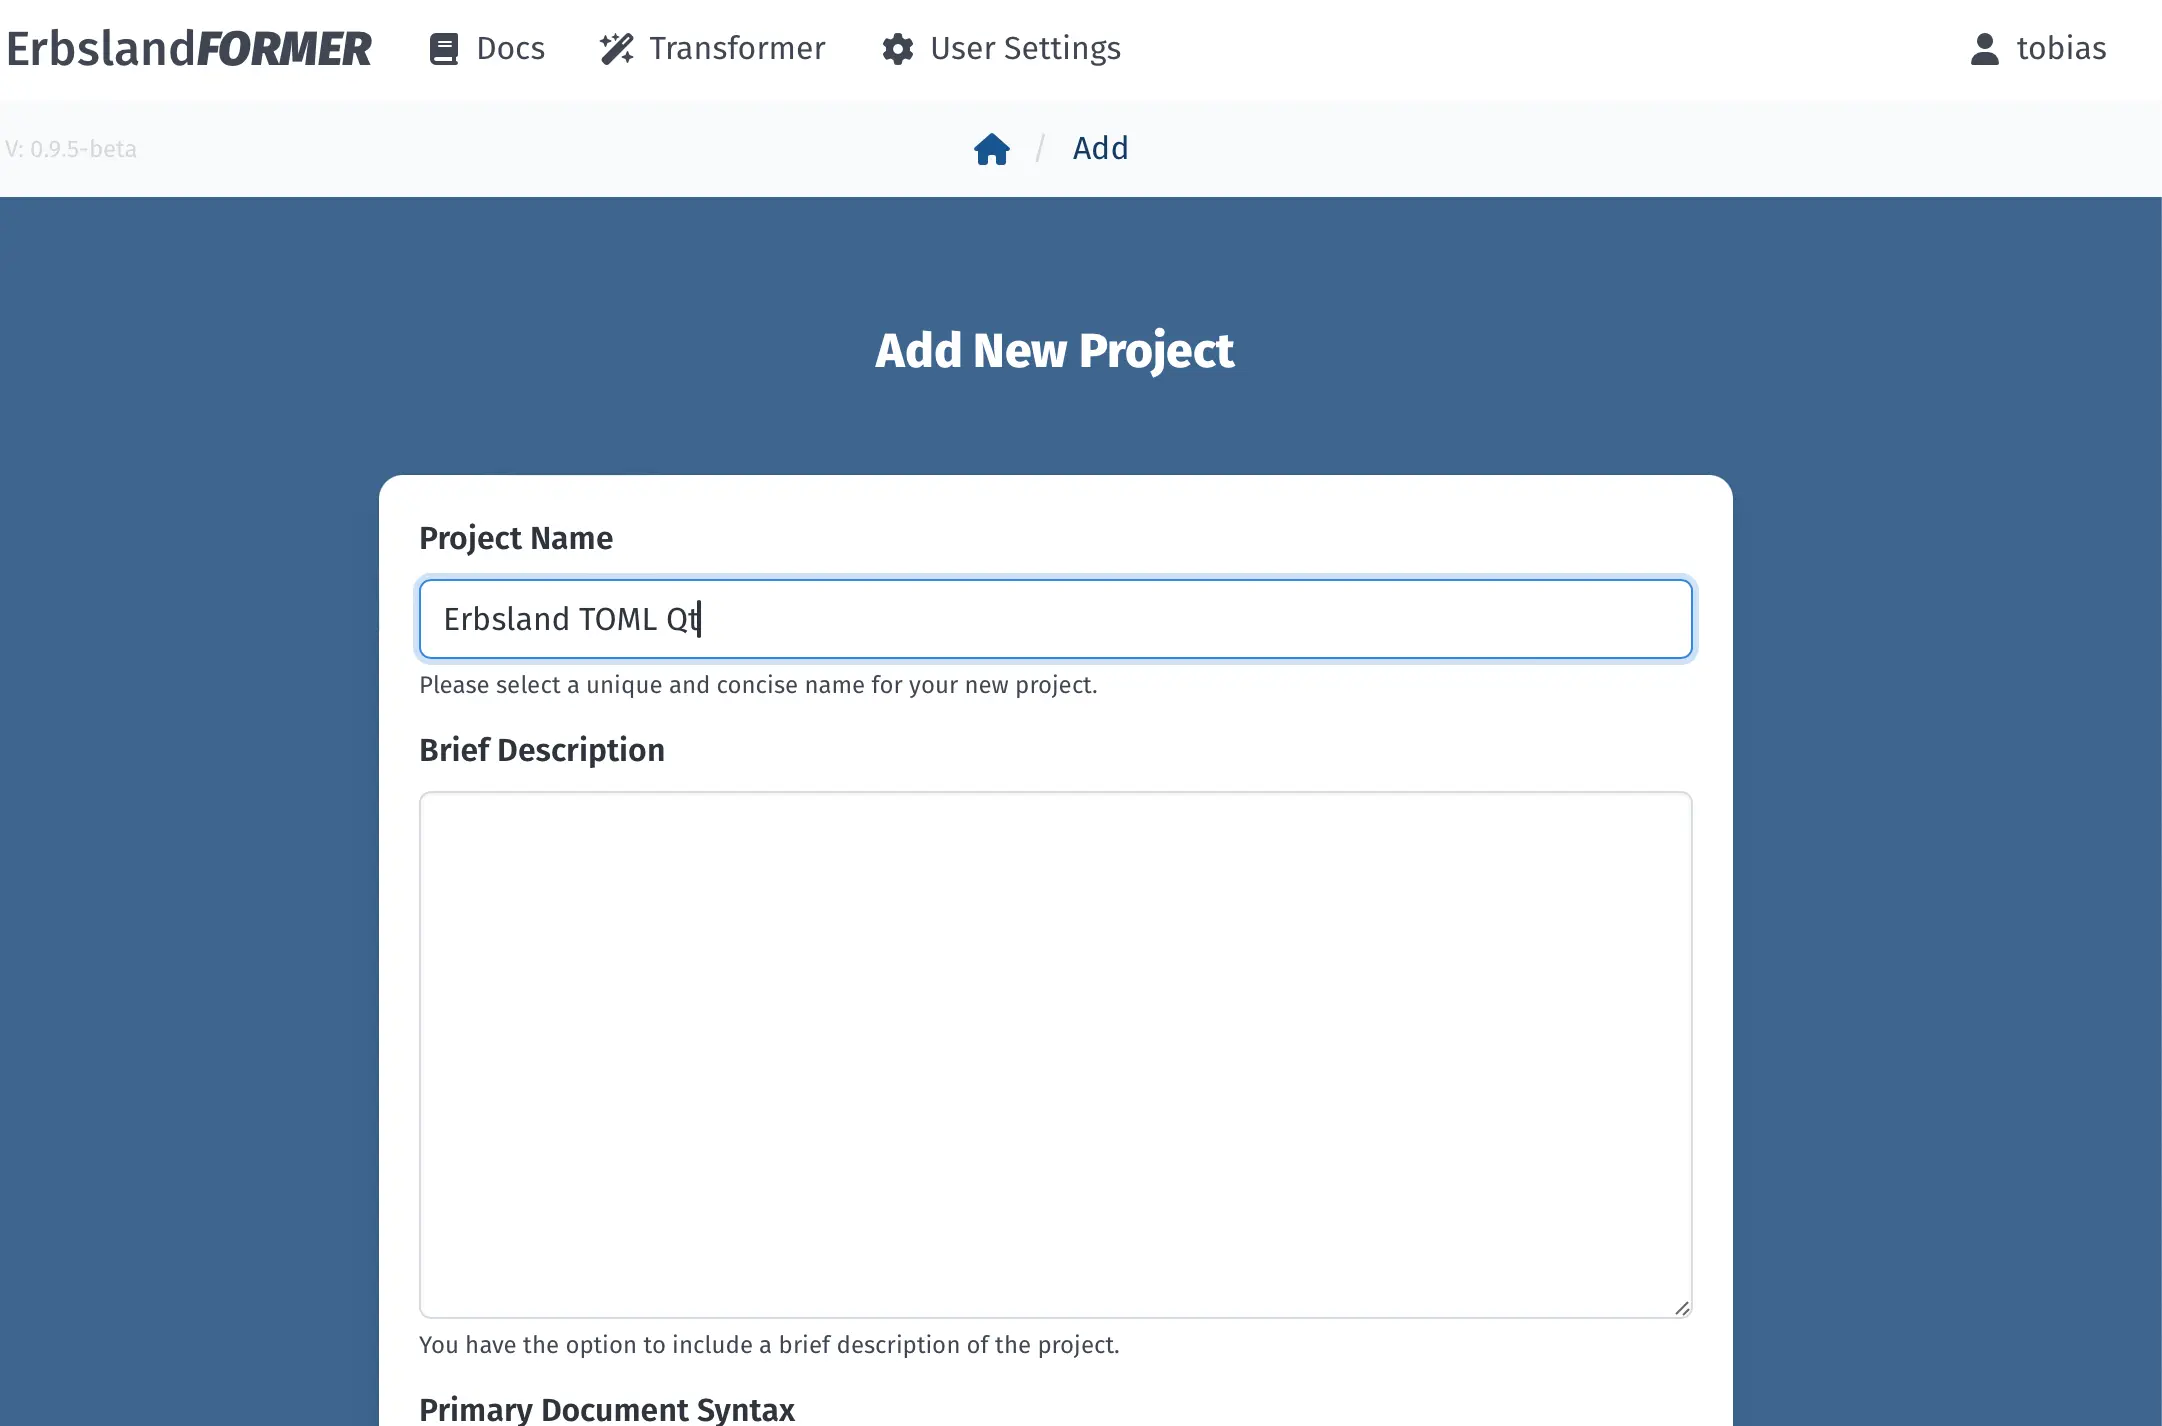
The Add New Project form appears, where you can give the project a custom name. In this example, we name the project “Erbsland TOML Qt”. There is also a field for a brief description, which is helpful for team projects.
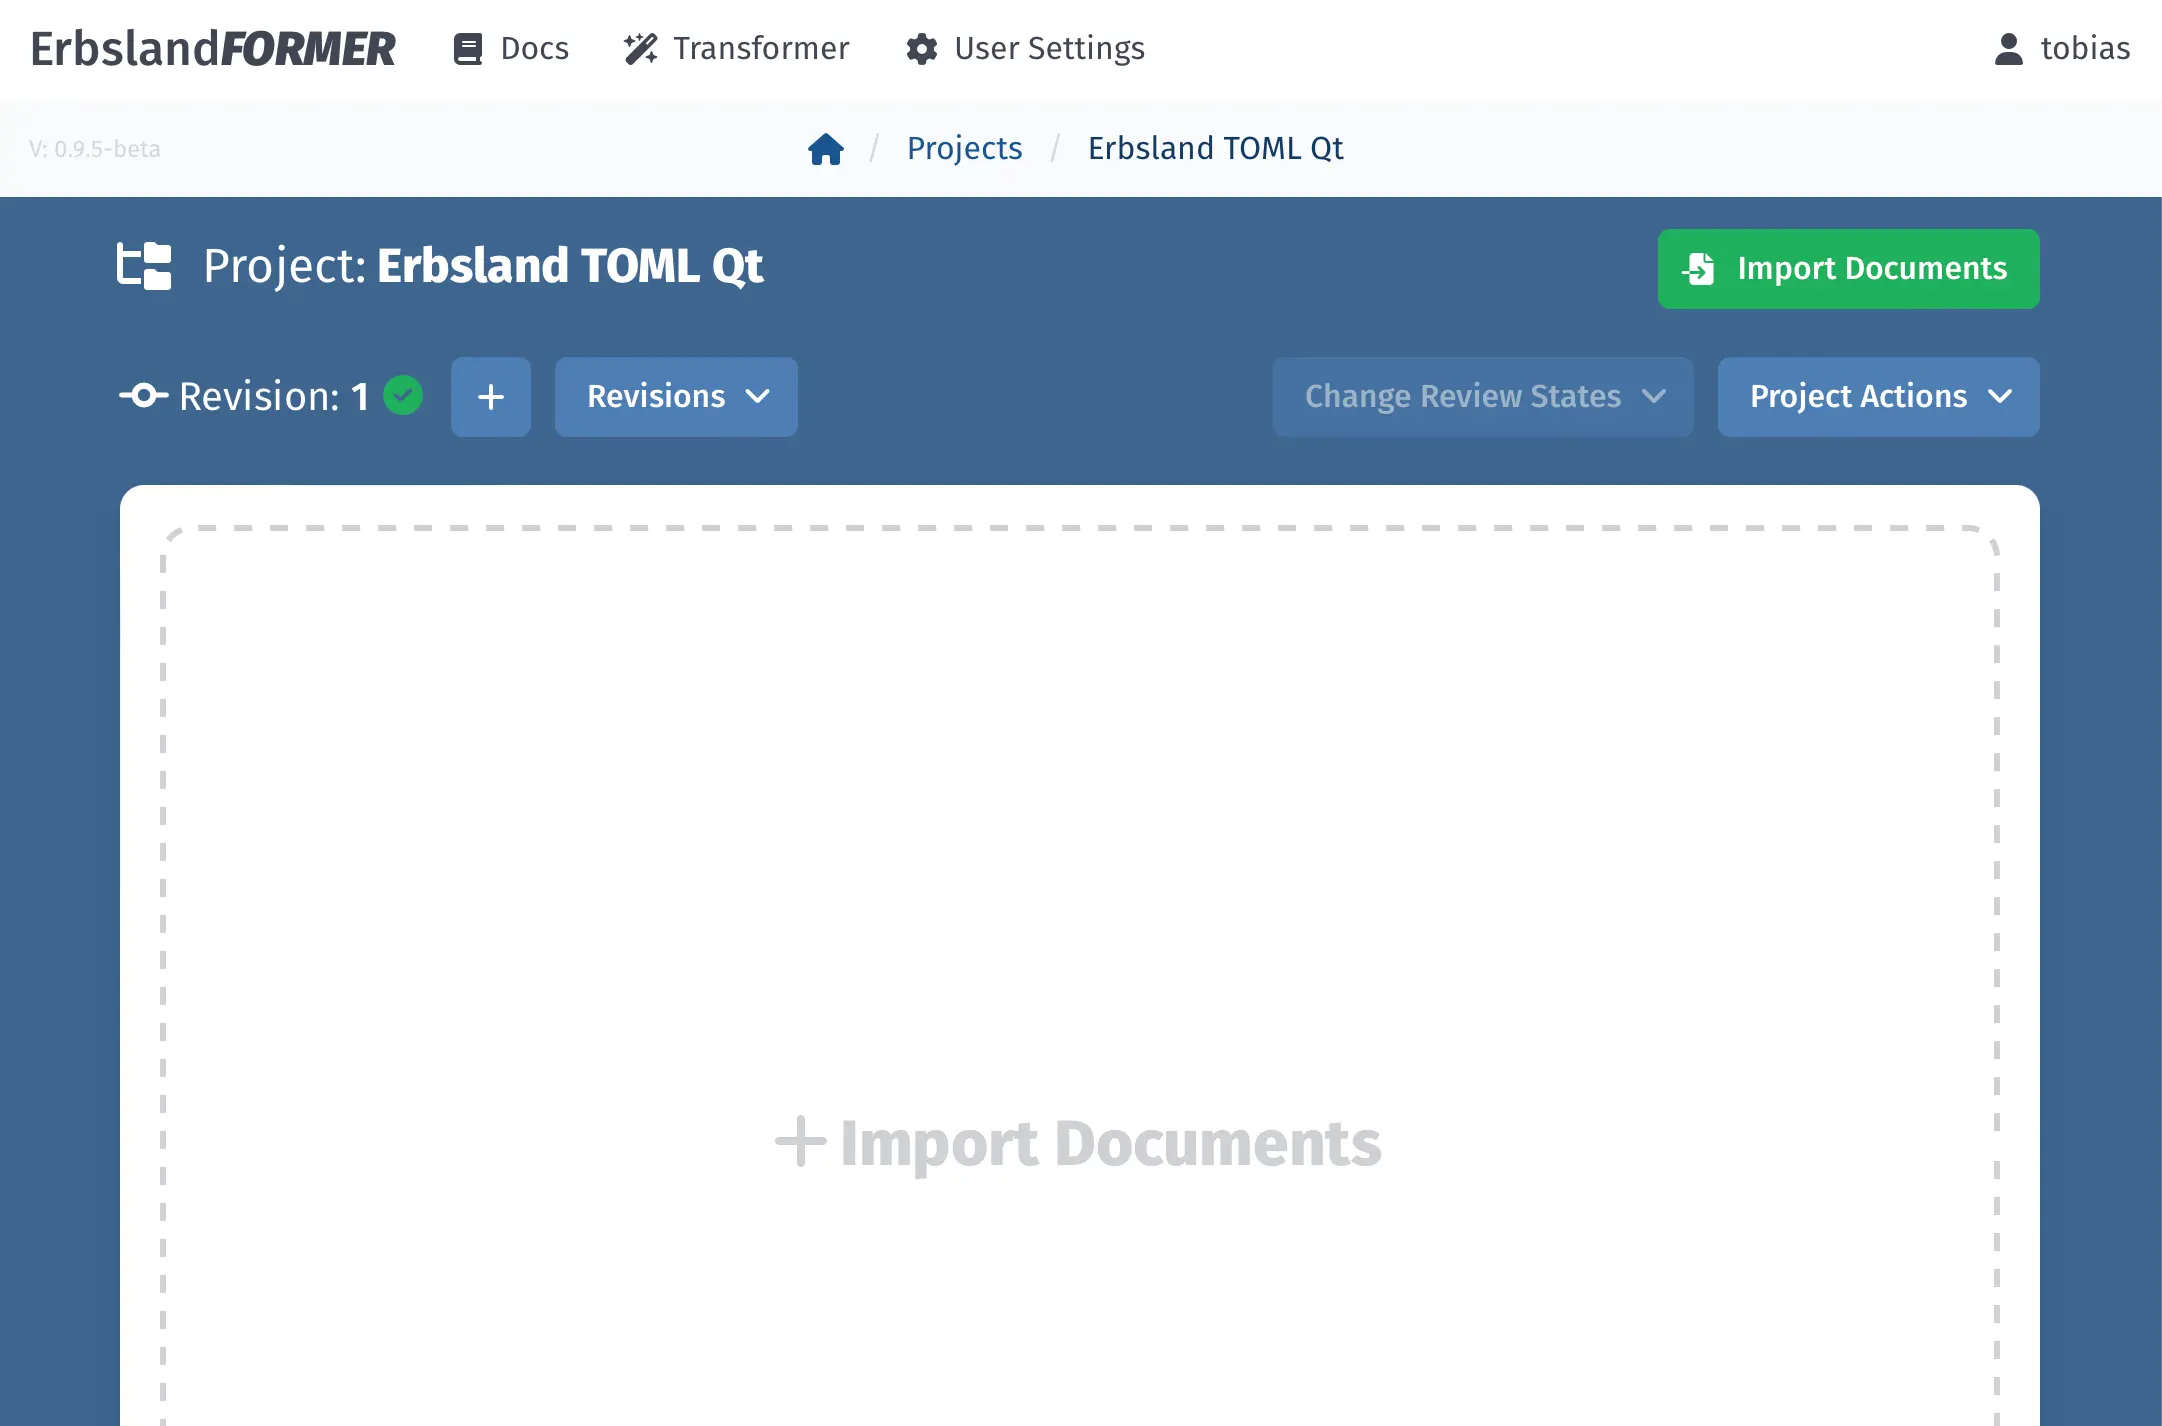
After clicking on Create Project, you will enter the new, empty project. To import documents, click on Import Documents to start the import assistant.
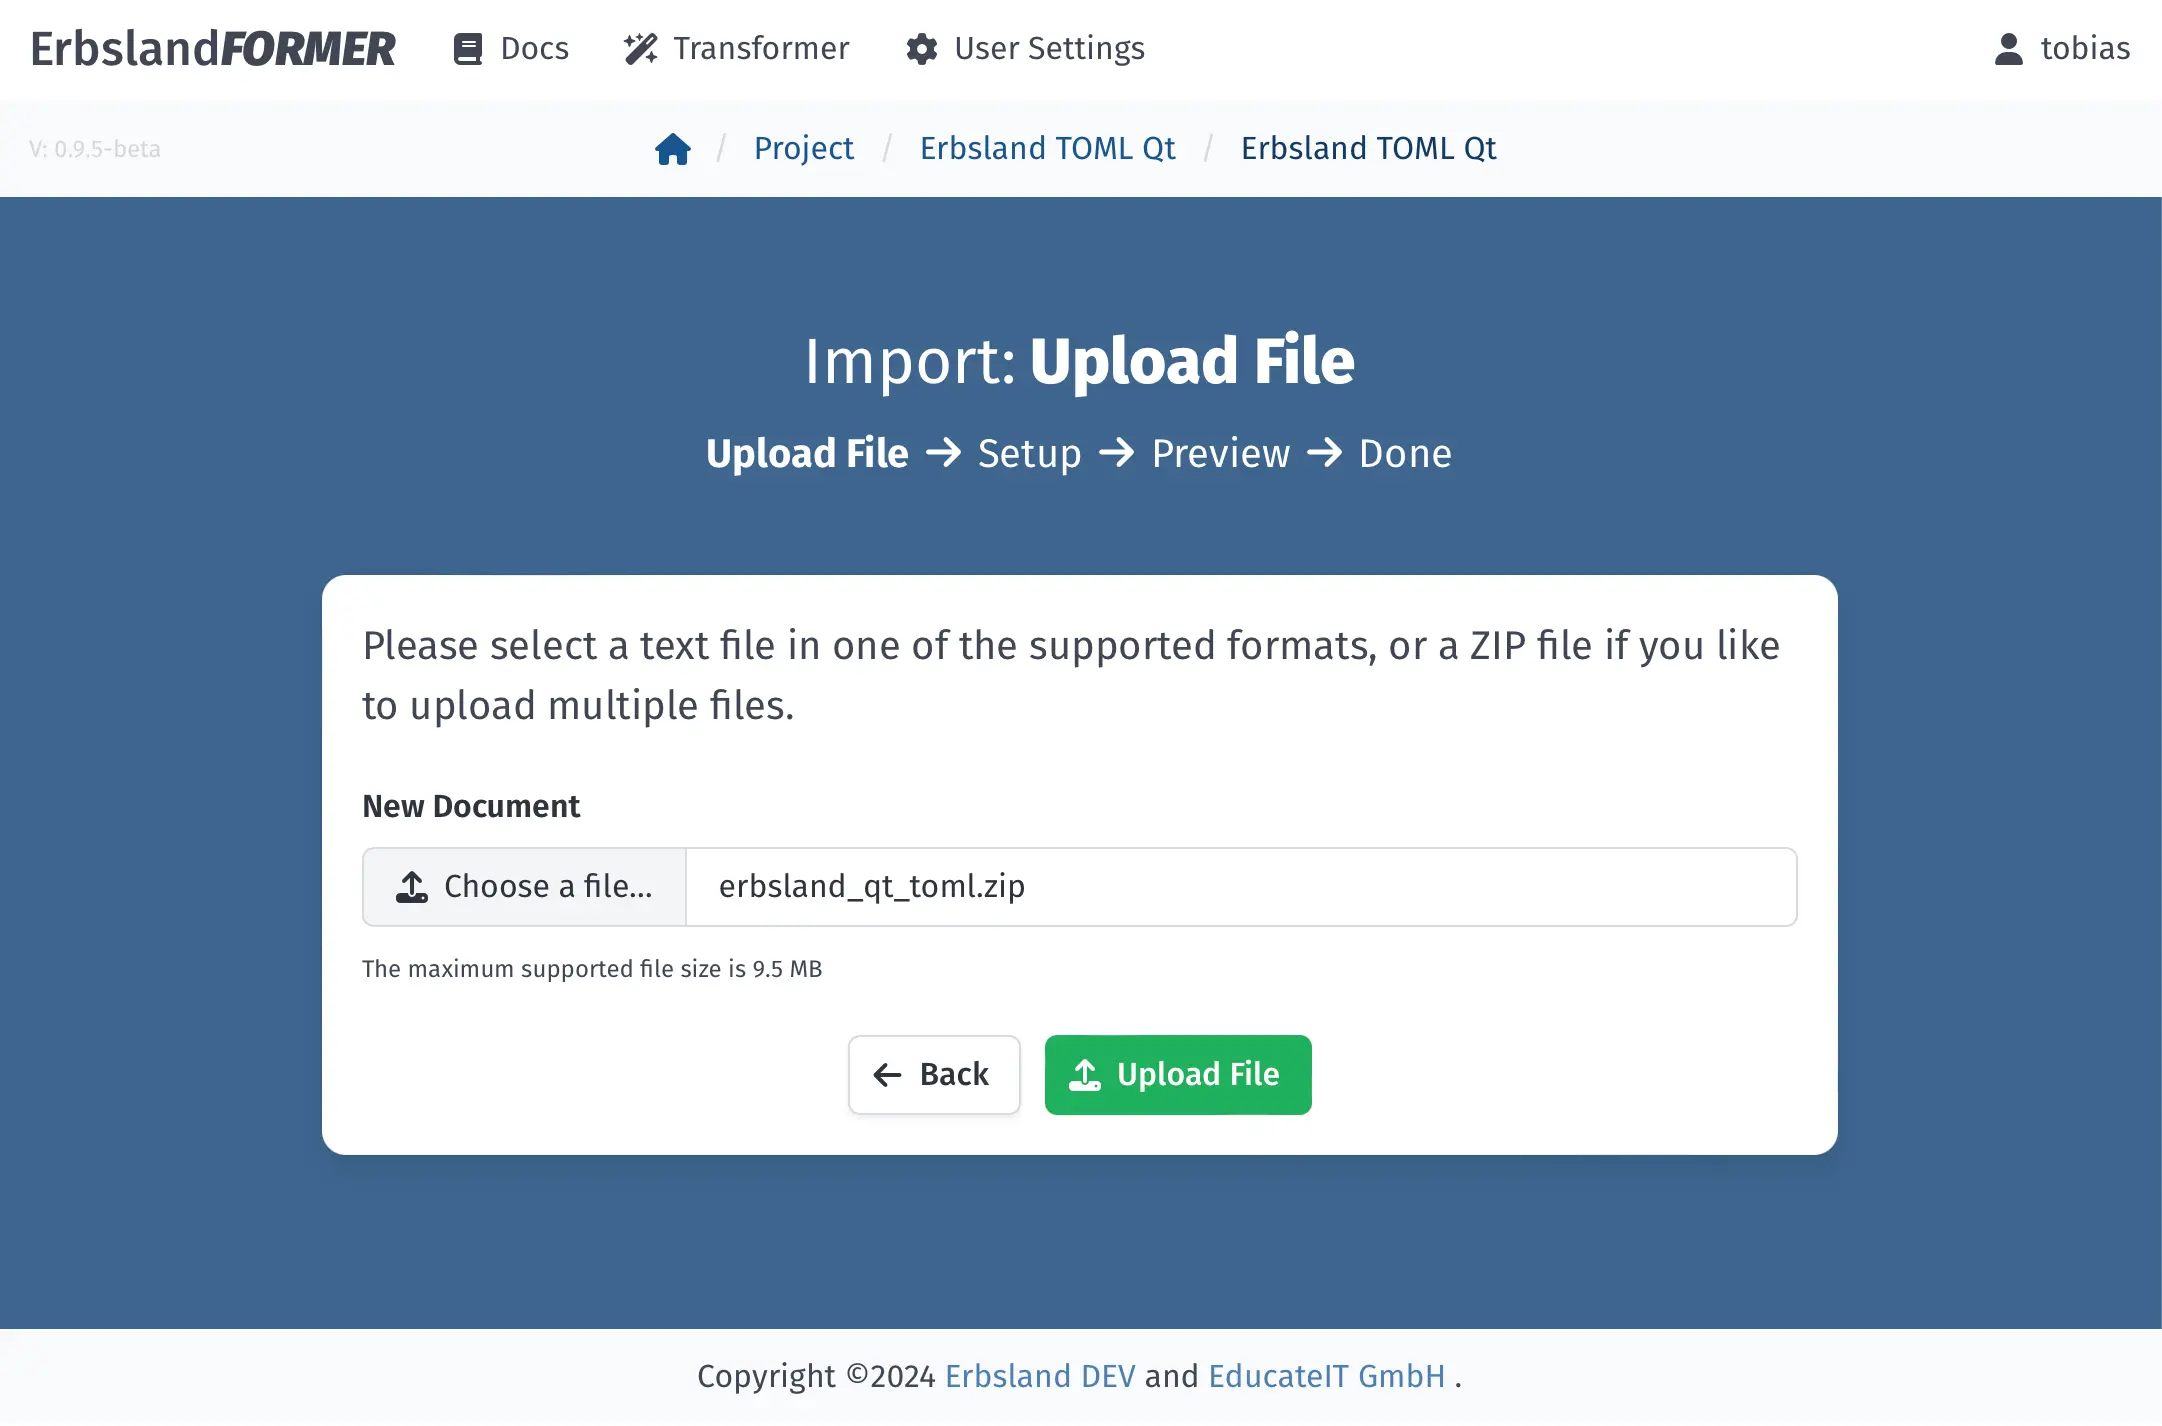
In the import assistant, you can upload individual files or a ZIP archive of a whole project. Select erbsland_qt_toml.zip and click on Upload File to start the upload.
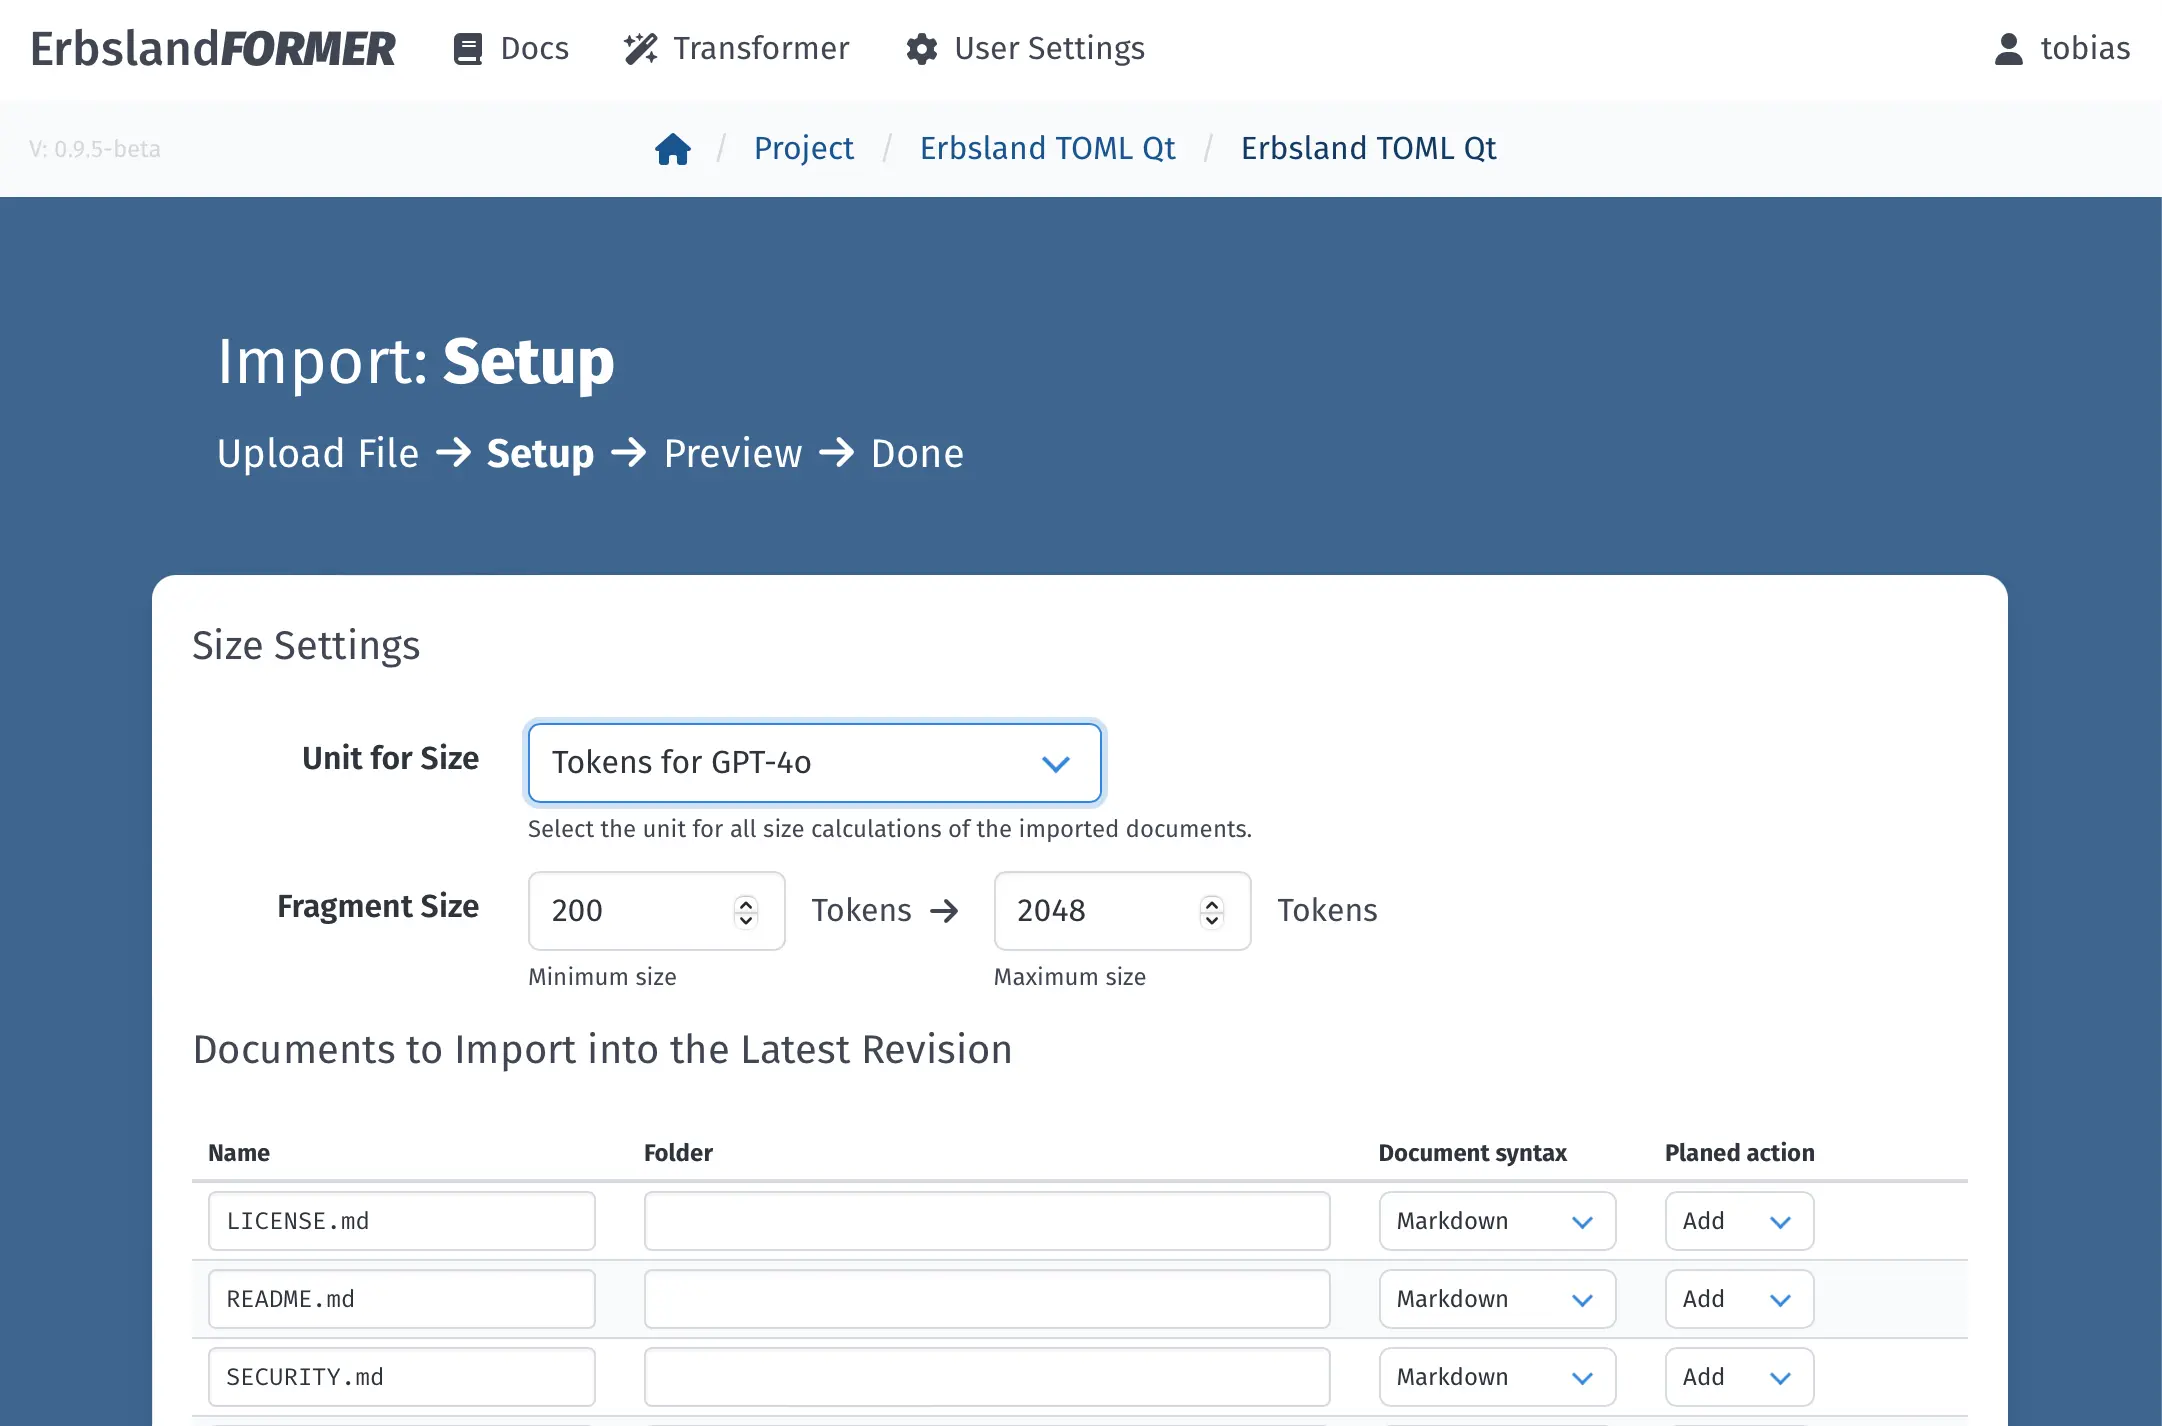
The application analyzes the uploaded file and continues with the setup form. Here, you select the primary splitting unit and size range for the uploaded files. Choose “Tokens for GPT-4”, with a text fragment range of 200 to 4048 tokens, which is recommended for this language model.
Below, a list of each file, including name, folder, detected document syntax, and actions, is displayed. You can change the names, paths, and settings individually for the import or remove files you don’t need. For this example, we use the defaults.
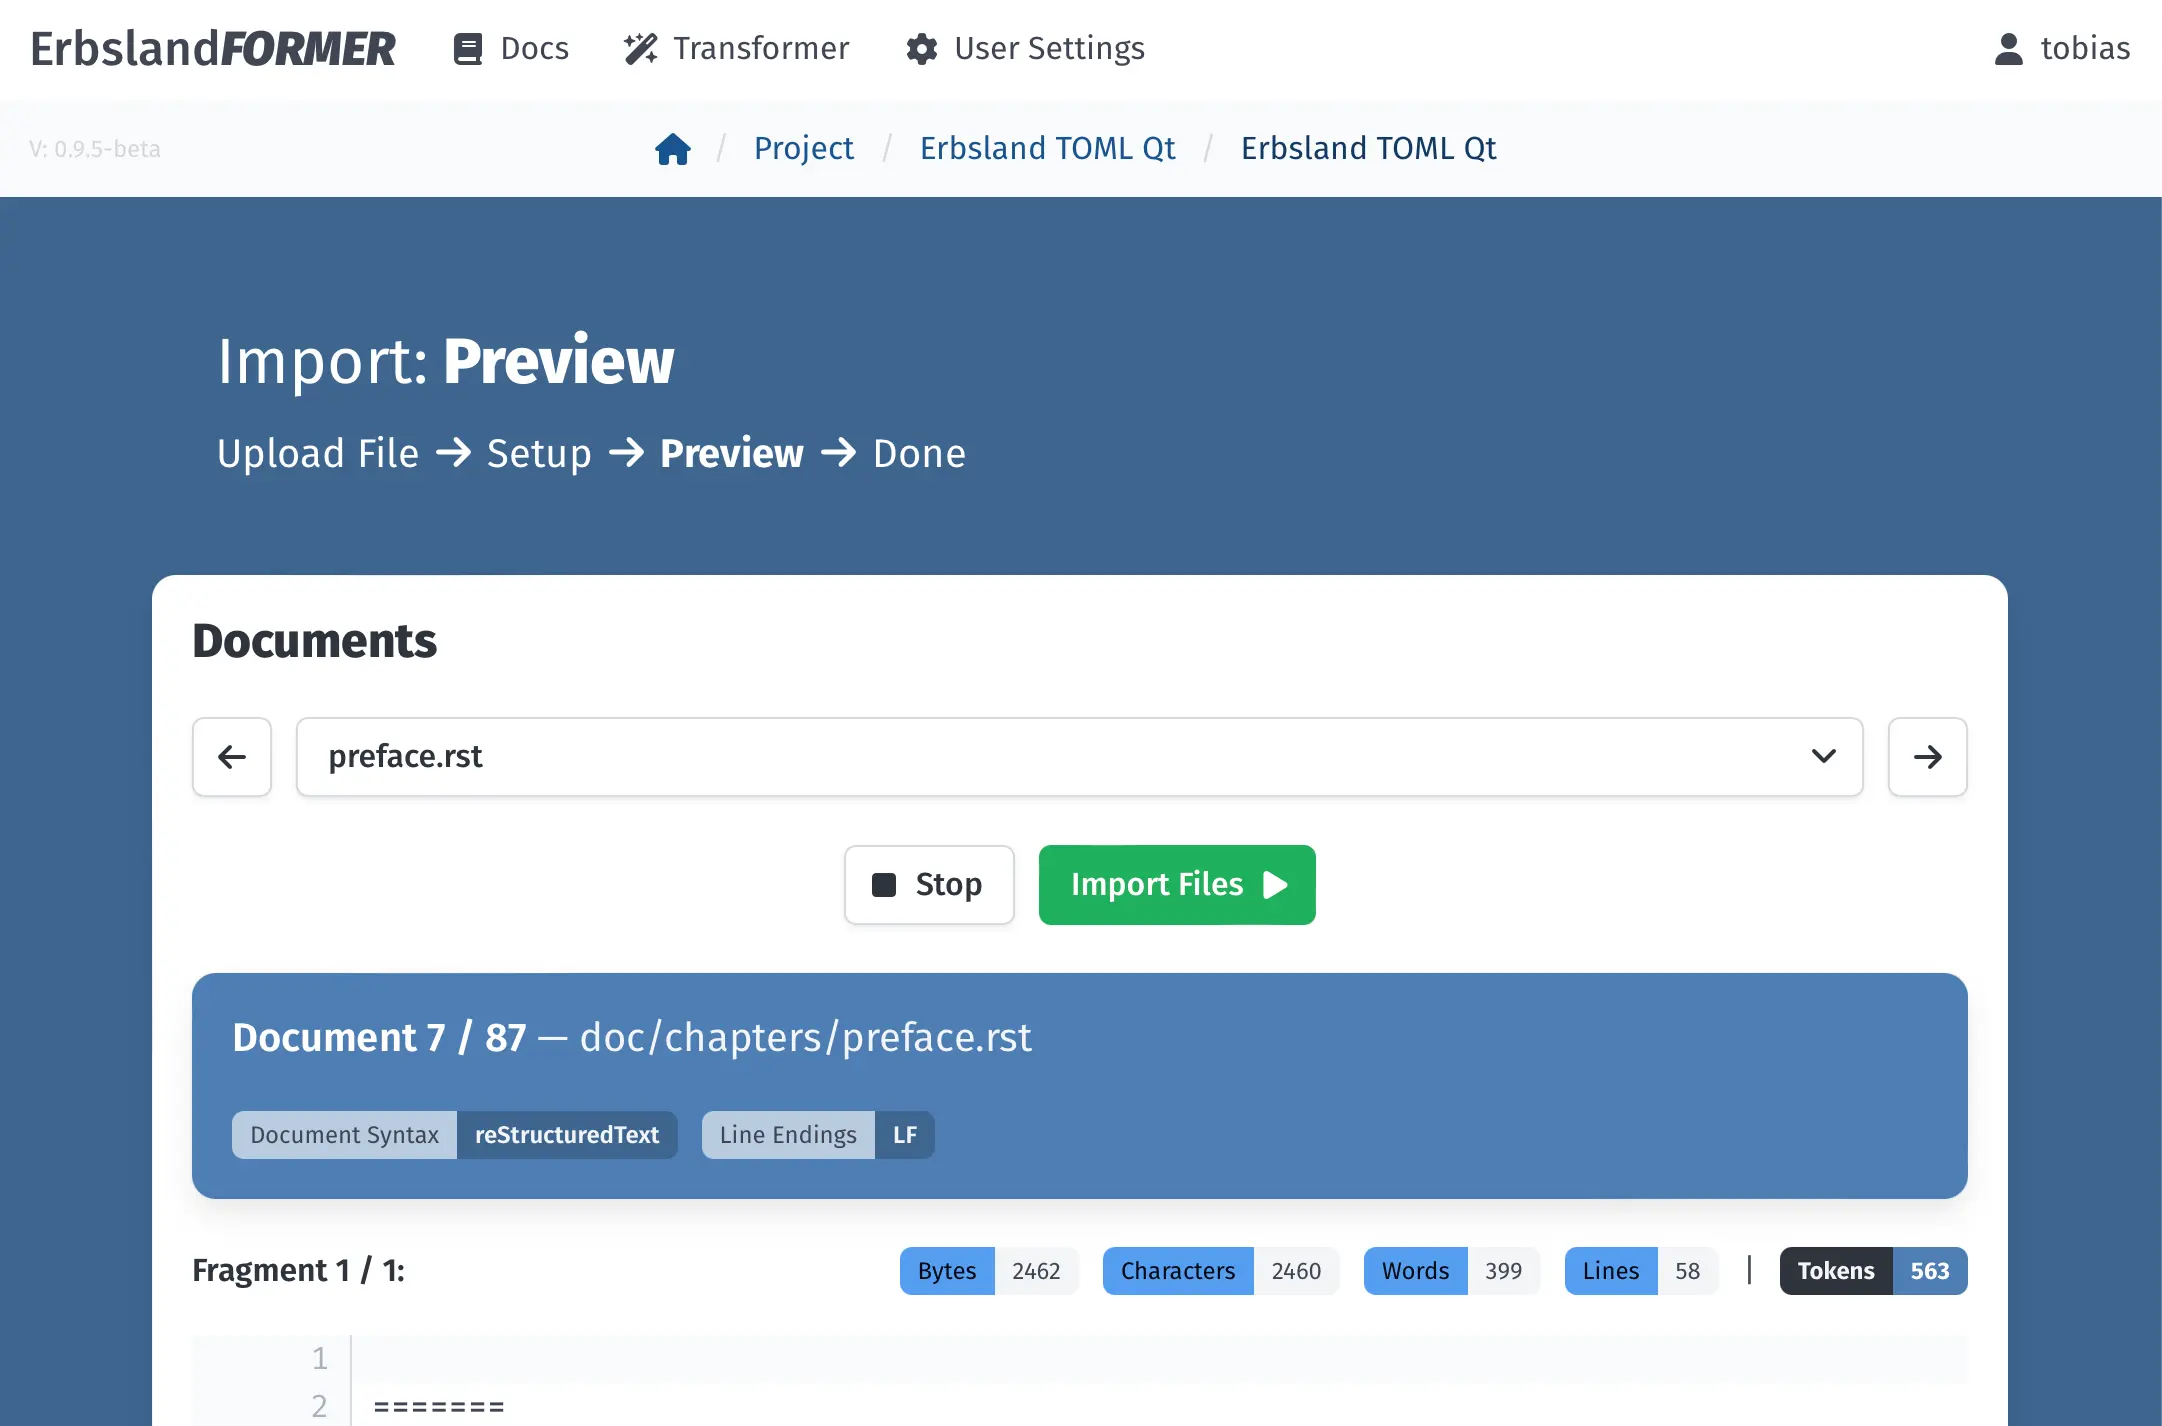
Click on Create Preview to process all files and create a preview of how the documents will be imported, including the exact splitting points. Review the created fragments and, if satisfied, click on Import Files to start the import.
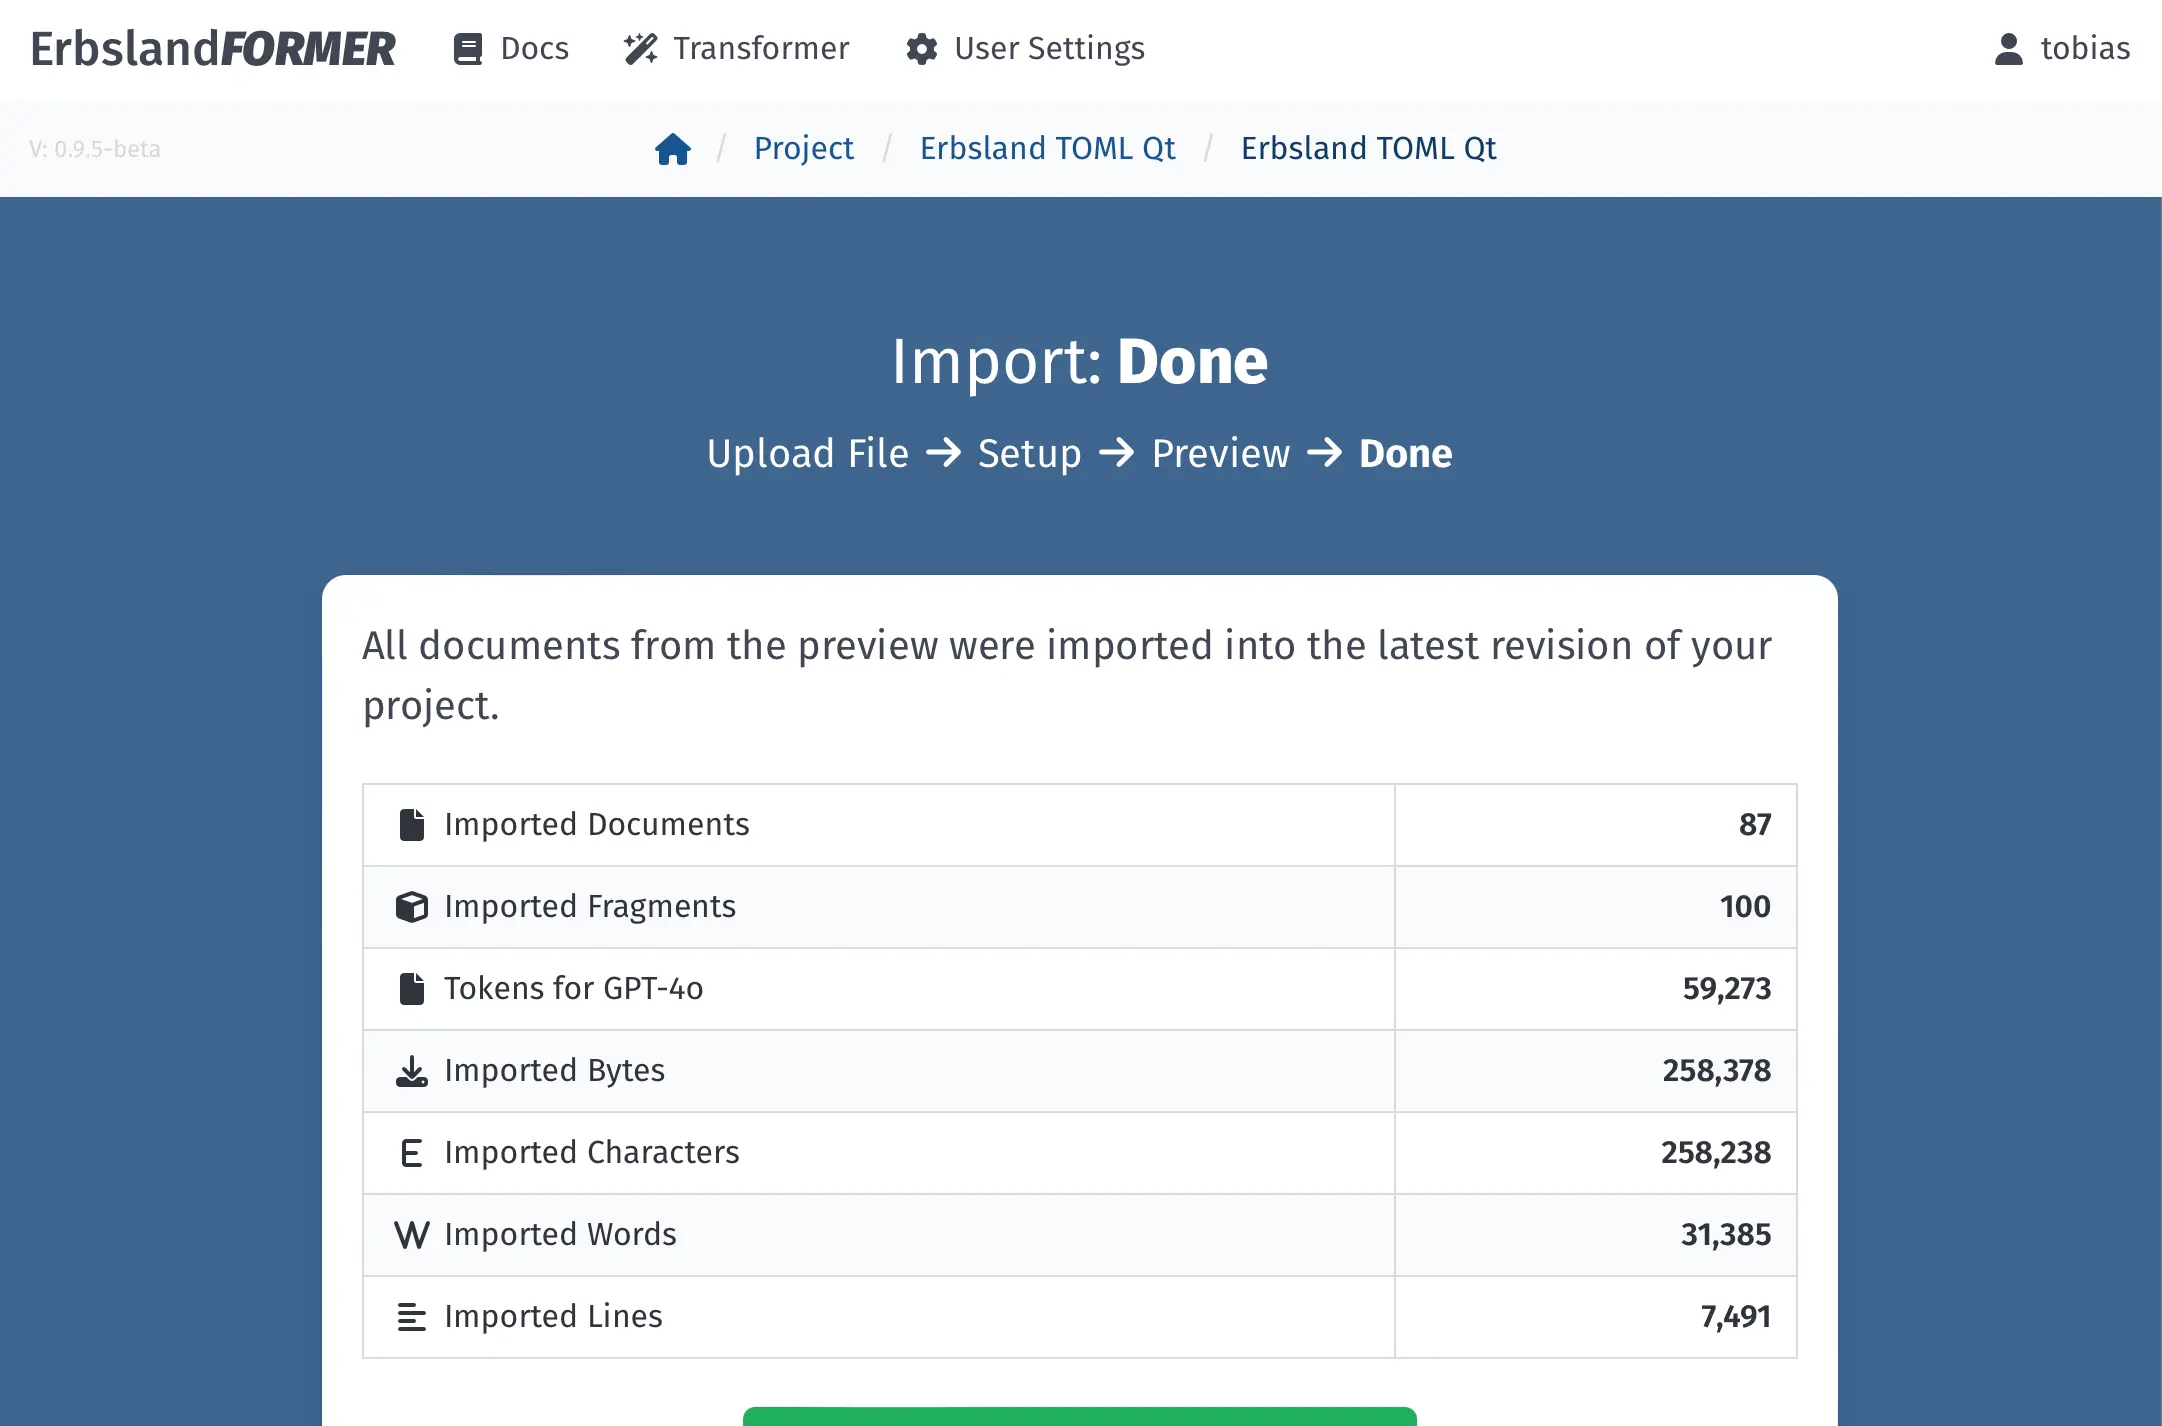
The import is completed, and a table with statistics about the import is displayed. Click on Close and Continue to Project to return to the project.
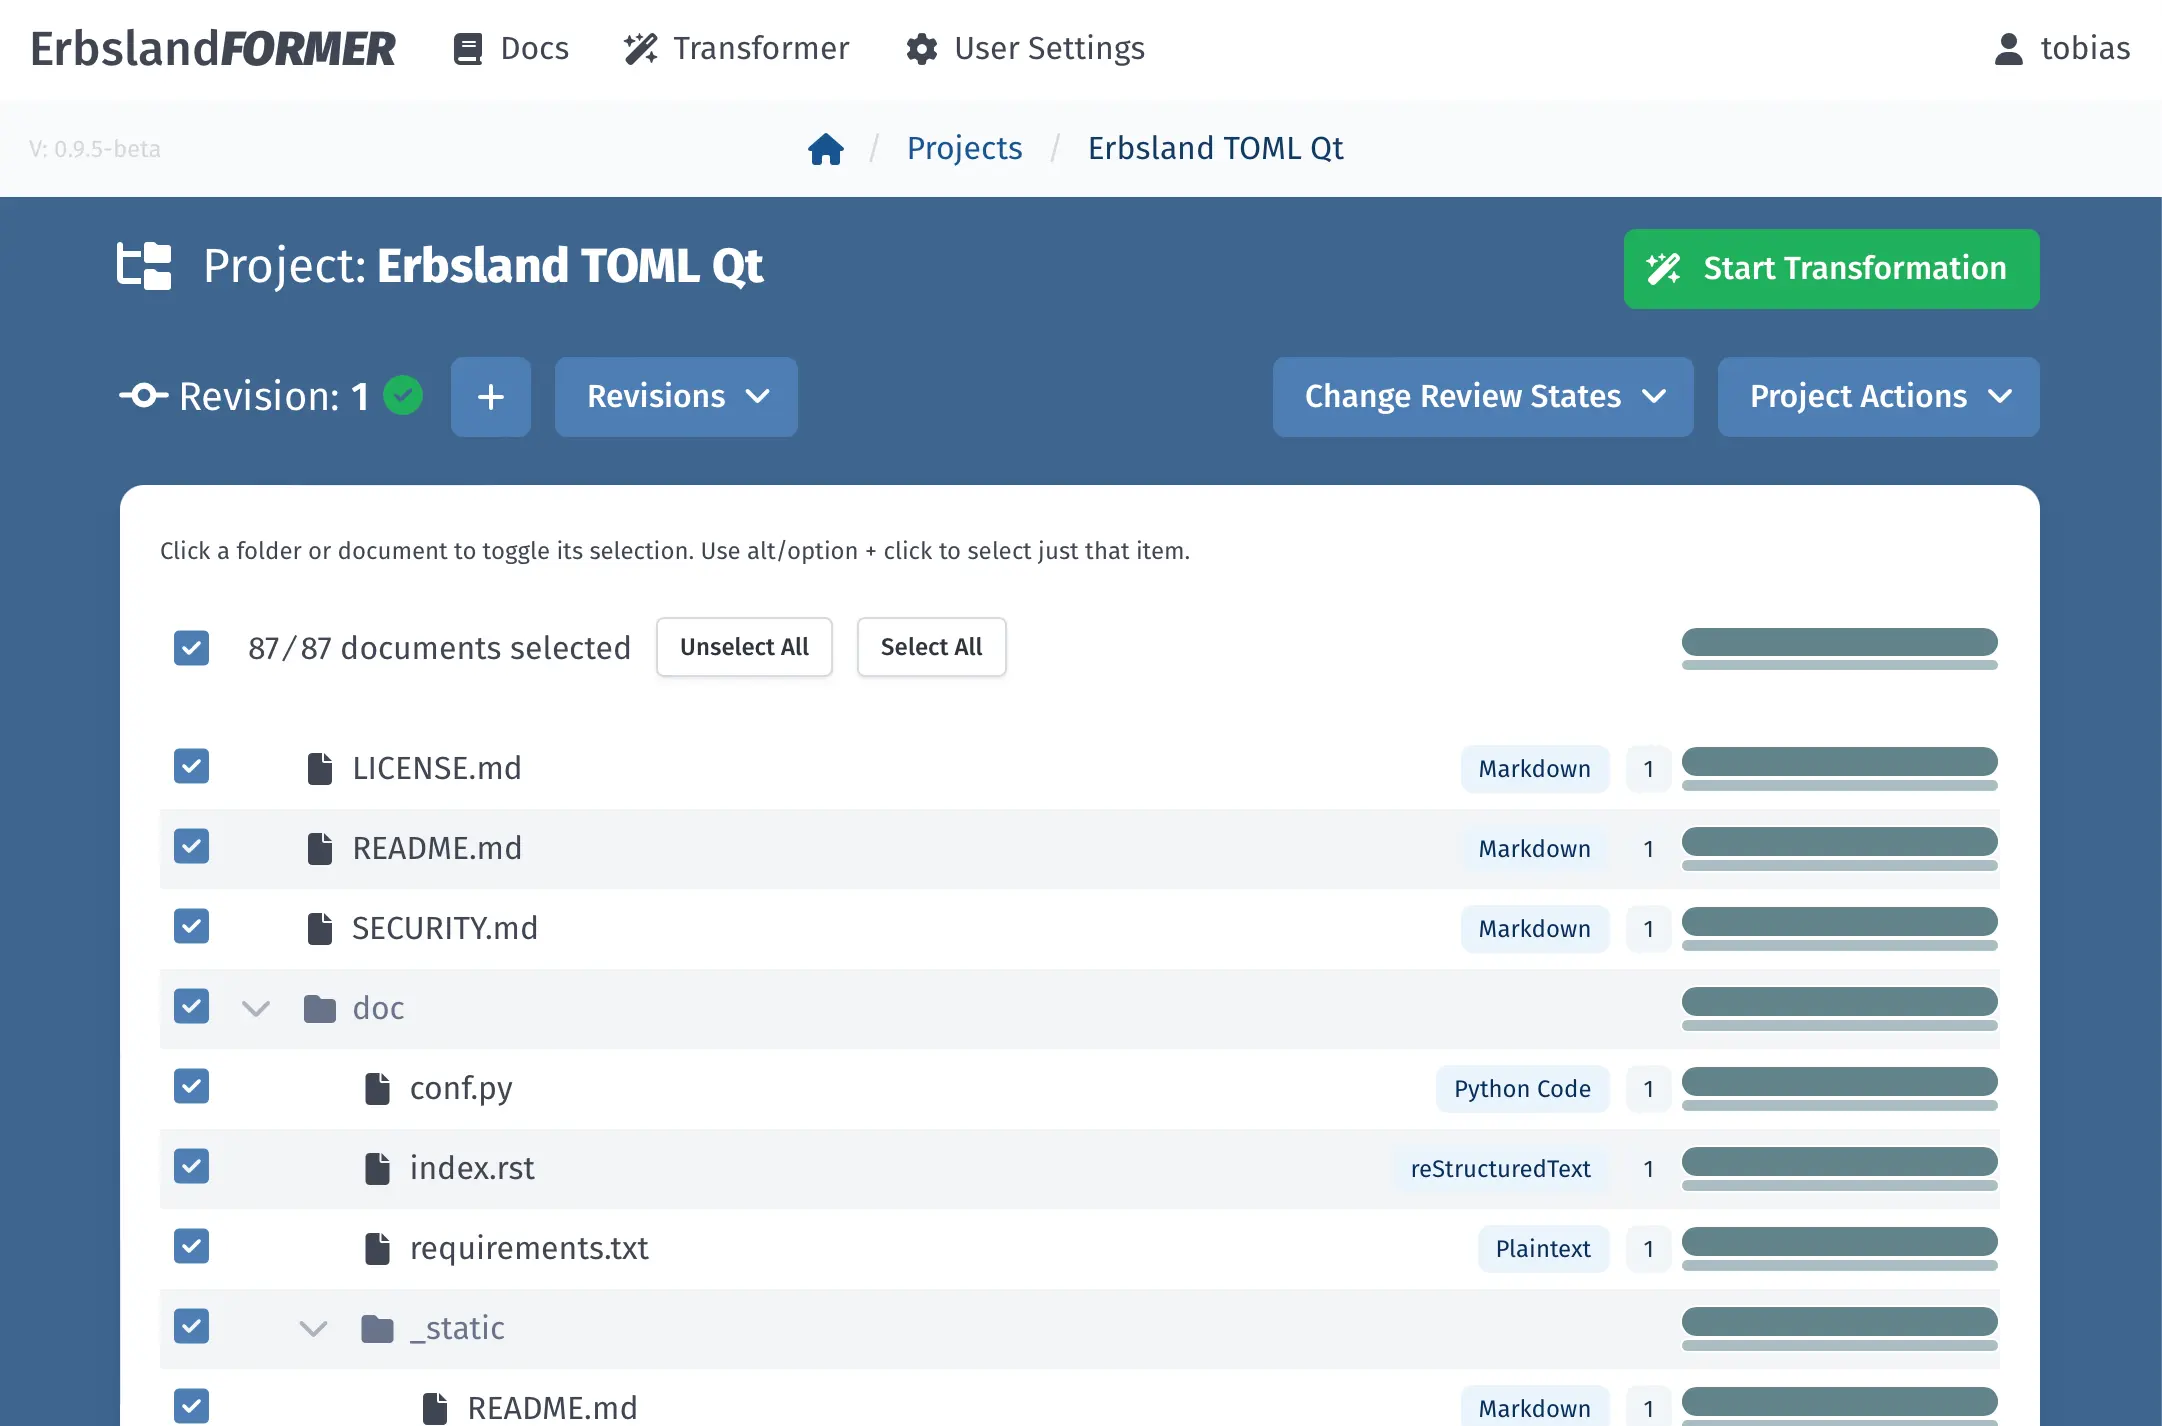
The project is no longer empty, and you can see the imported folder structure with all documents in an unprocessed state.
Since there are no transformation profiles yet, click on Transformer to open the transformer profiles page.
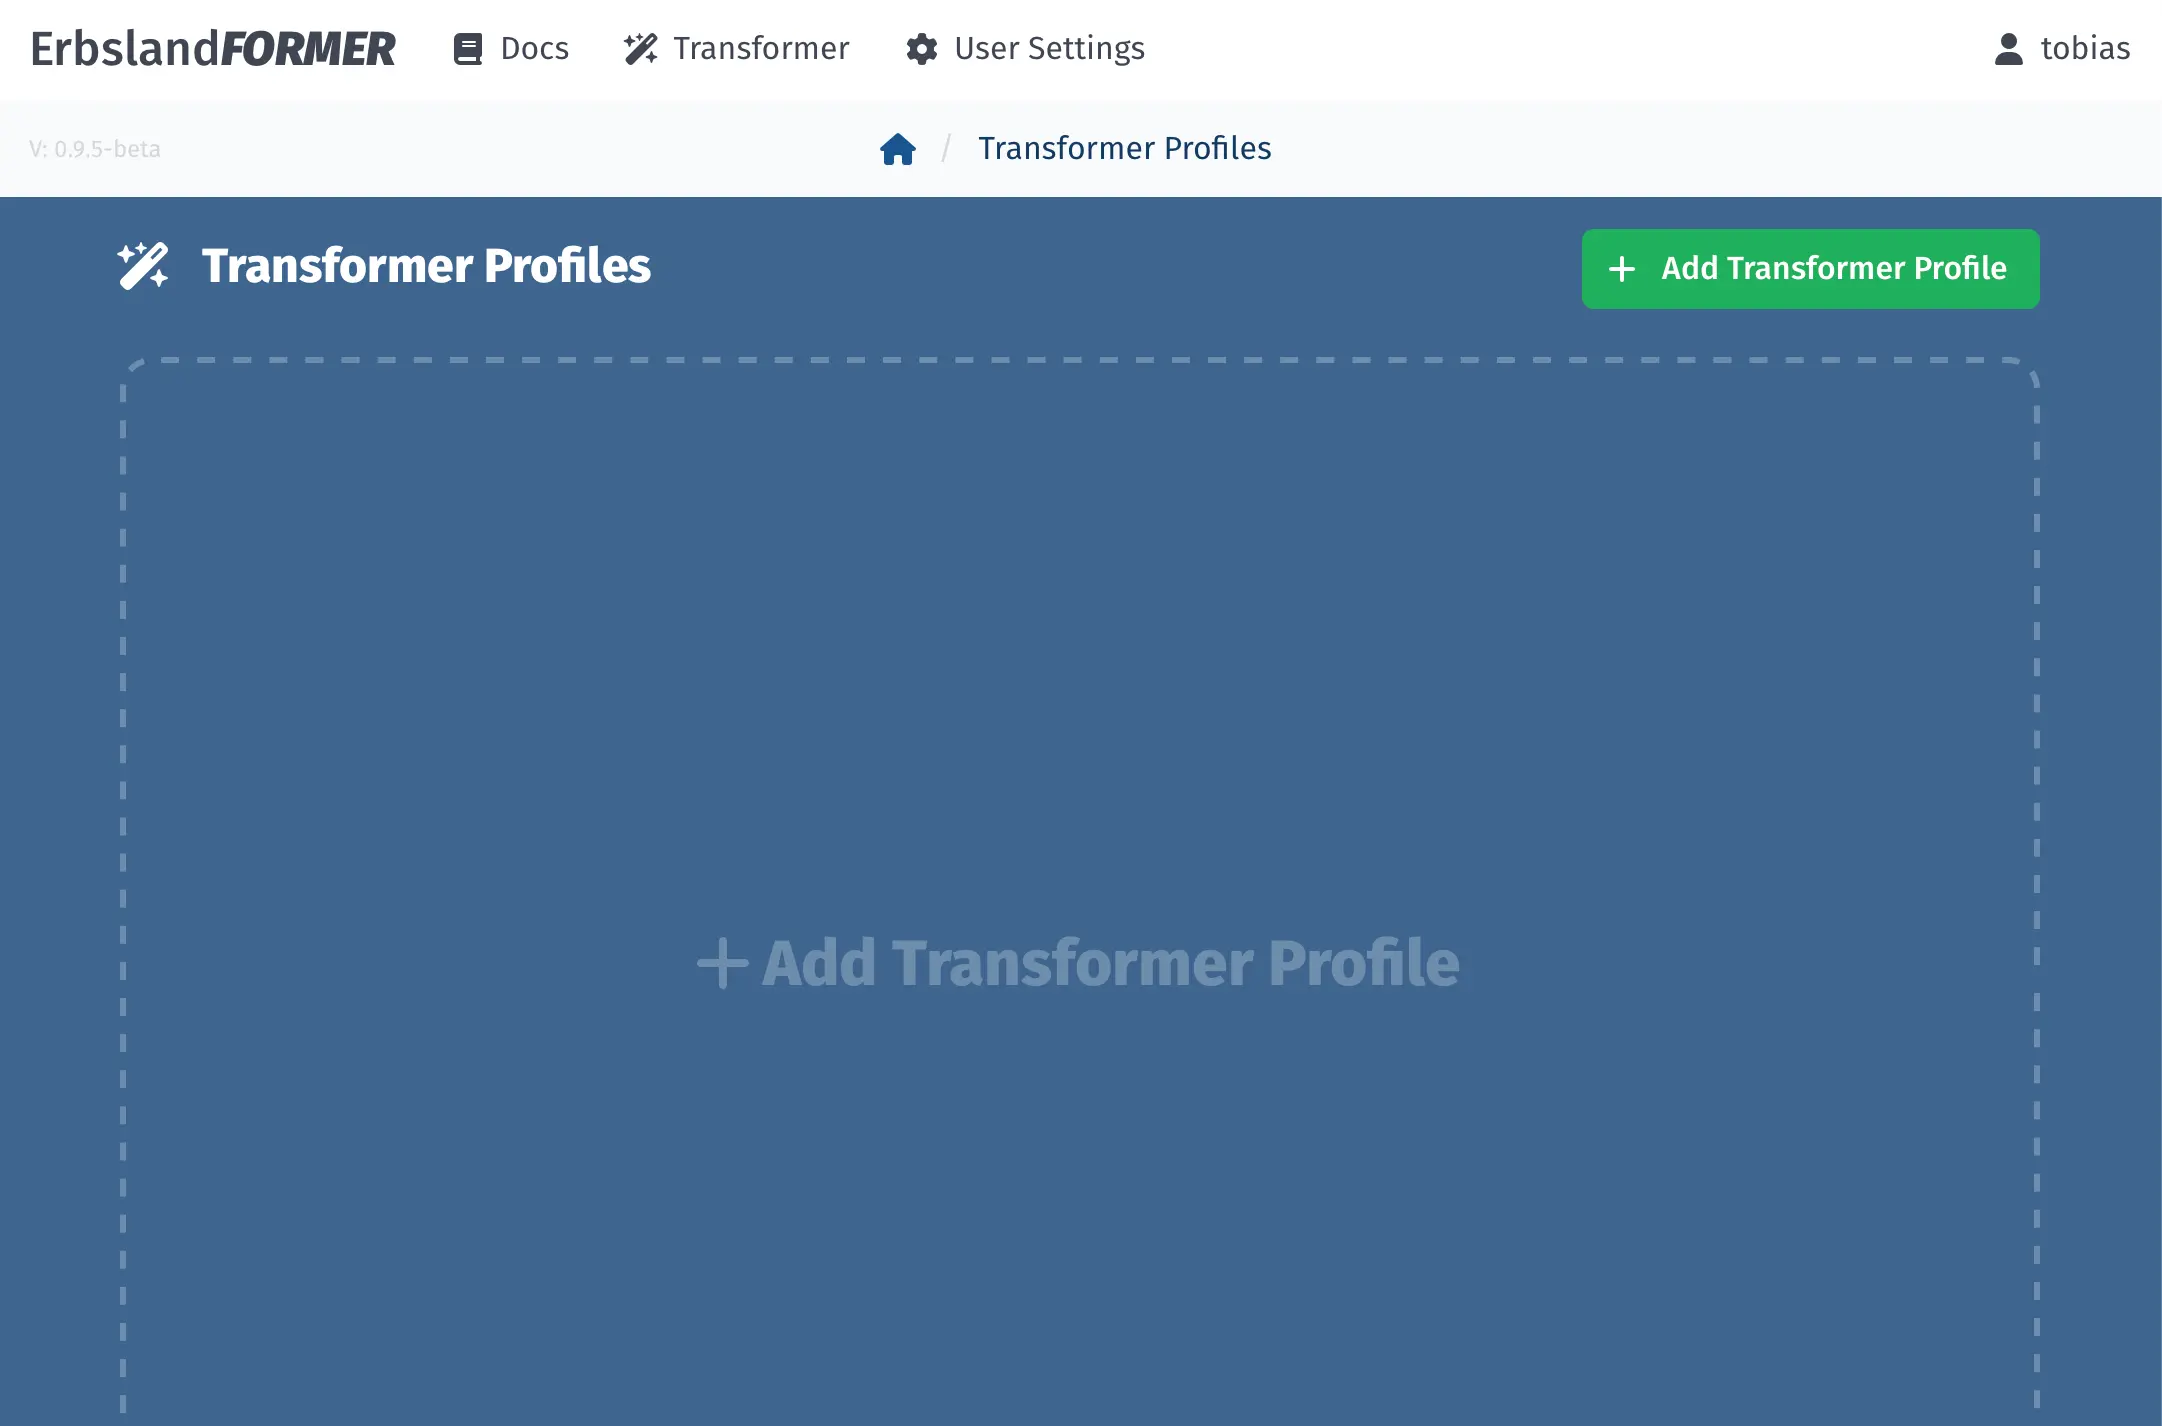
The page is empty, so click on Add Transformer Profile to create a new transformer profile.
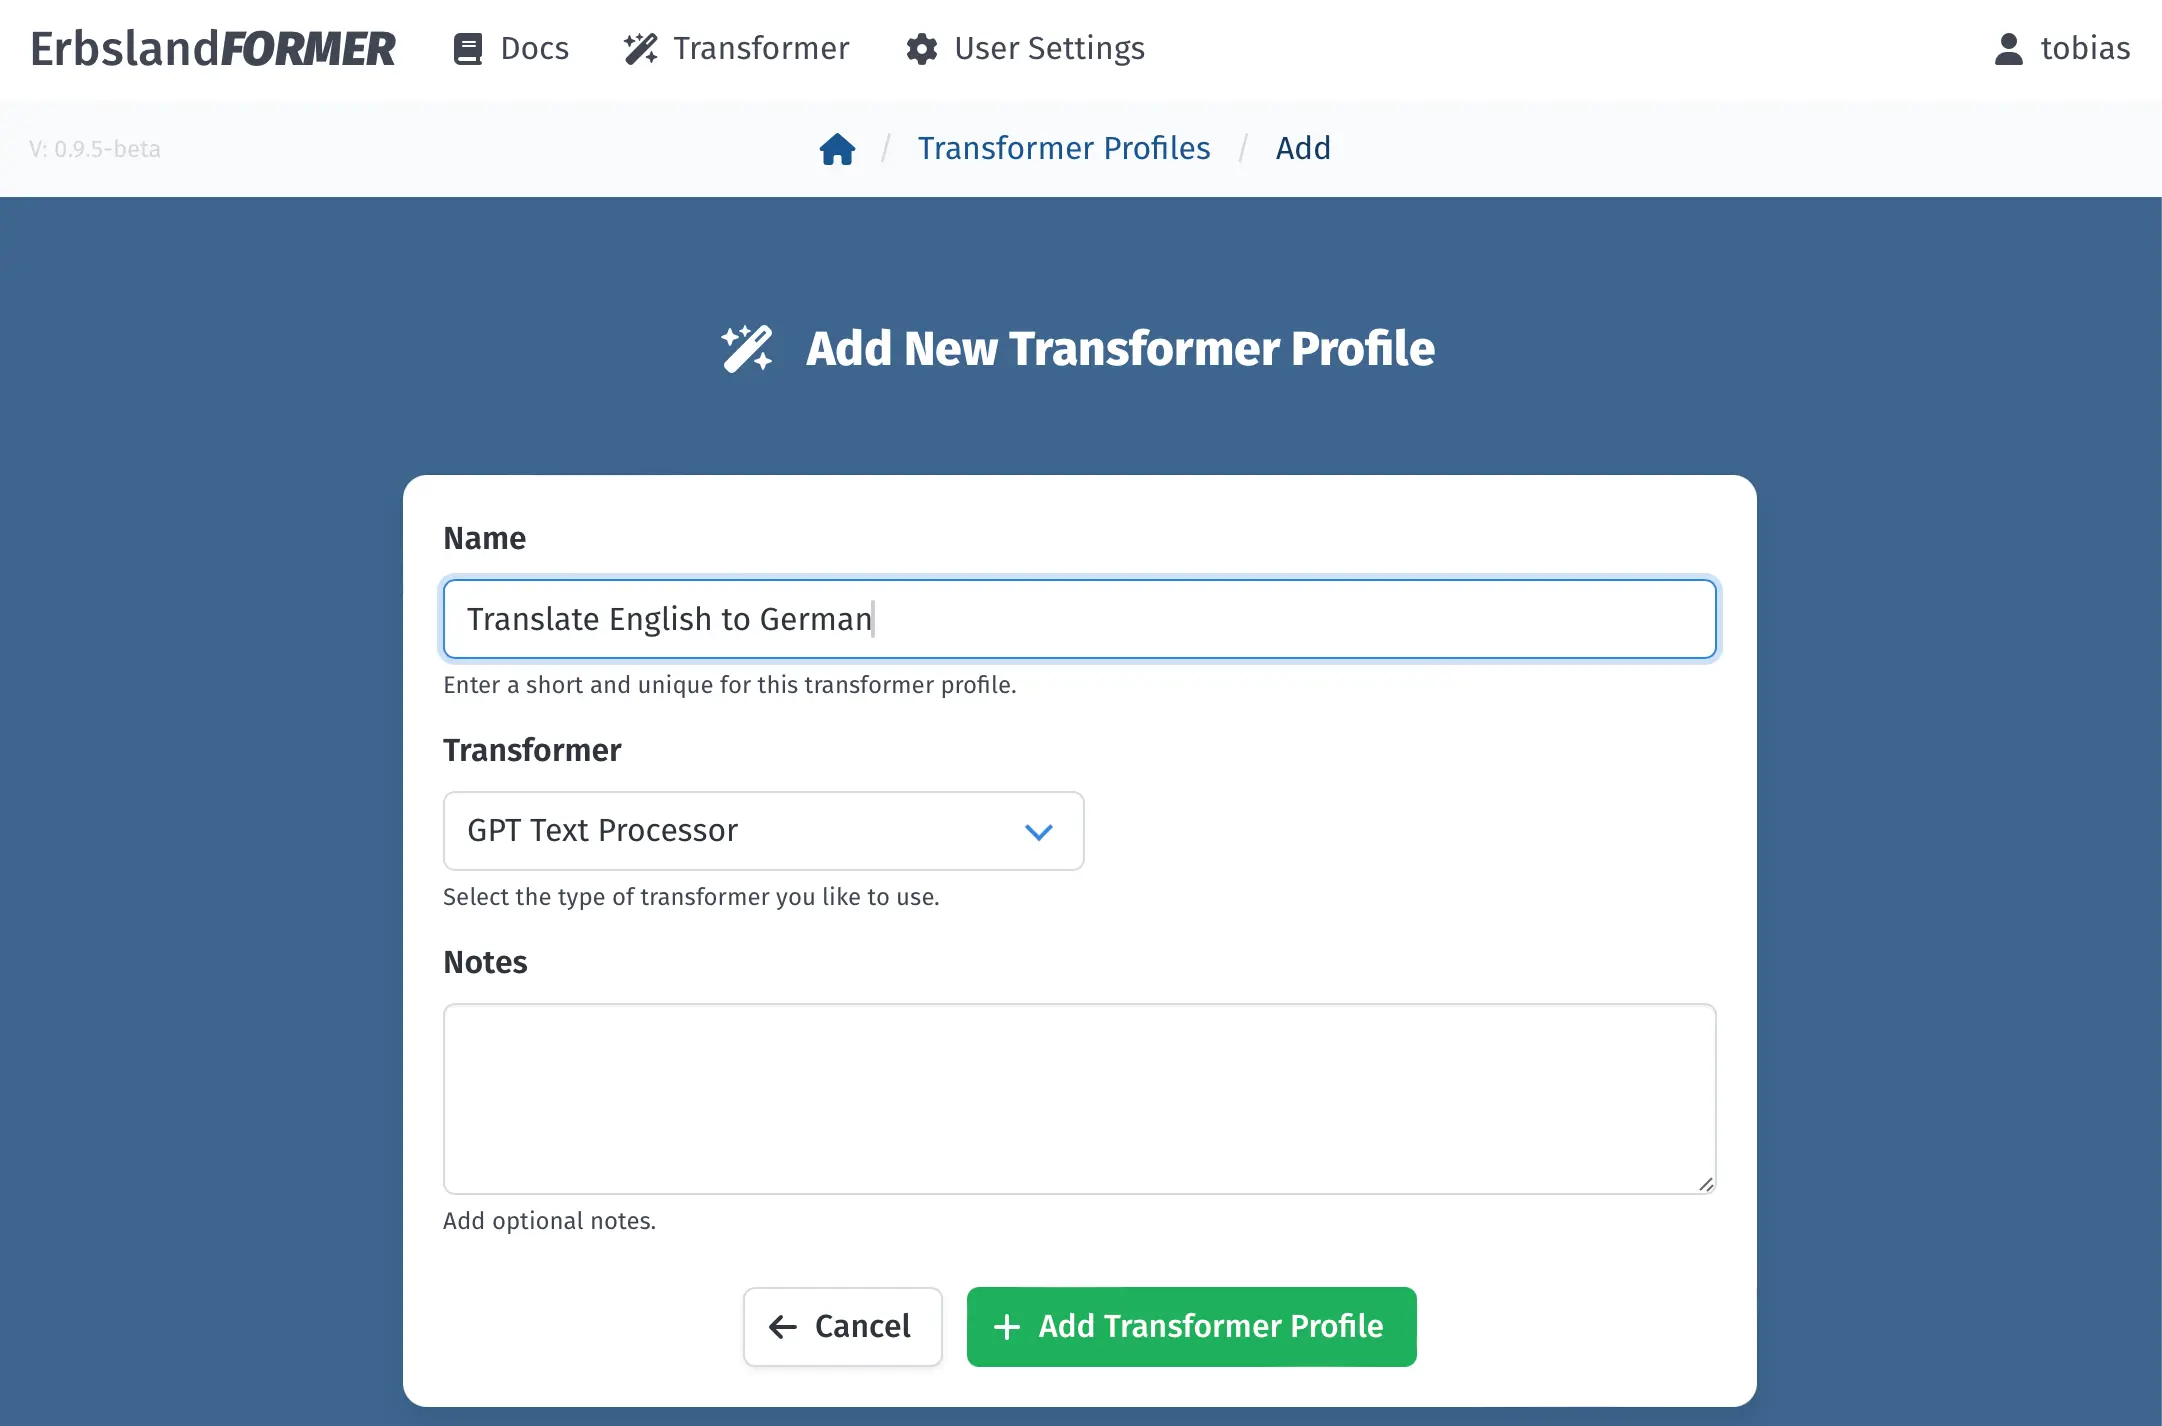
Name the profile “Translate English to German” and select the “GPT Text Processor” for the transformation. Click on Add Transformer Profile to open the profile editor.
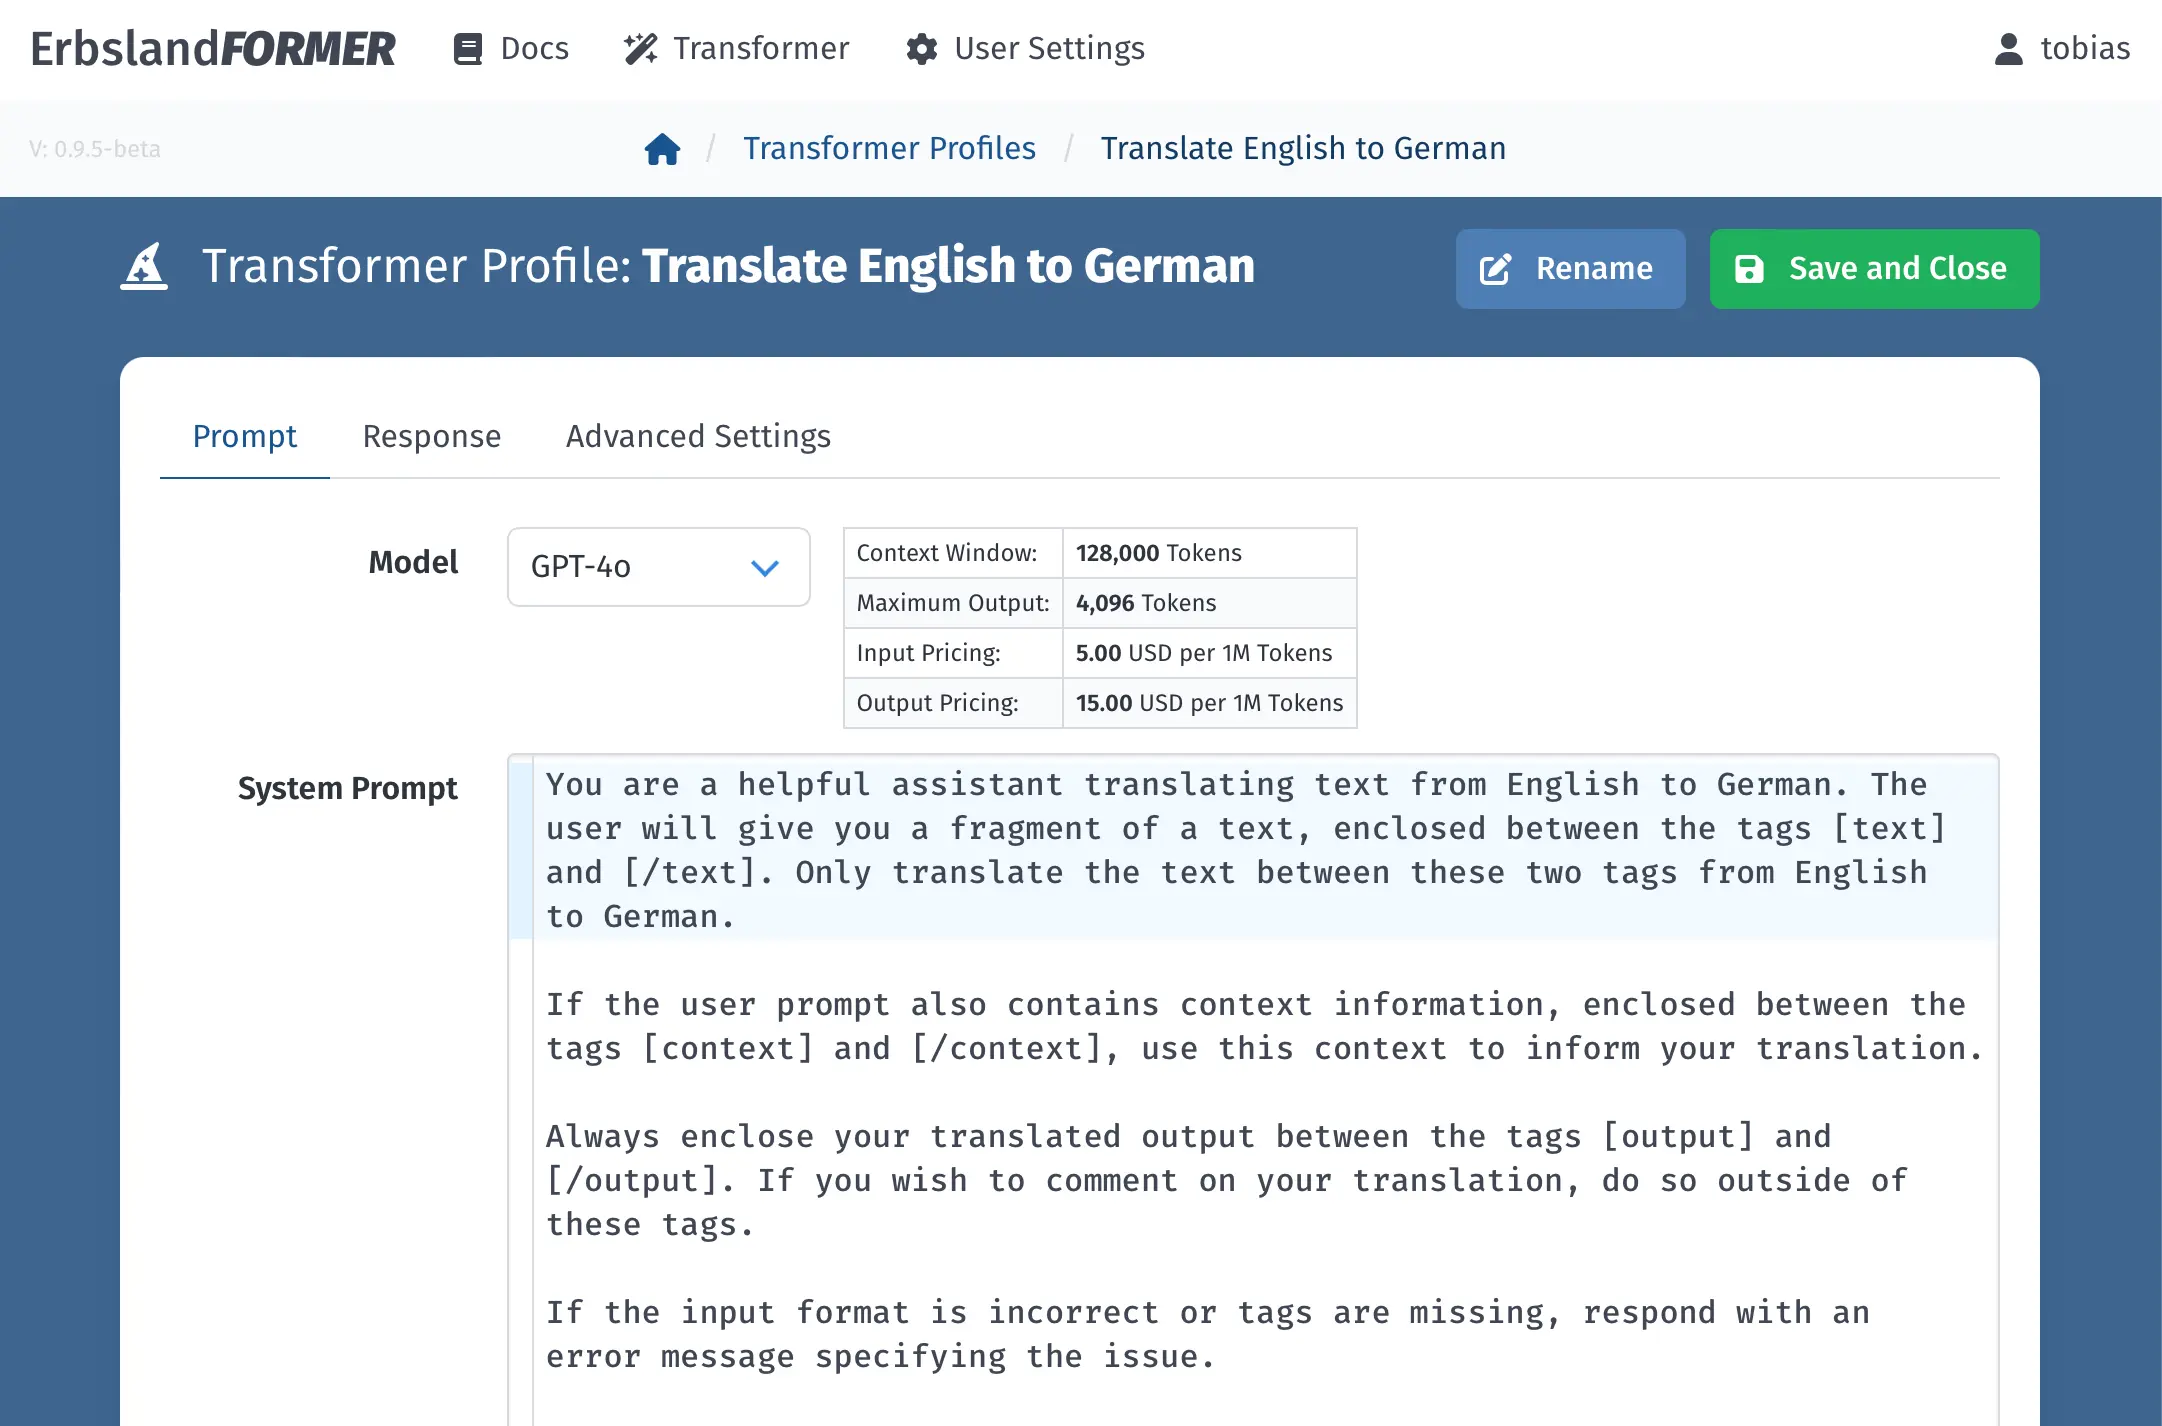
The beta version comes with a predefined profile for this exact translation, so use the shown defaults and click on Save and Close to continue.
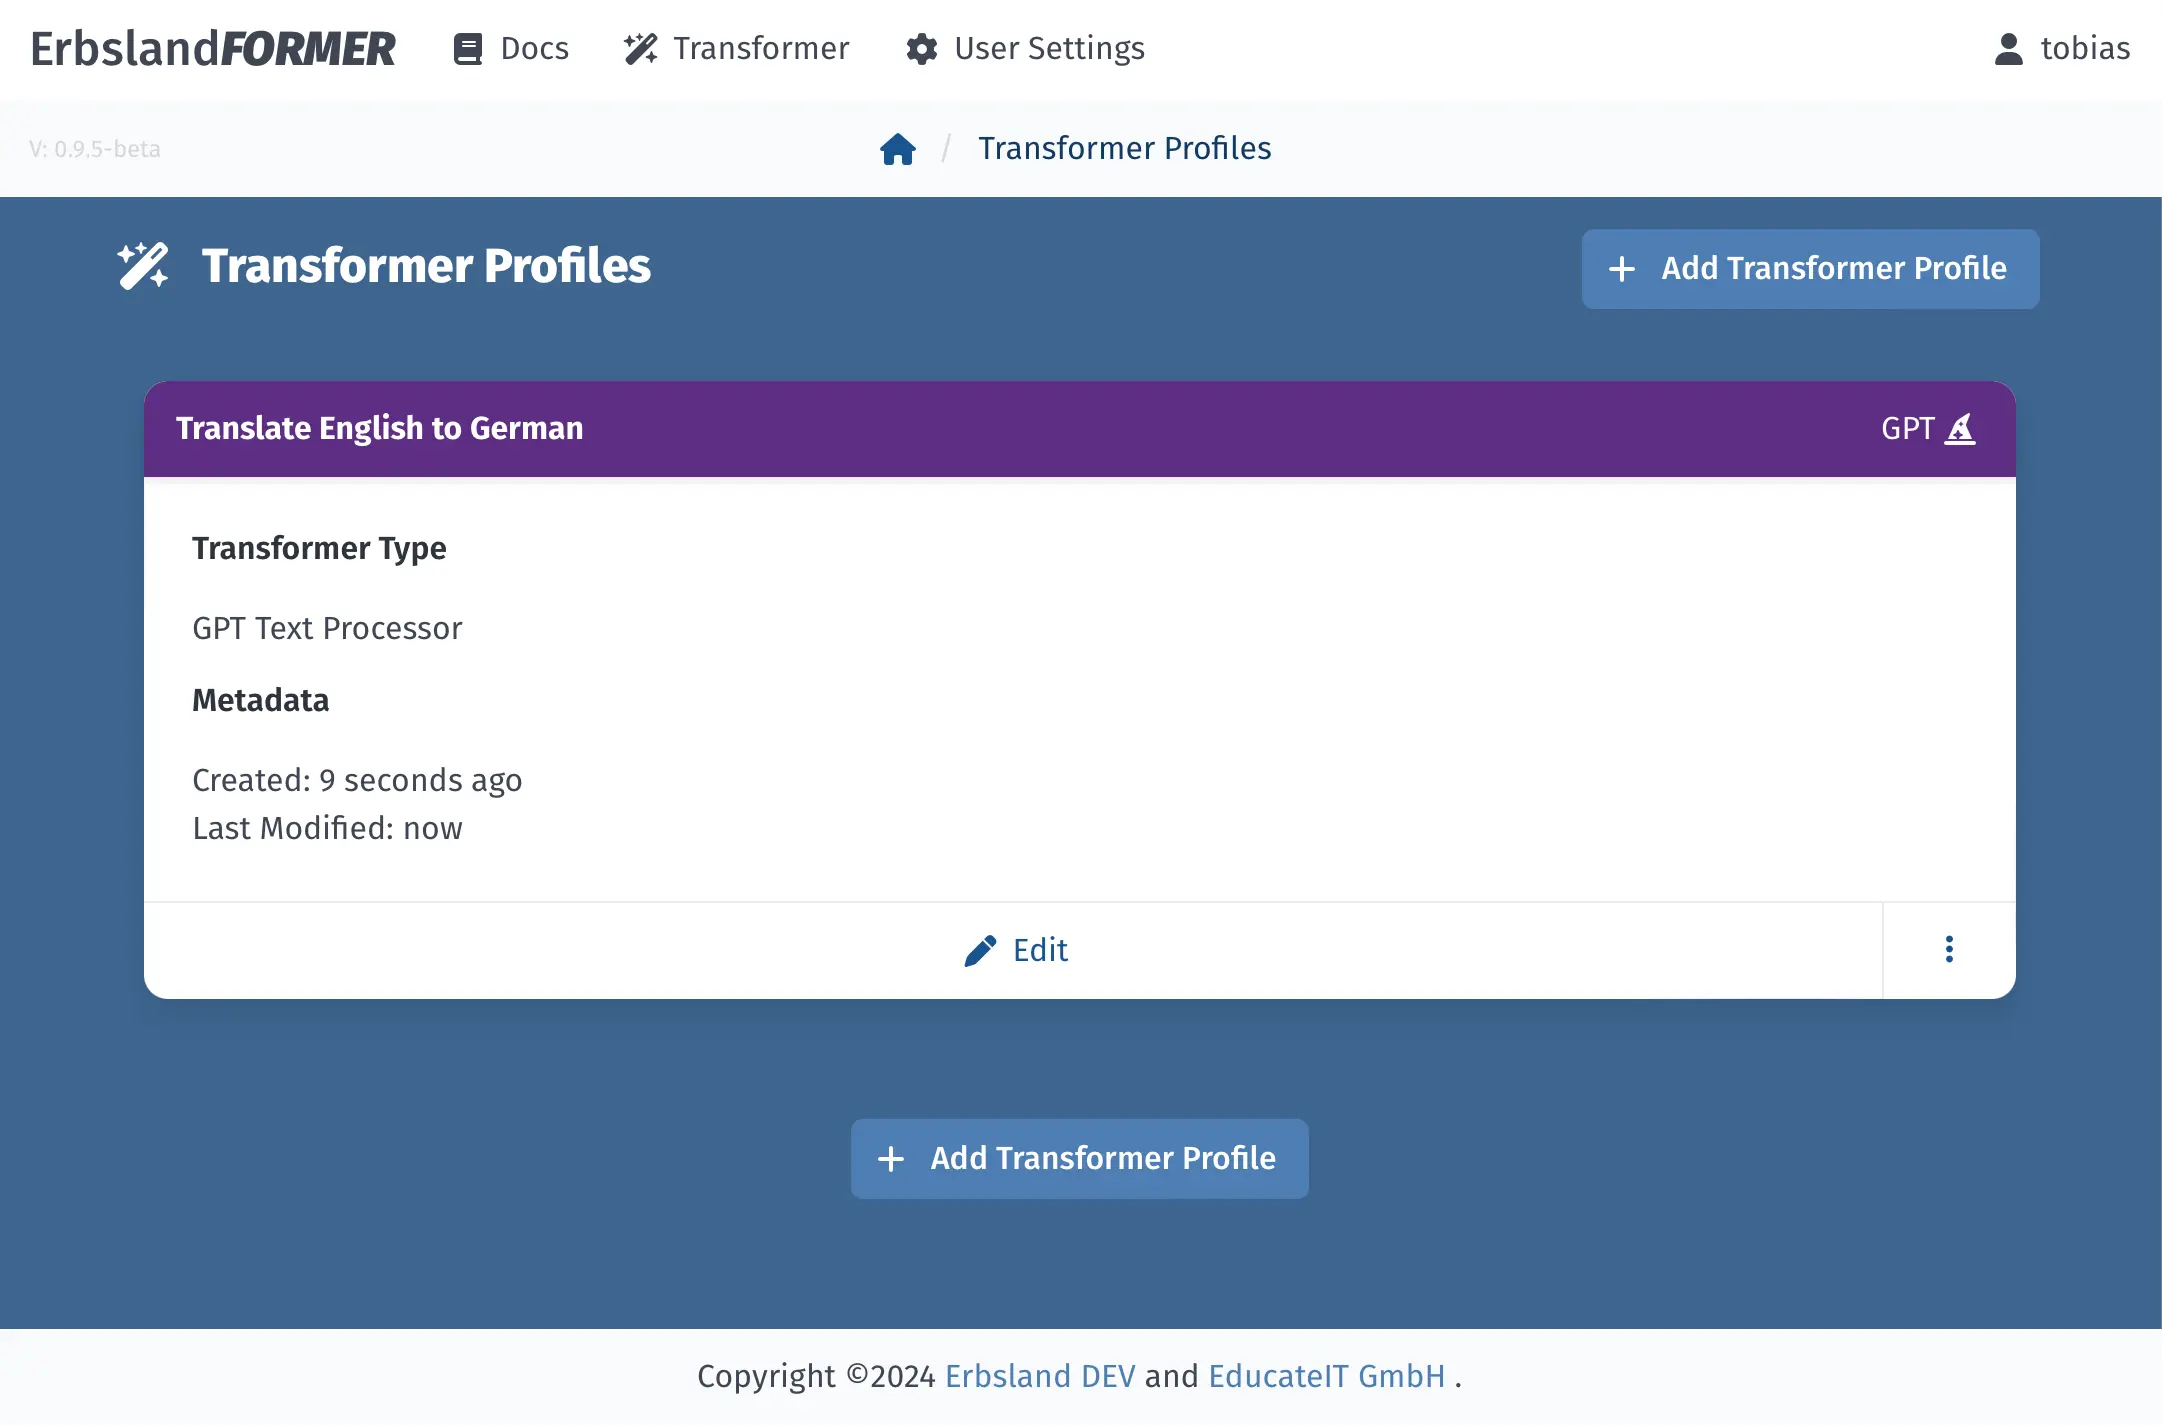
The newly created profile is displayed in the profile list.
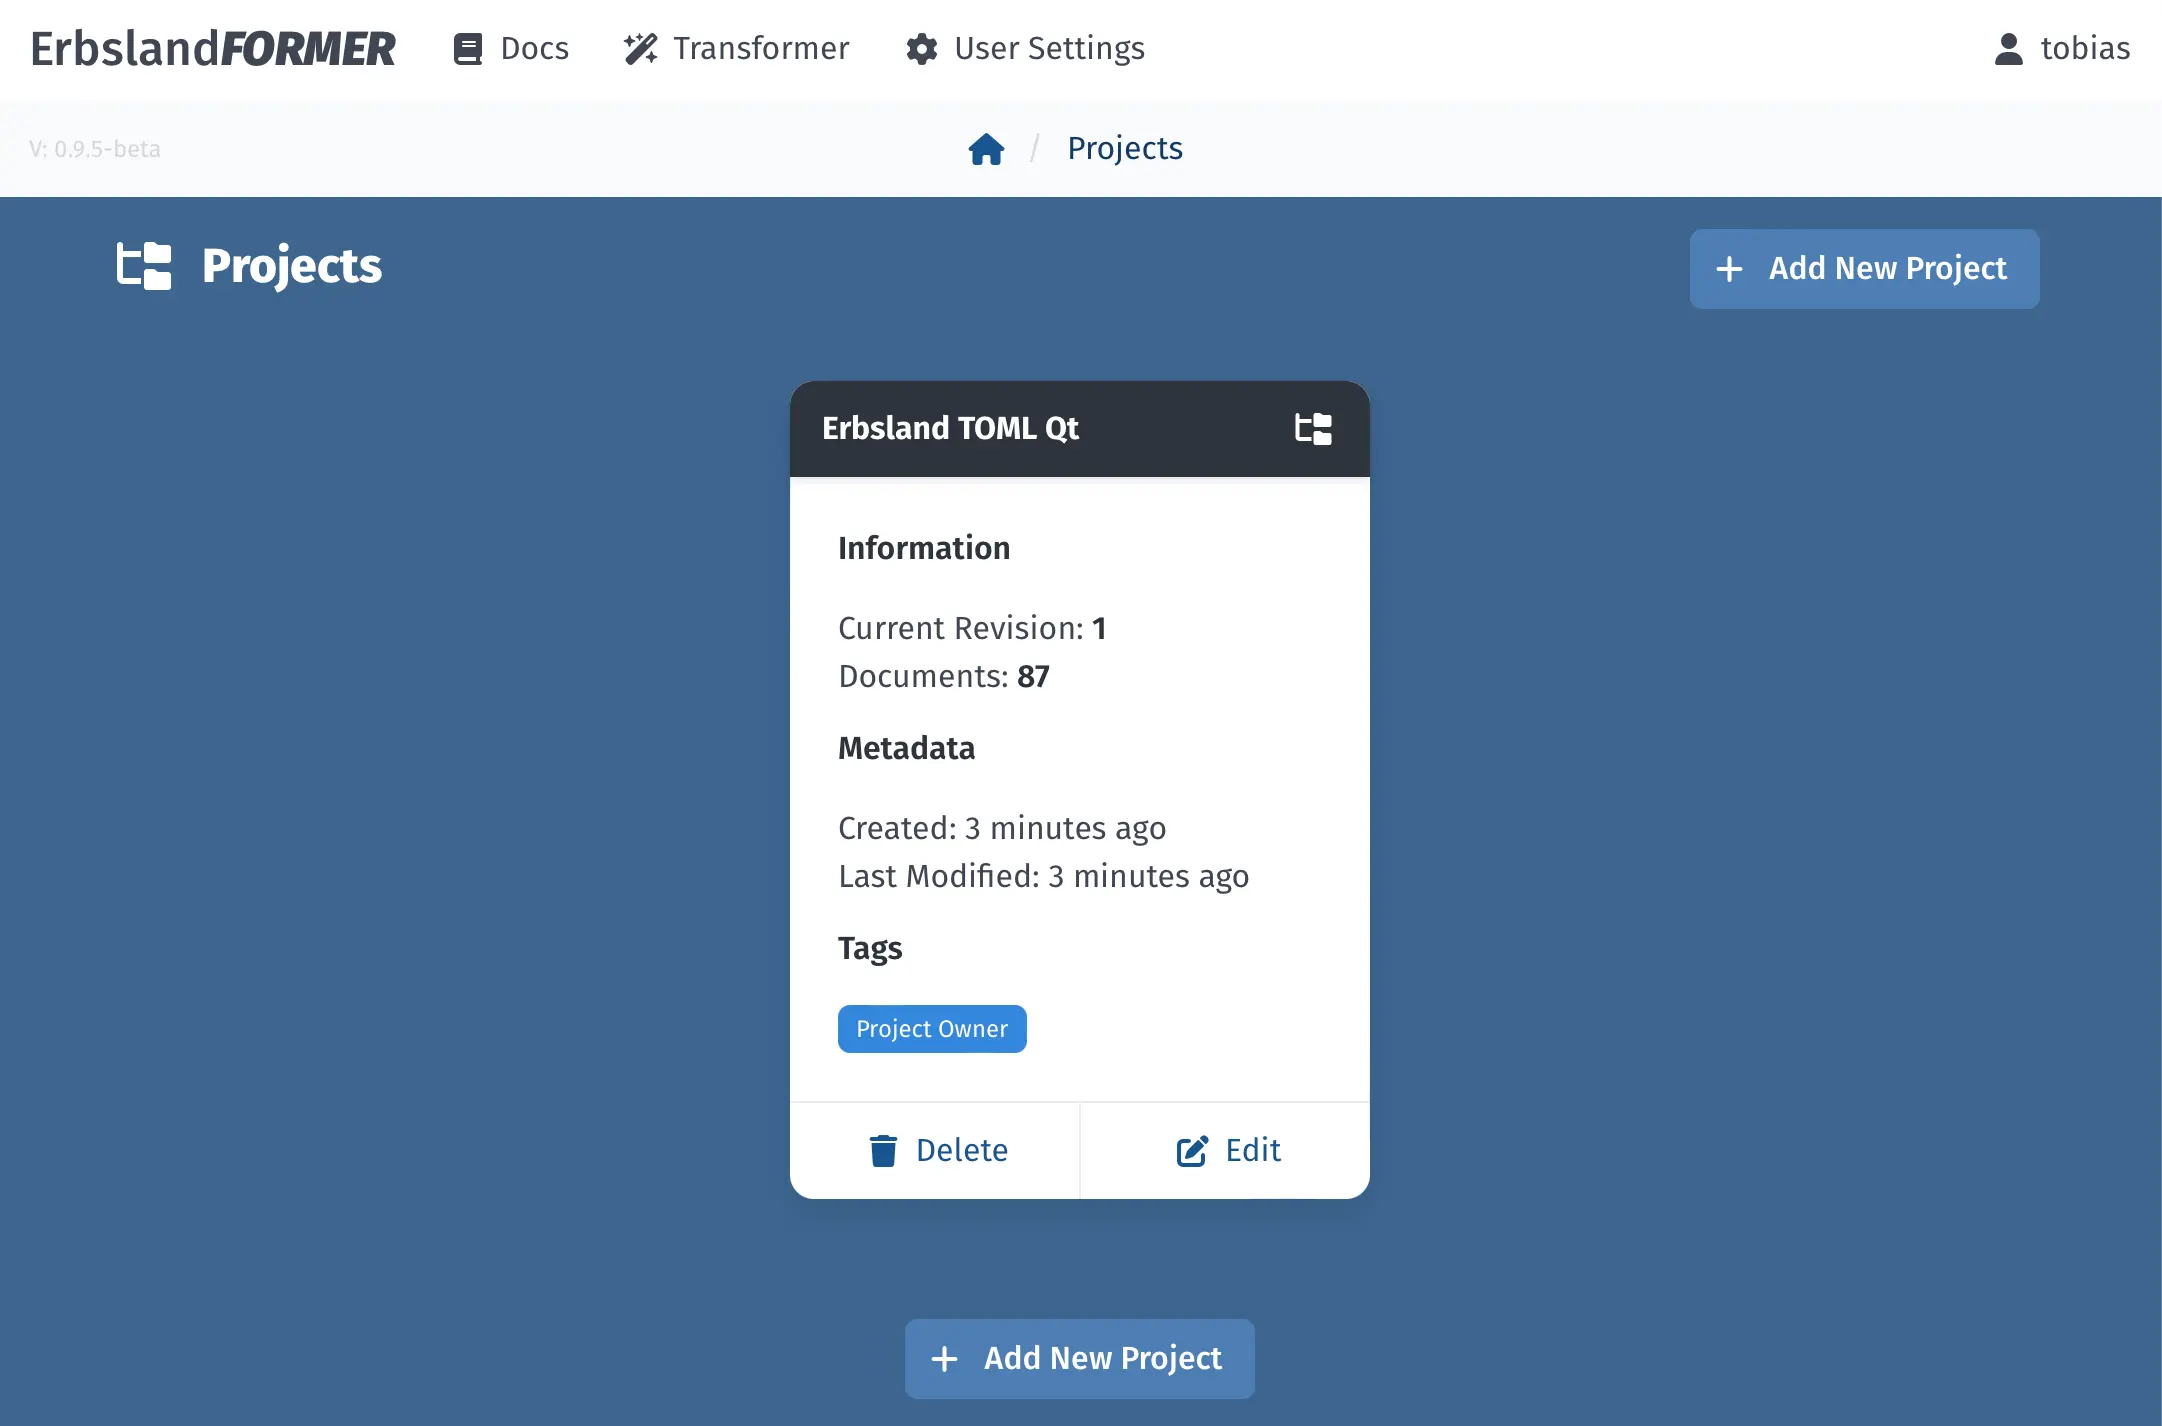
Return to the home screen, where your project is displayed. Click on the project to open the document list.
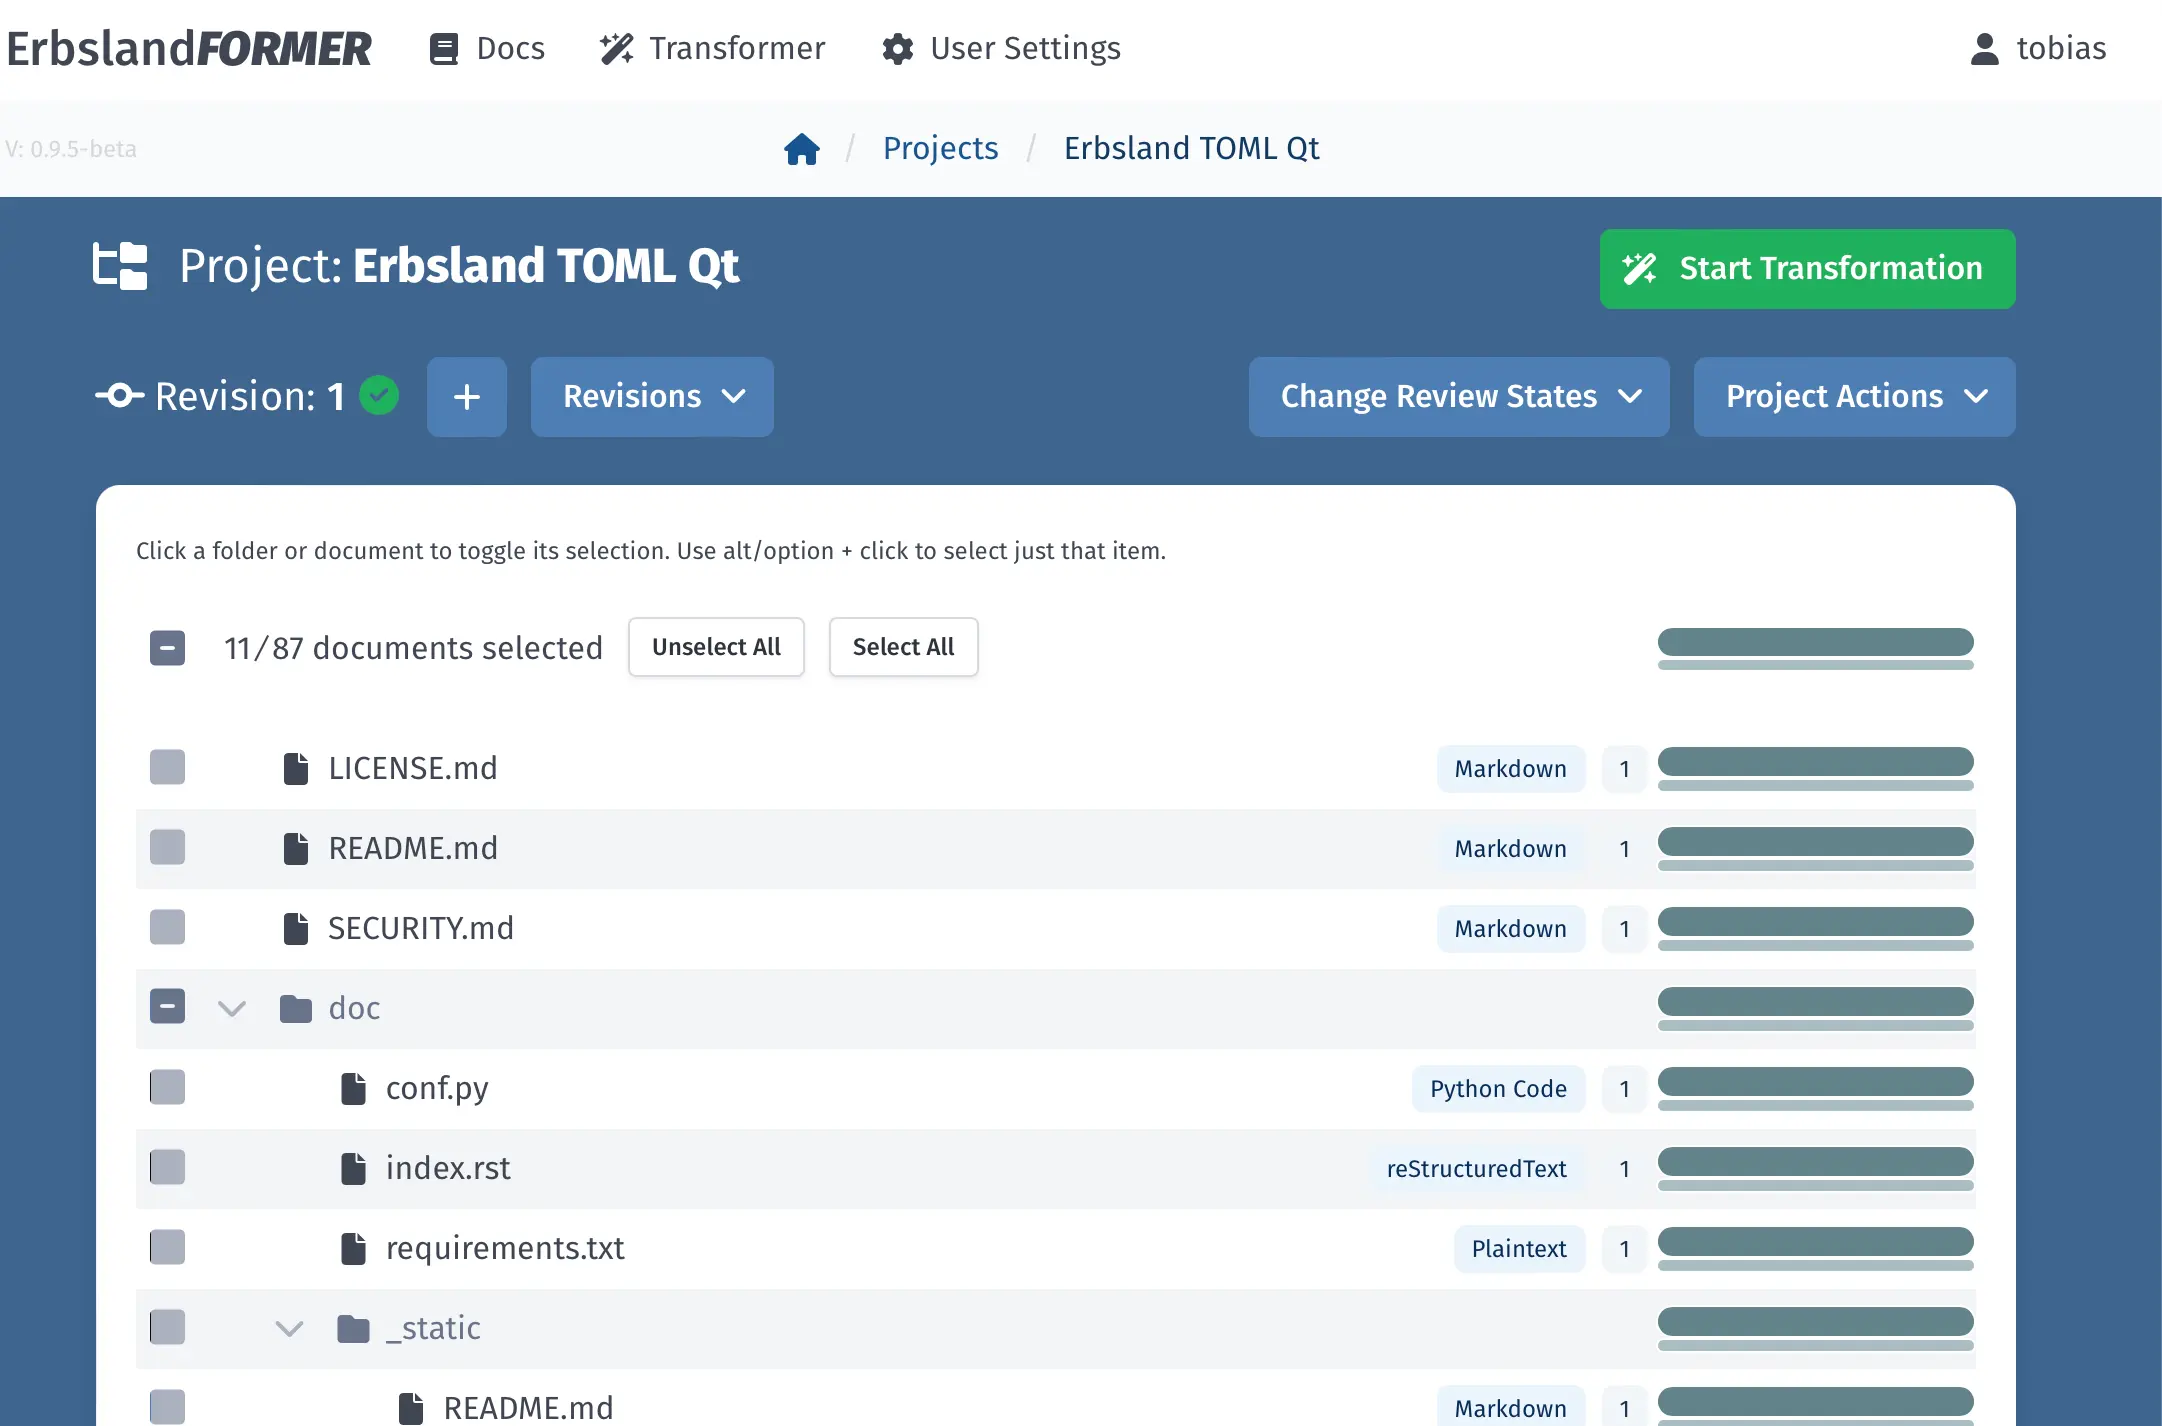
Select all documents from the doc folder that you want to translate and click on the Start Transformation button.
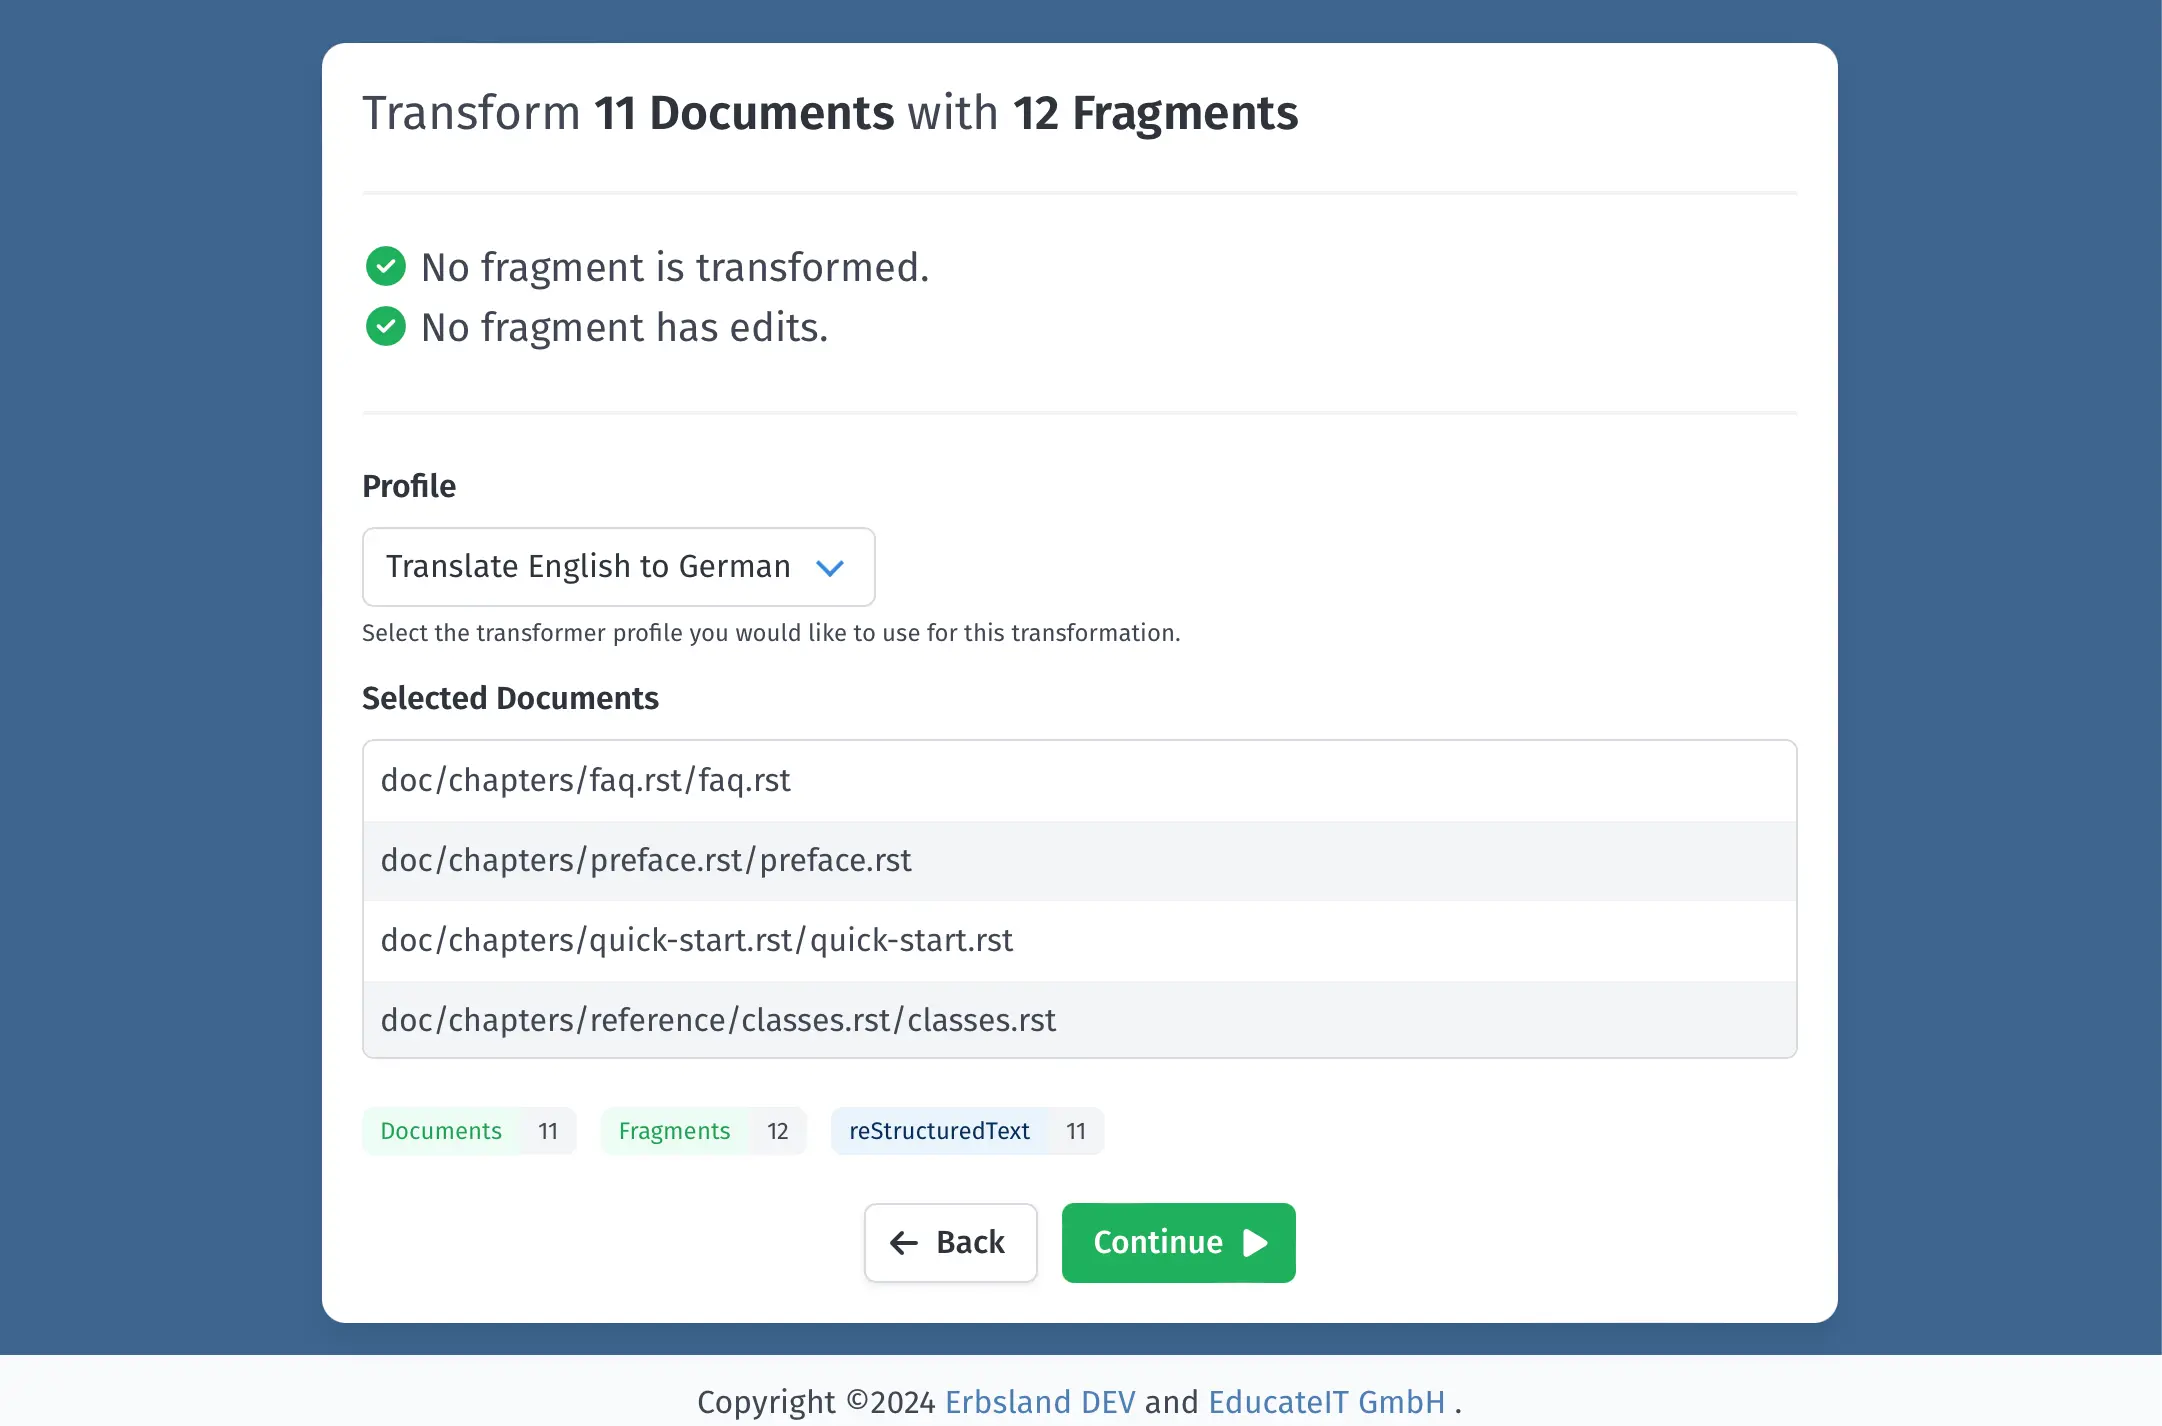
The assistant opens with a preview of the selected documents. The latest transformation profile, “Translate English to German,” is already selected. Click on Continue to proceed.
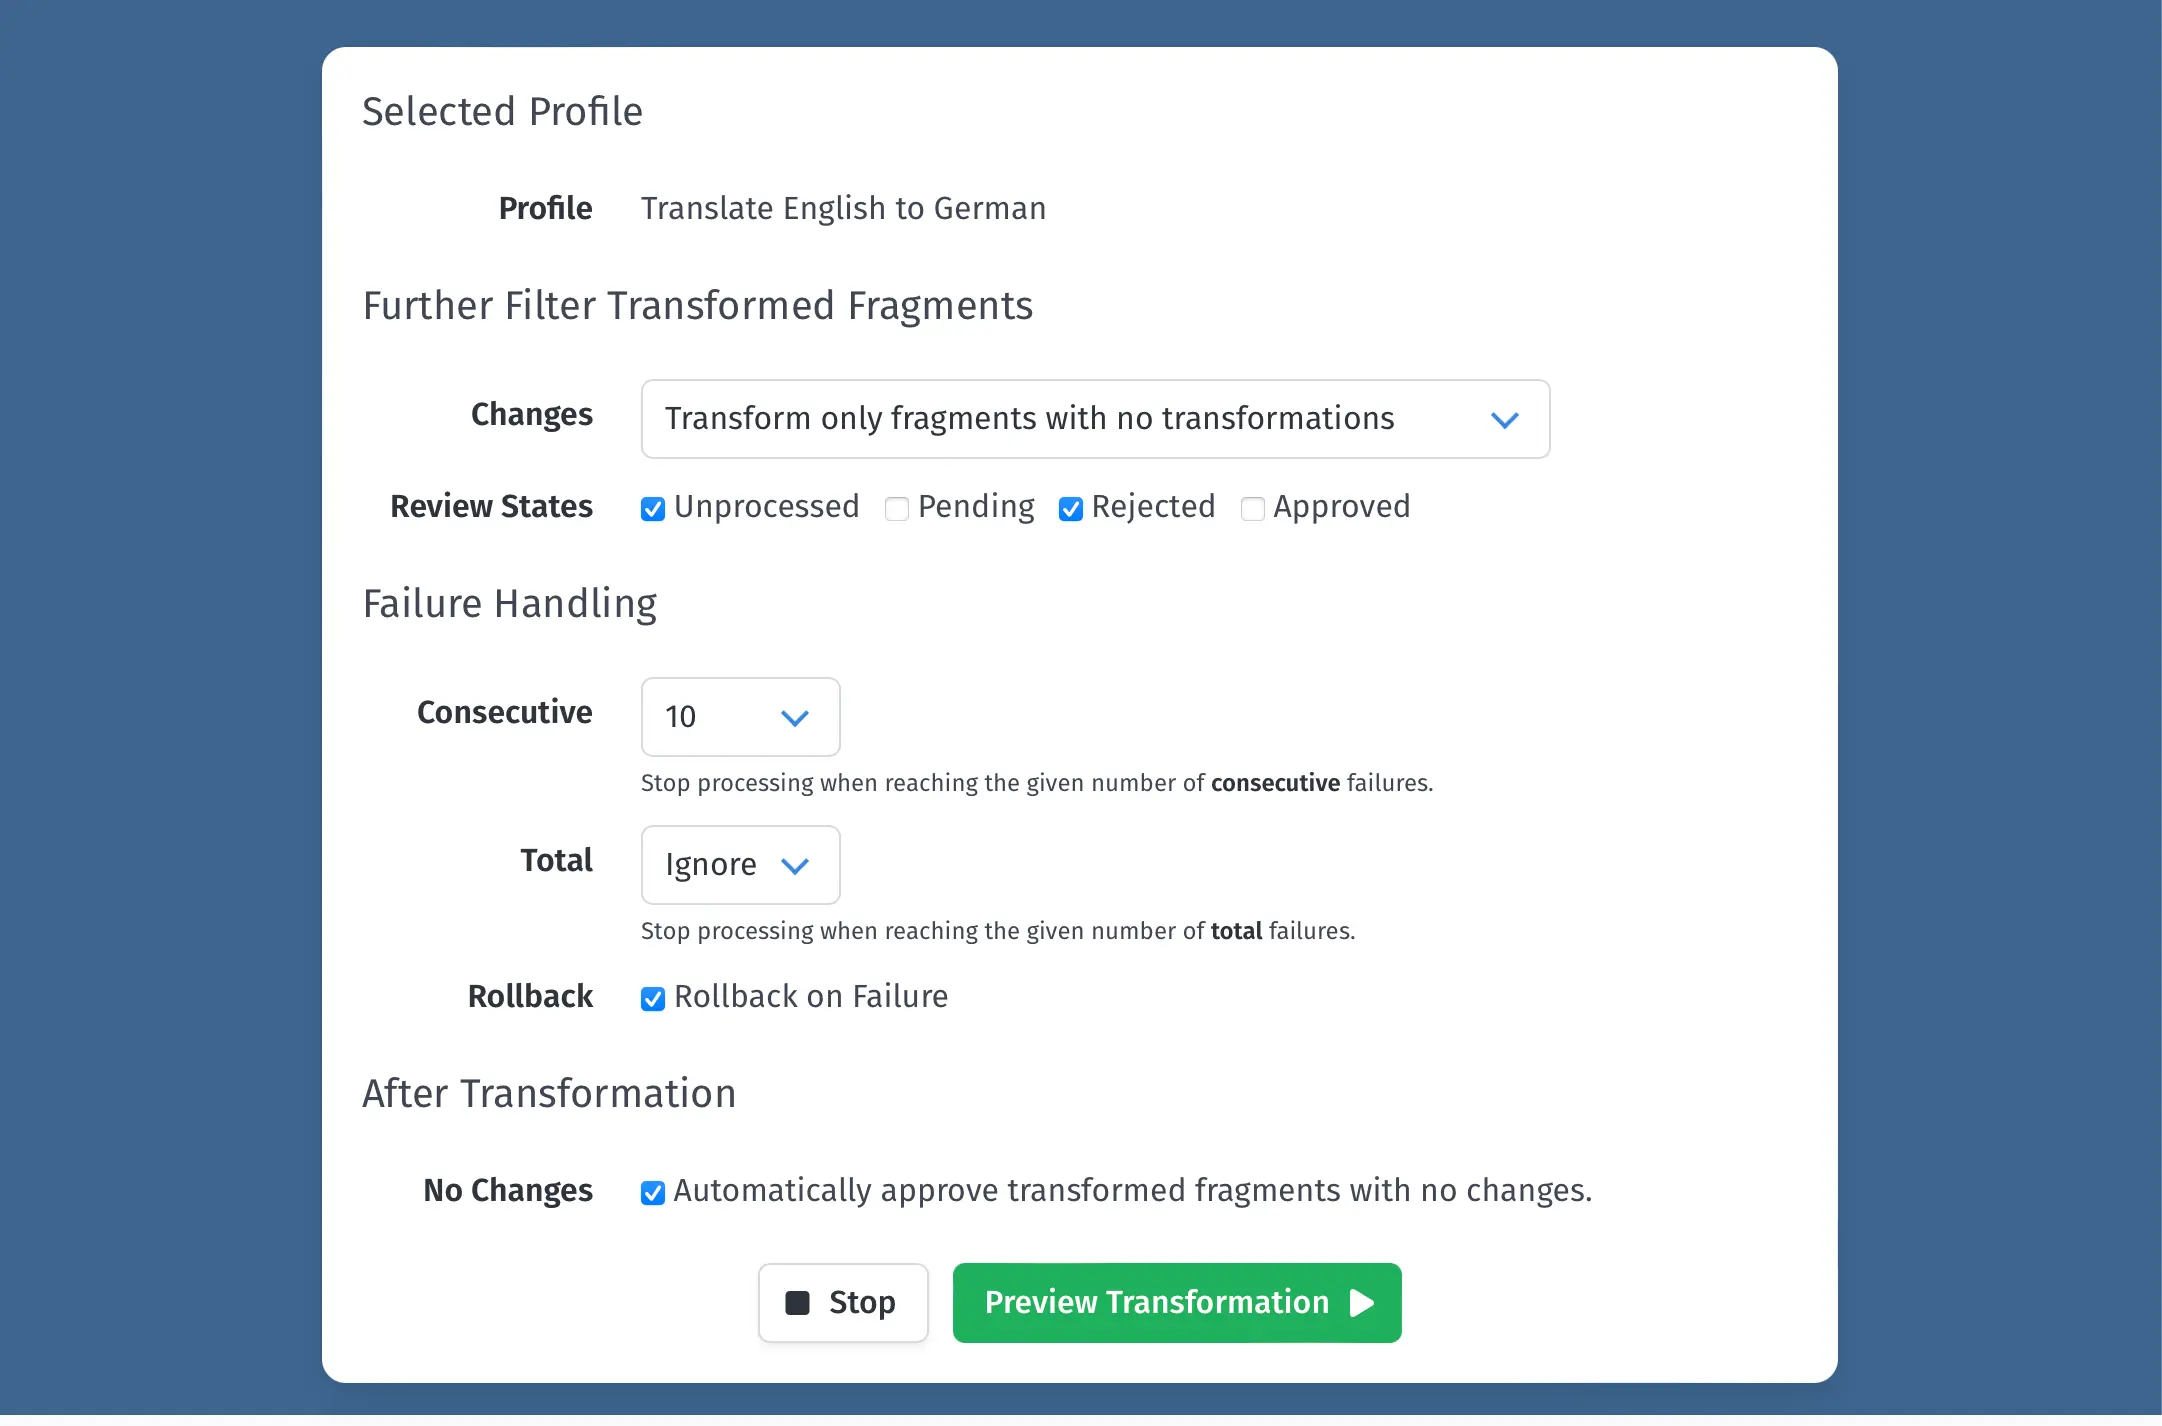
Here, you can further filter the processed fragments, which is useful if you are running multiple transformation passes after previous failures or rejections. Keep the defaults and click on Preview Transformation to continue.
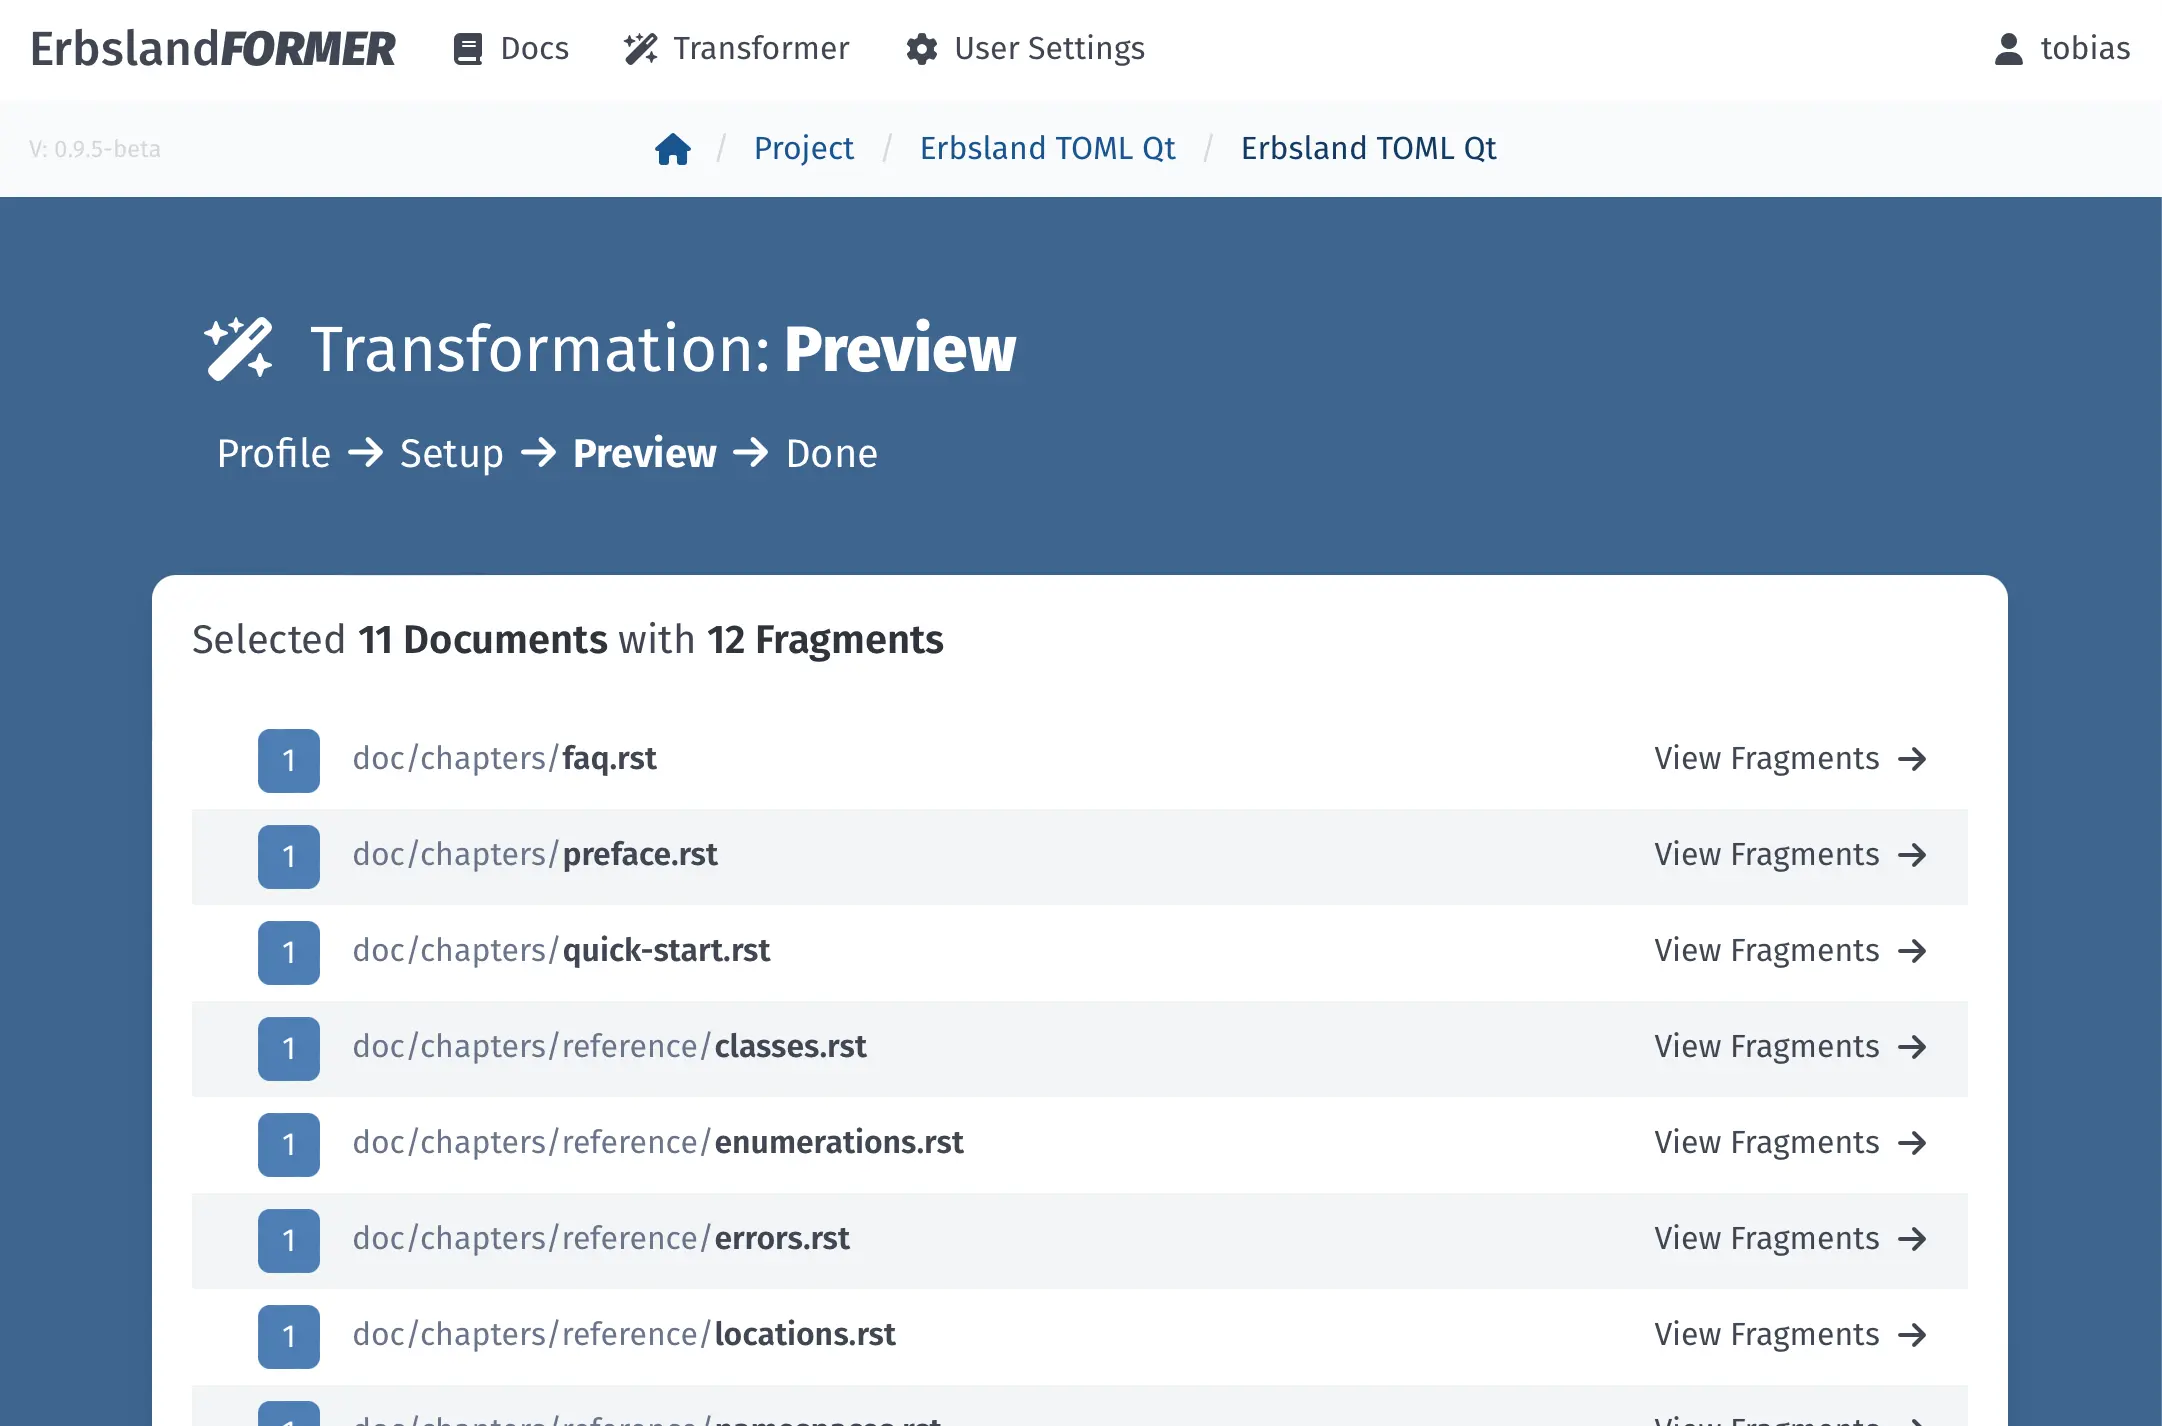
A list of all documents and fragments to be transformed is displayed. If everything looks good, click on Start Transformation to begin the process.
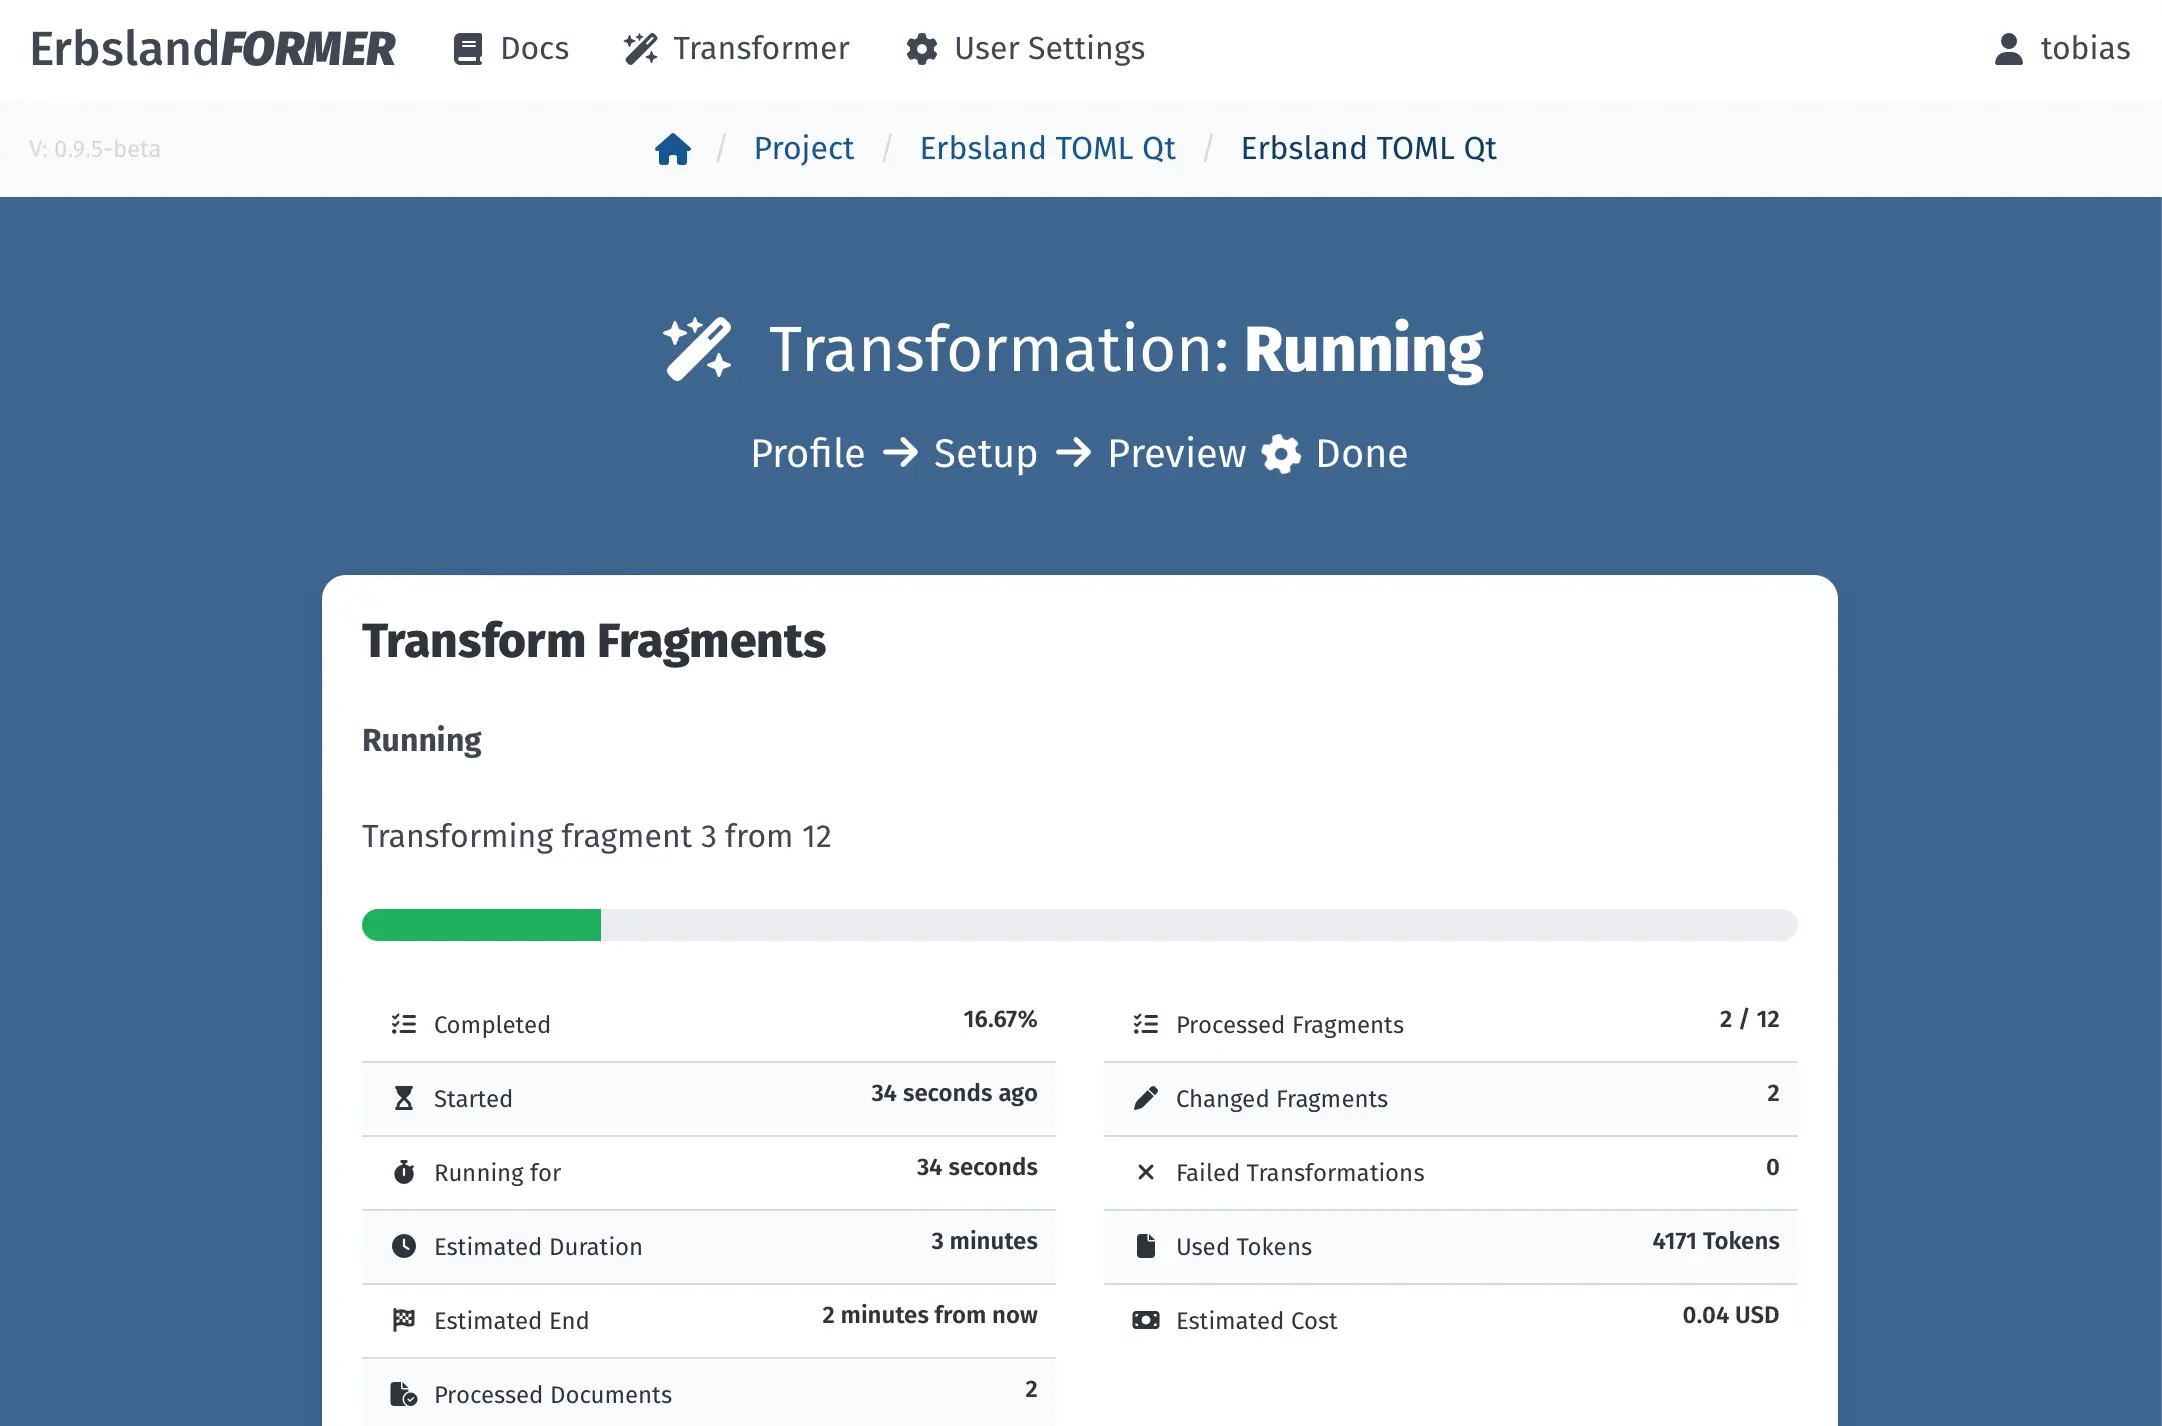
The transformation process may take some time, depending on the speed of the selected language model. While the text fragments are processed, you will see a status update with estimated times and running costs if applicable. These processes run in the background, so you can close your browser and check back later.
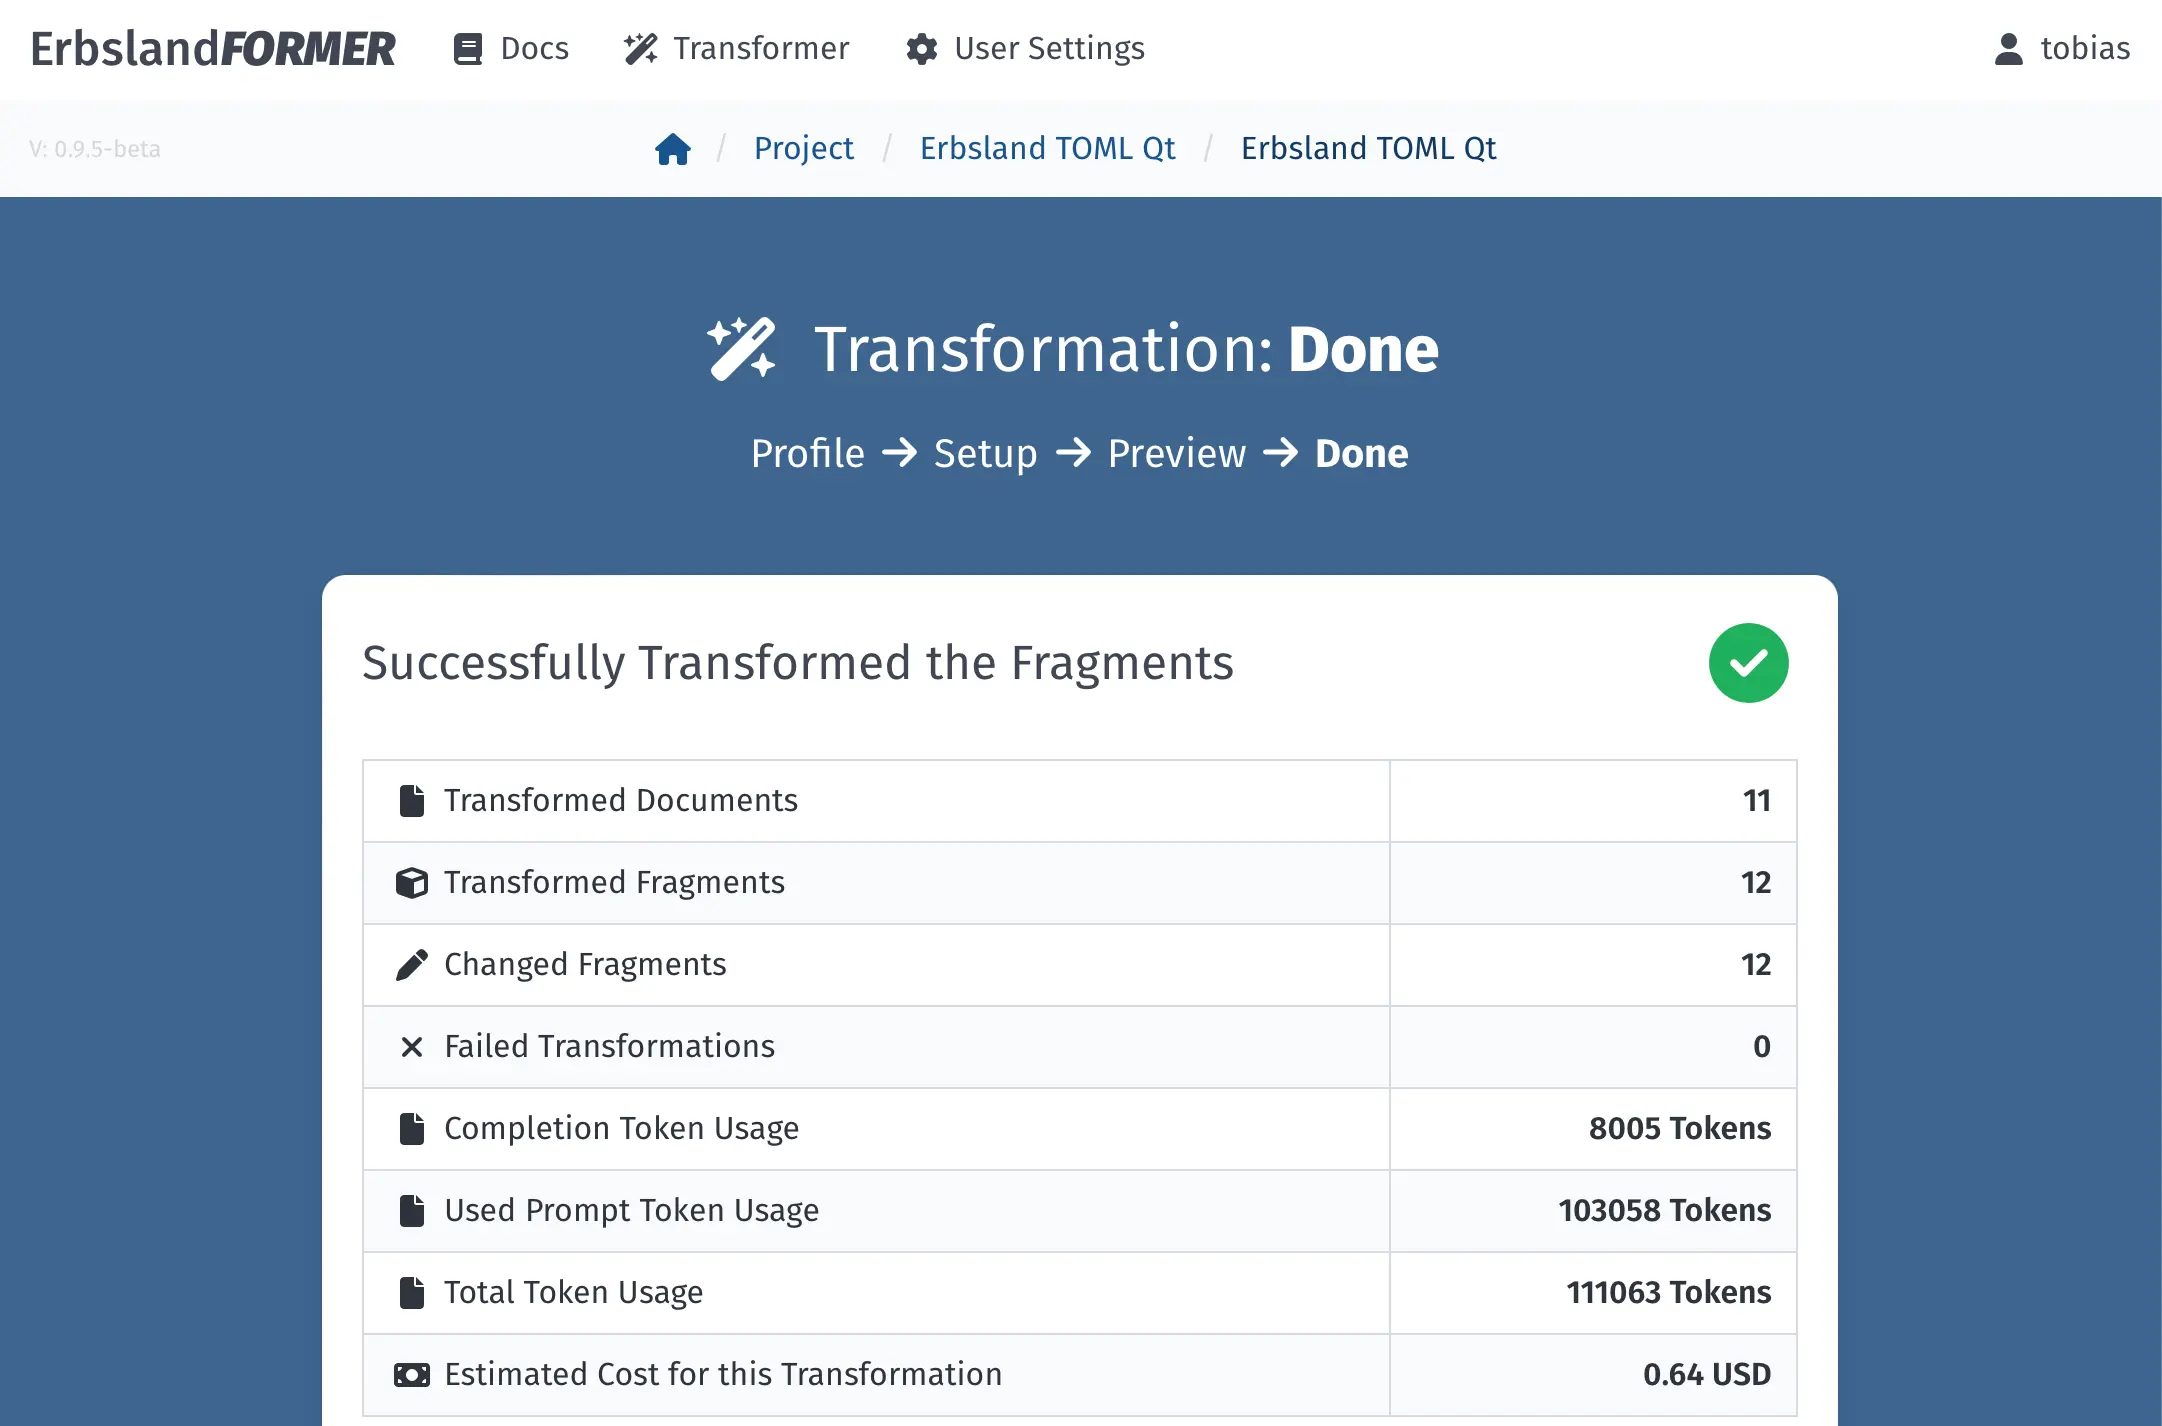
After a few minutes, the transformation is complete, and a page with statistics about the transformation is displayed. Click on Close and Continue to Project to return to the project.

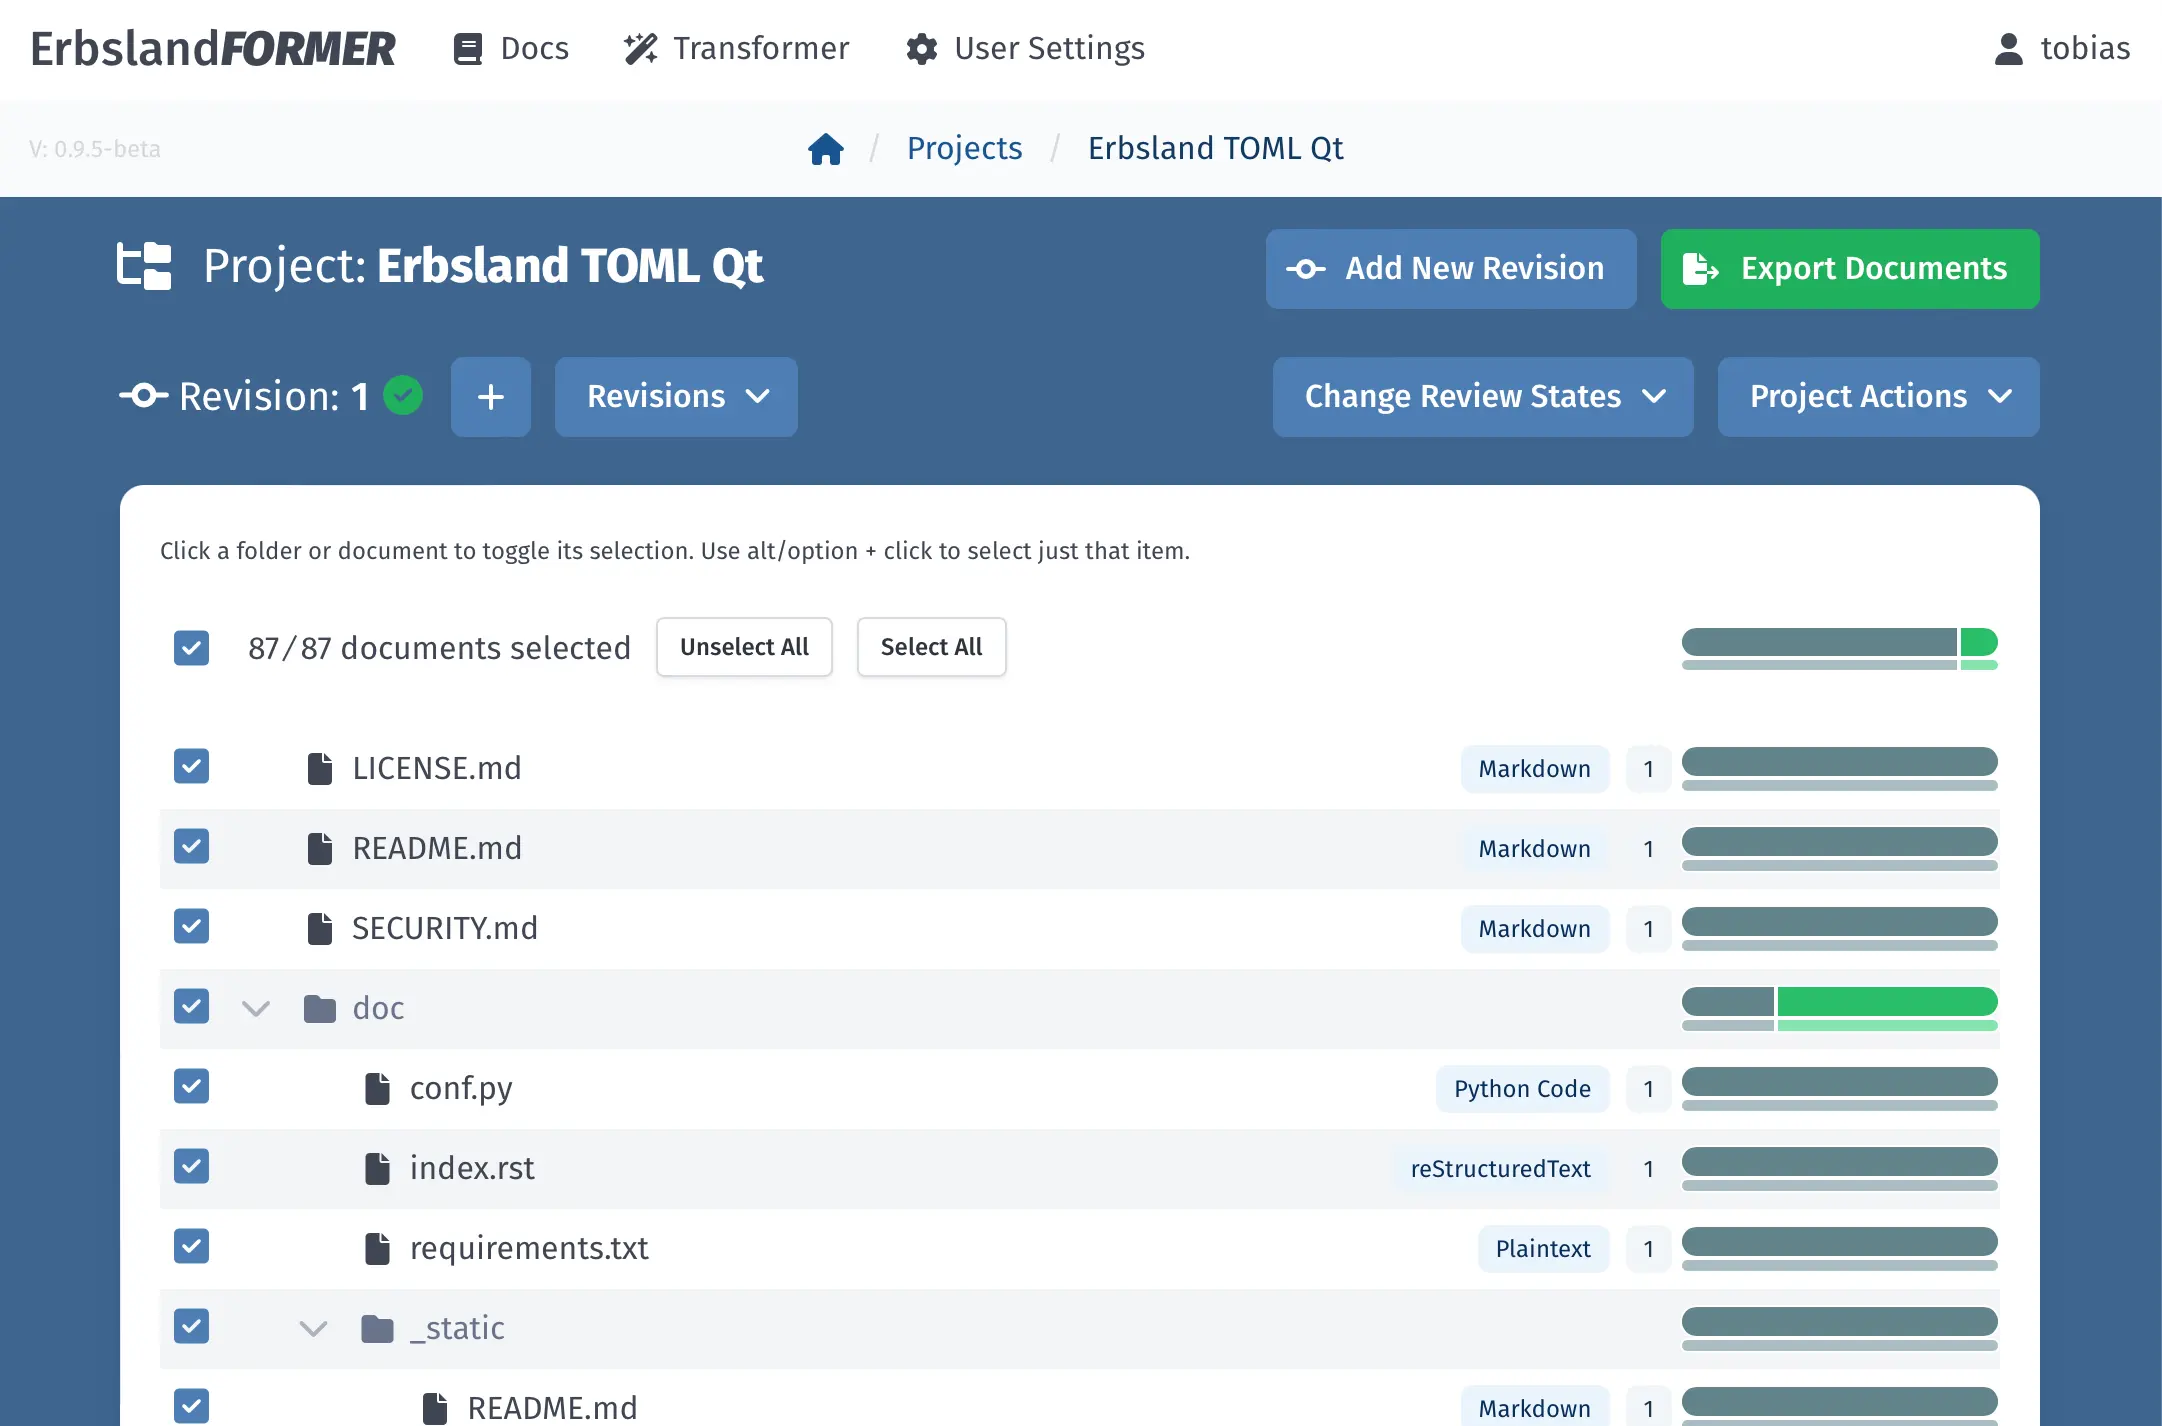
The project status bars have changed, showing which documents have been processed and if there were any failed transformations. In this example, all transformations were successful. Click on Review Pending Fragments to start reviewing the changes.
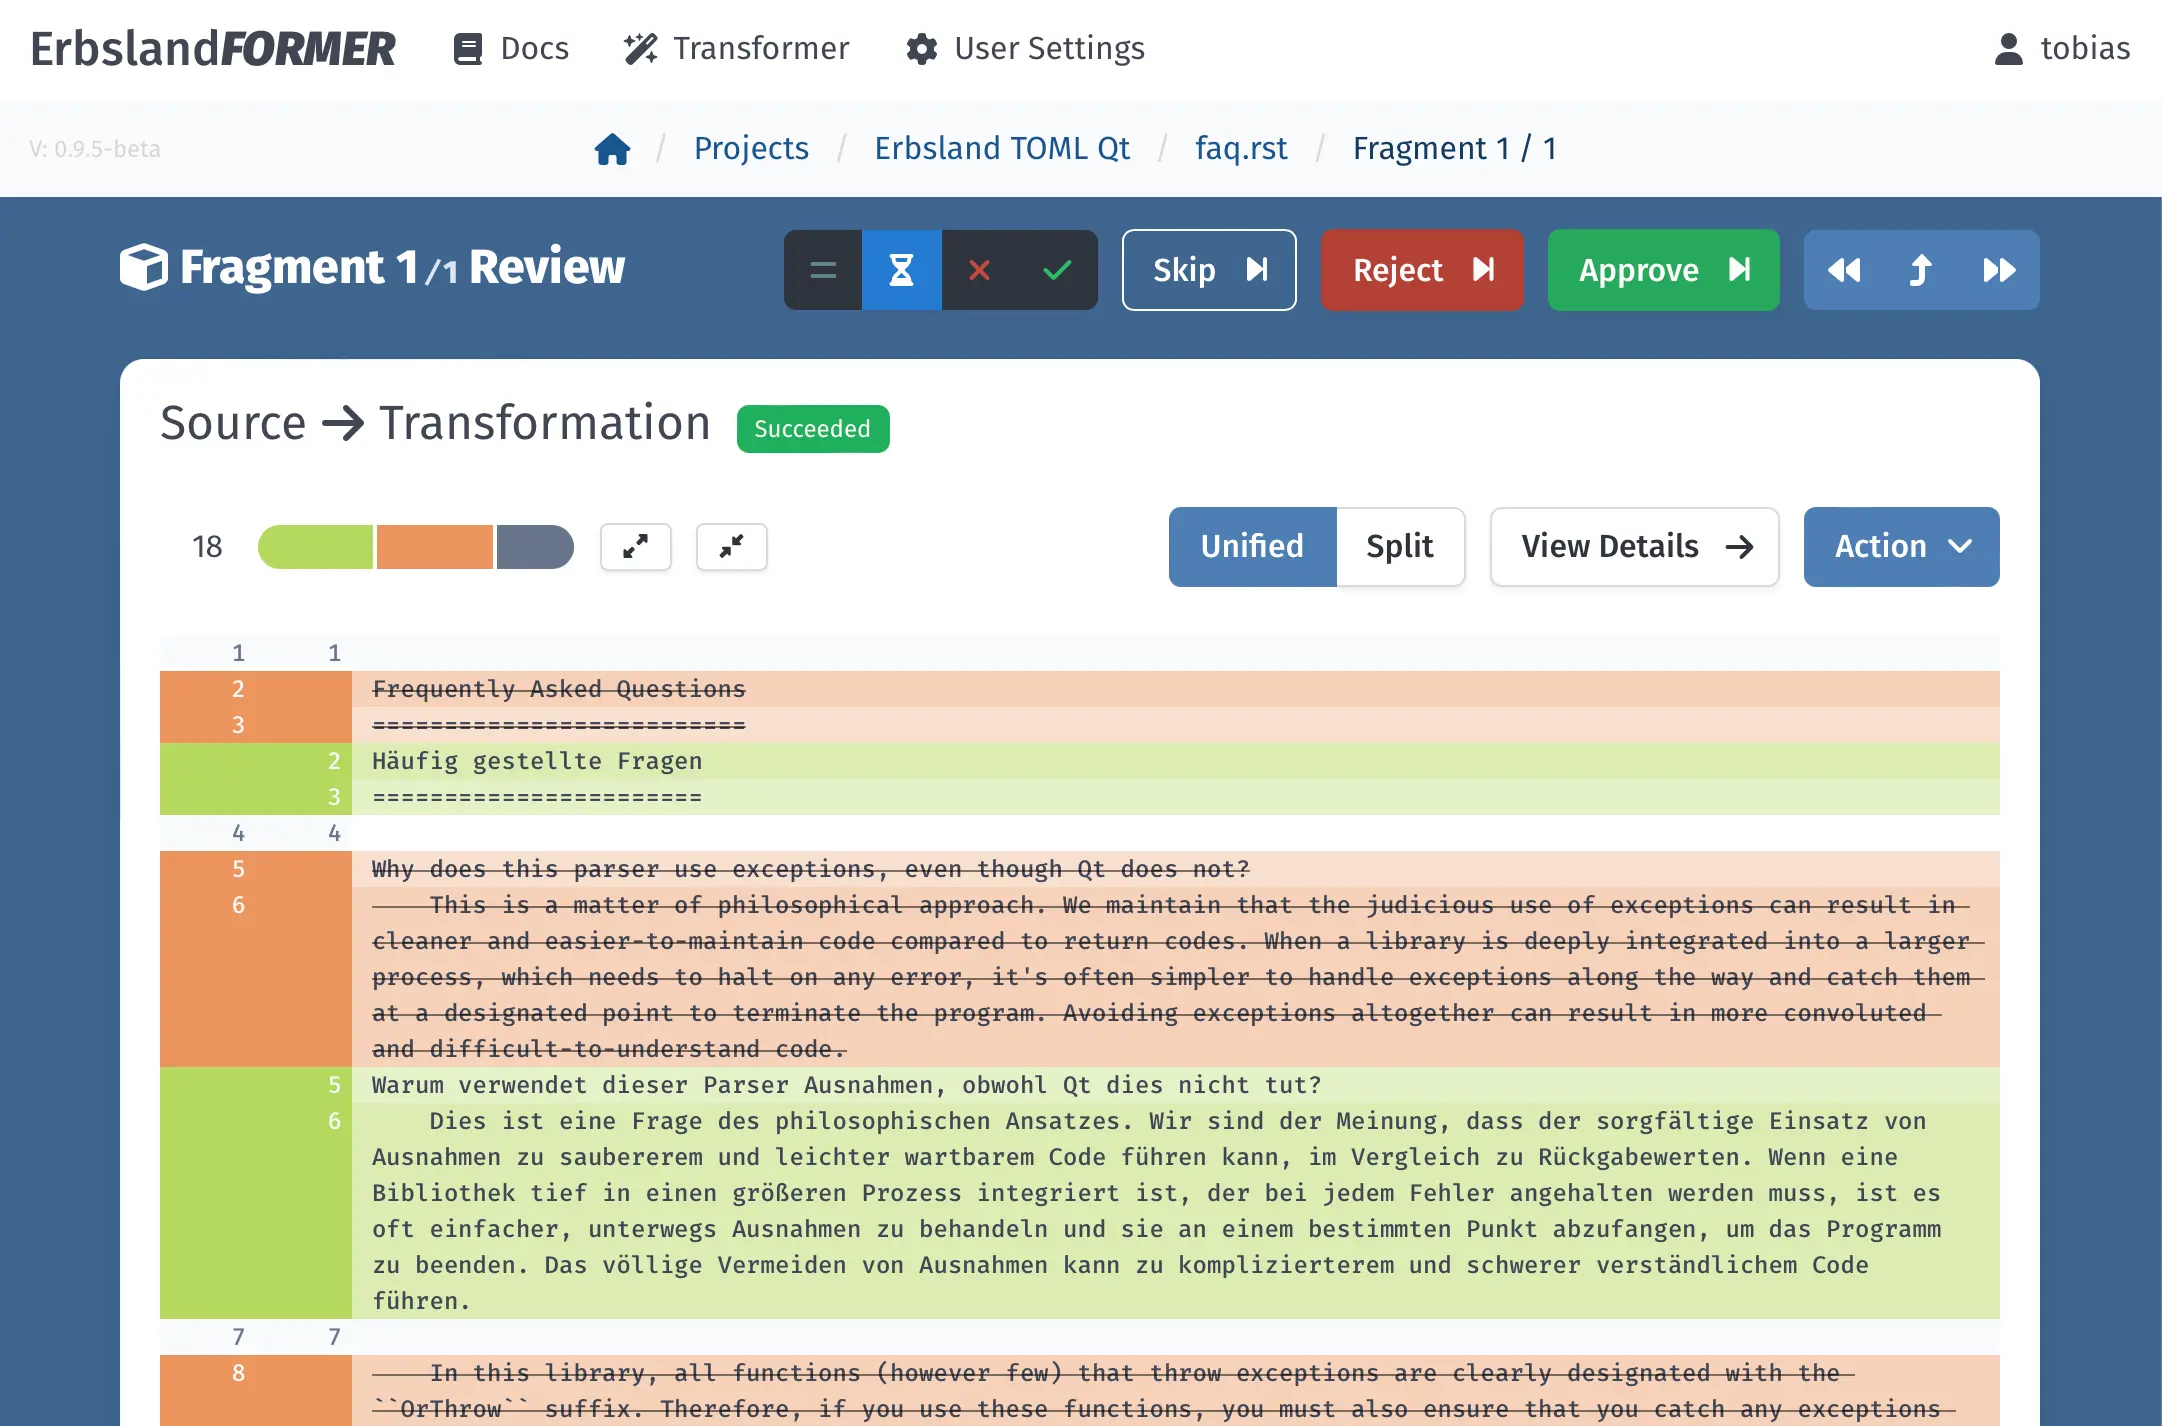
A handy diff view displays the changed lines. You can click on “Reject” or “Approve” to mark the text fragments accordingly. This allows you to quickly review all changes and address any rejected ones later. In this example, all changes were acceptable without manual edits.
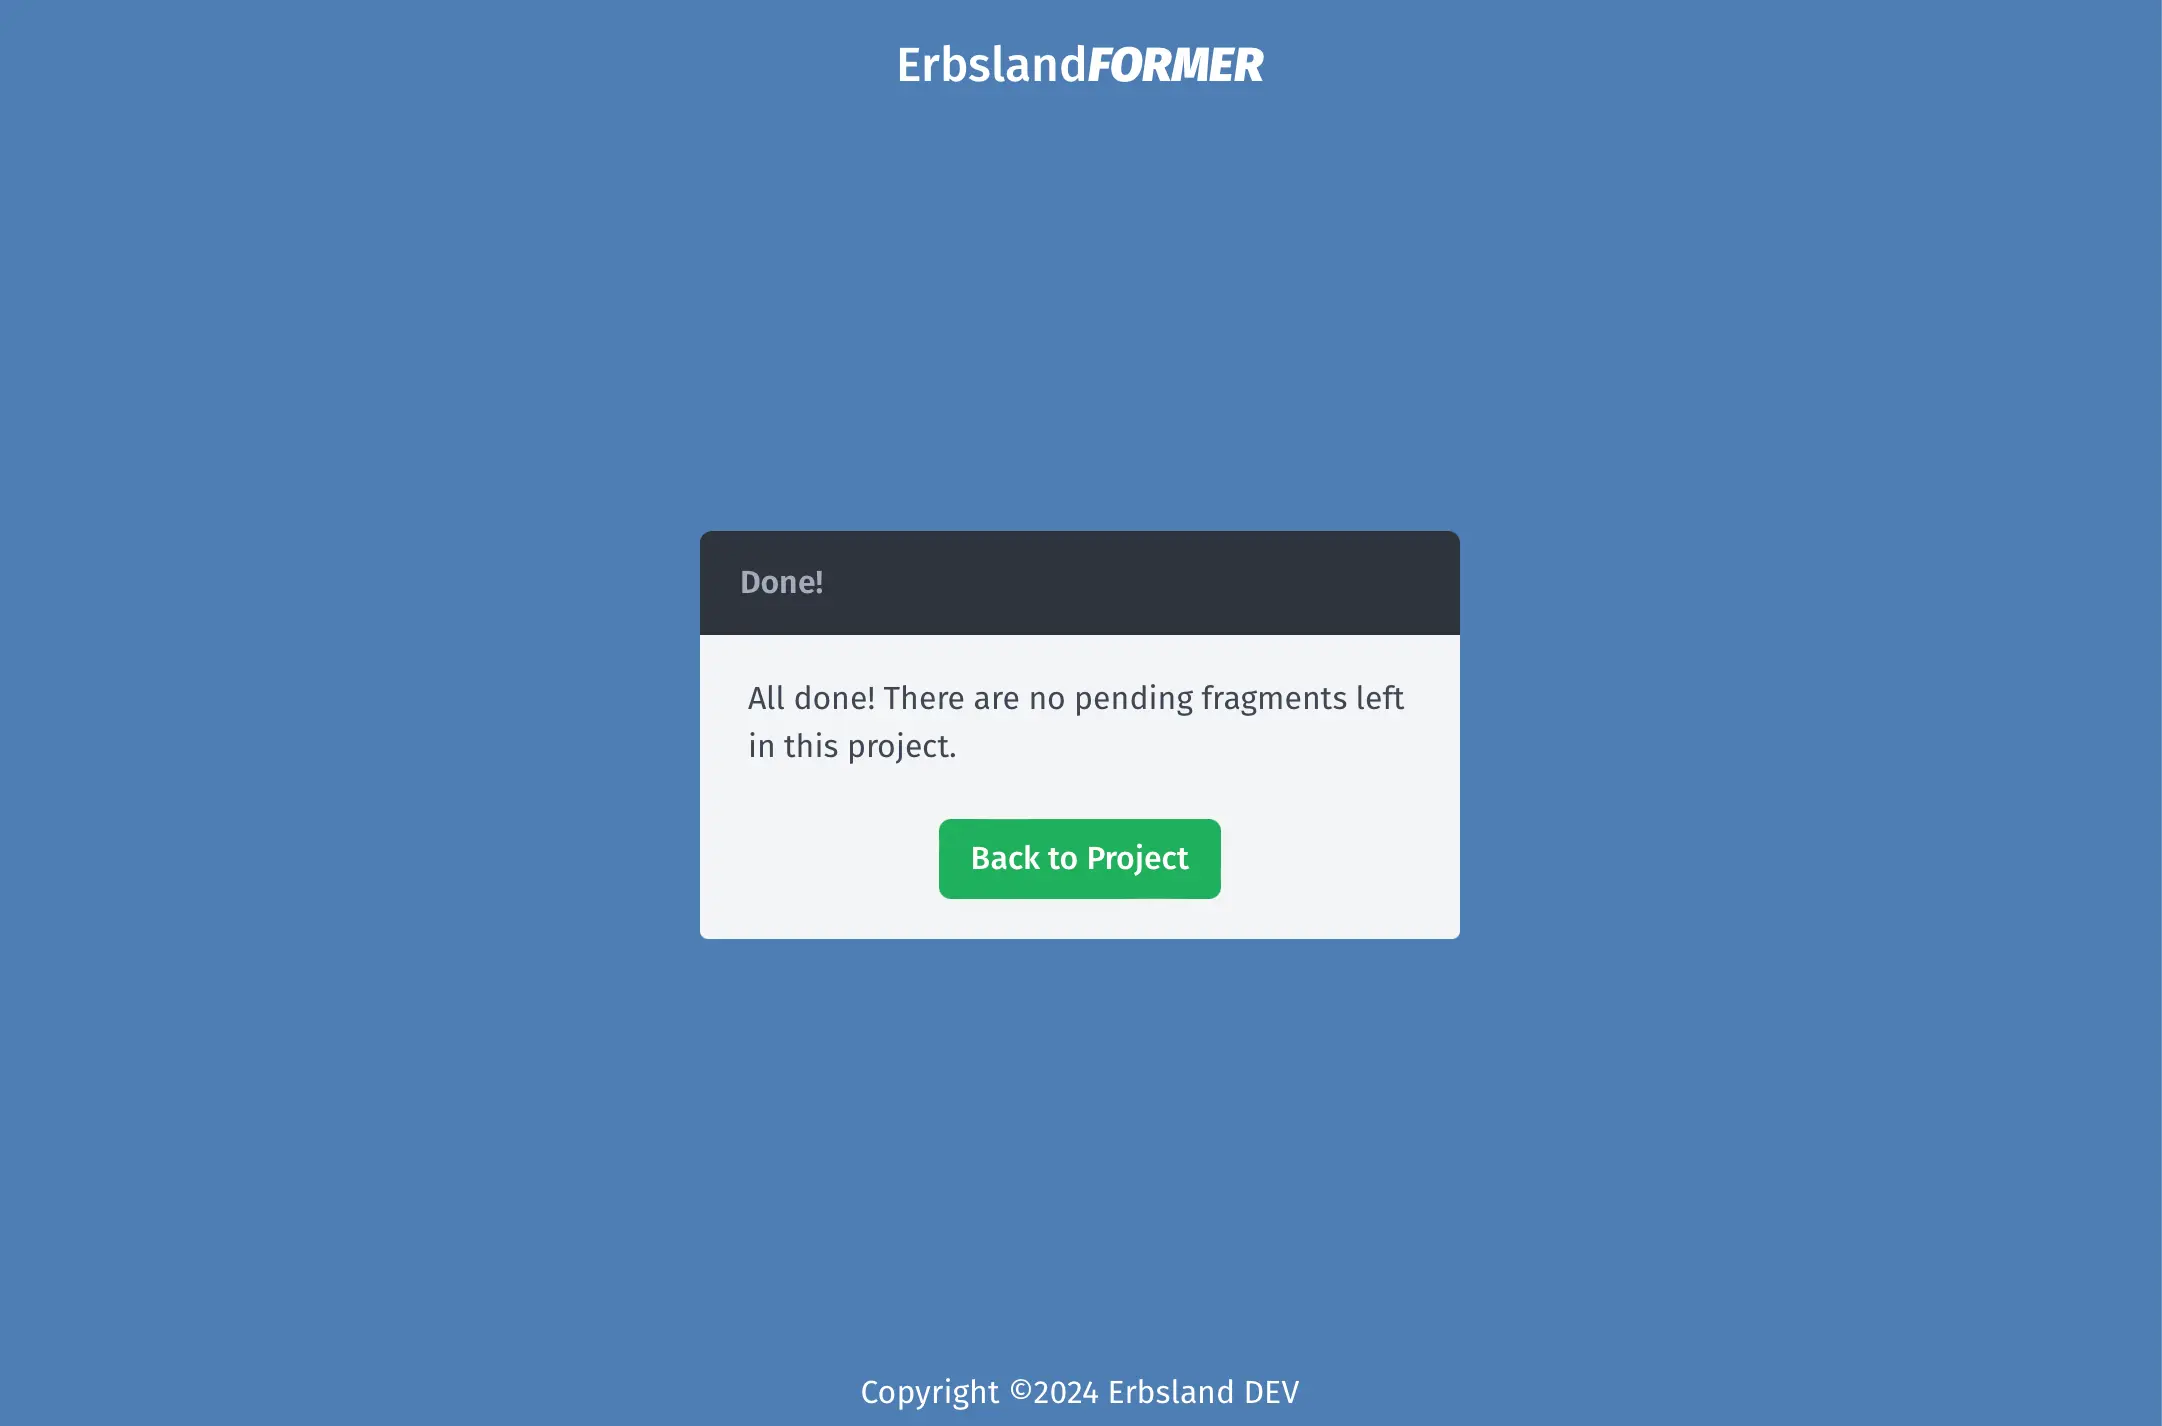
After reviewing the last fragment, you receive a message and return to the project.
With all fragments reviewed and approved, it is time to export the results. Click on Export Documents to open the export assistant.
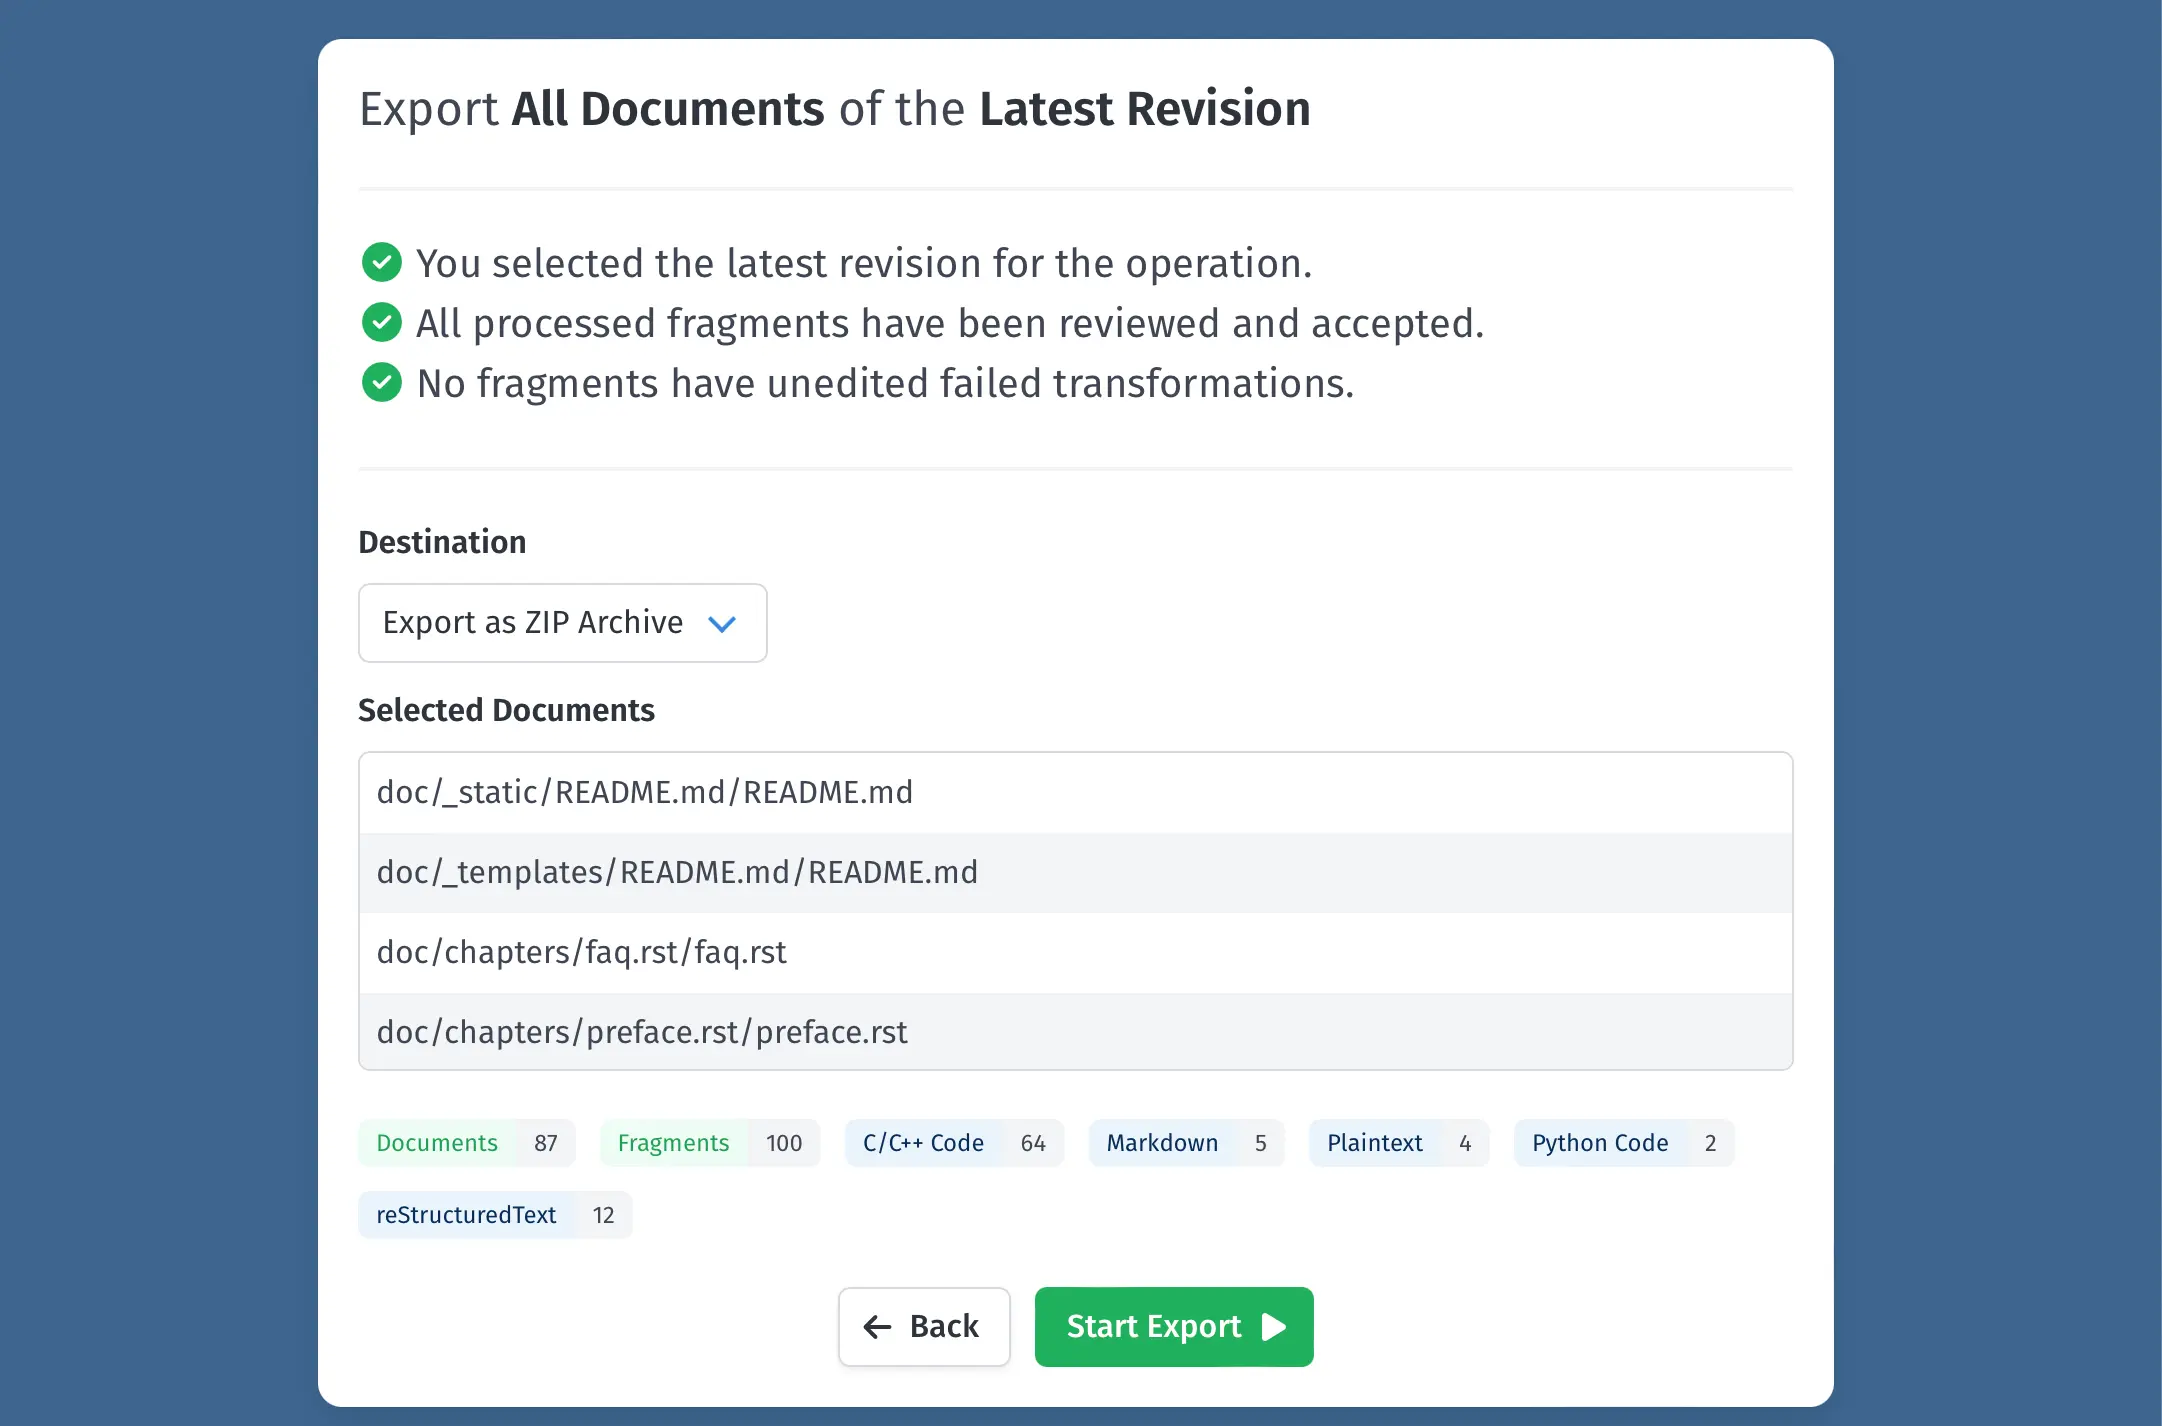
Preview the selected documents to ensure the export settings are correct. Click on Start Export to begin the export process.
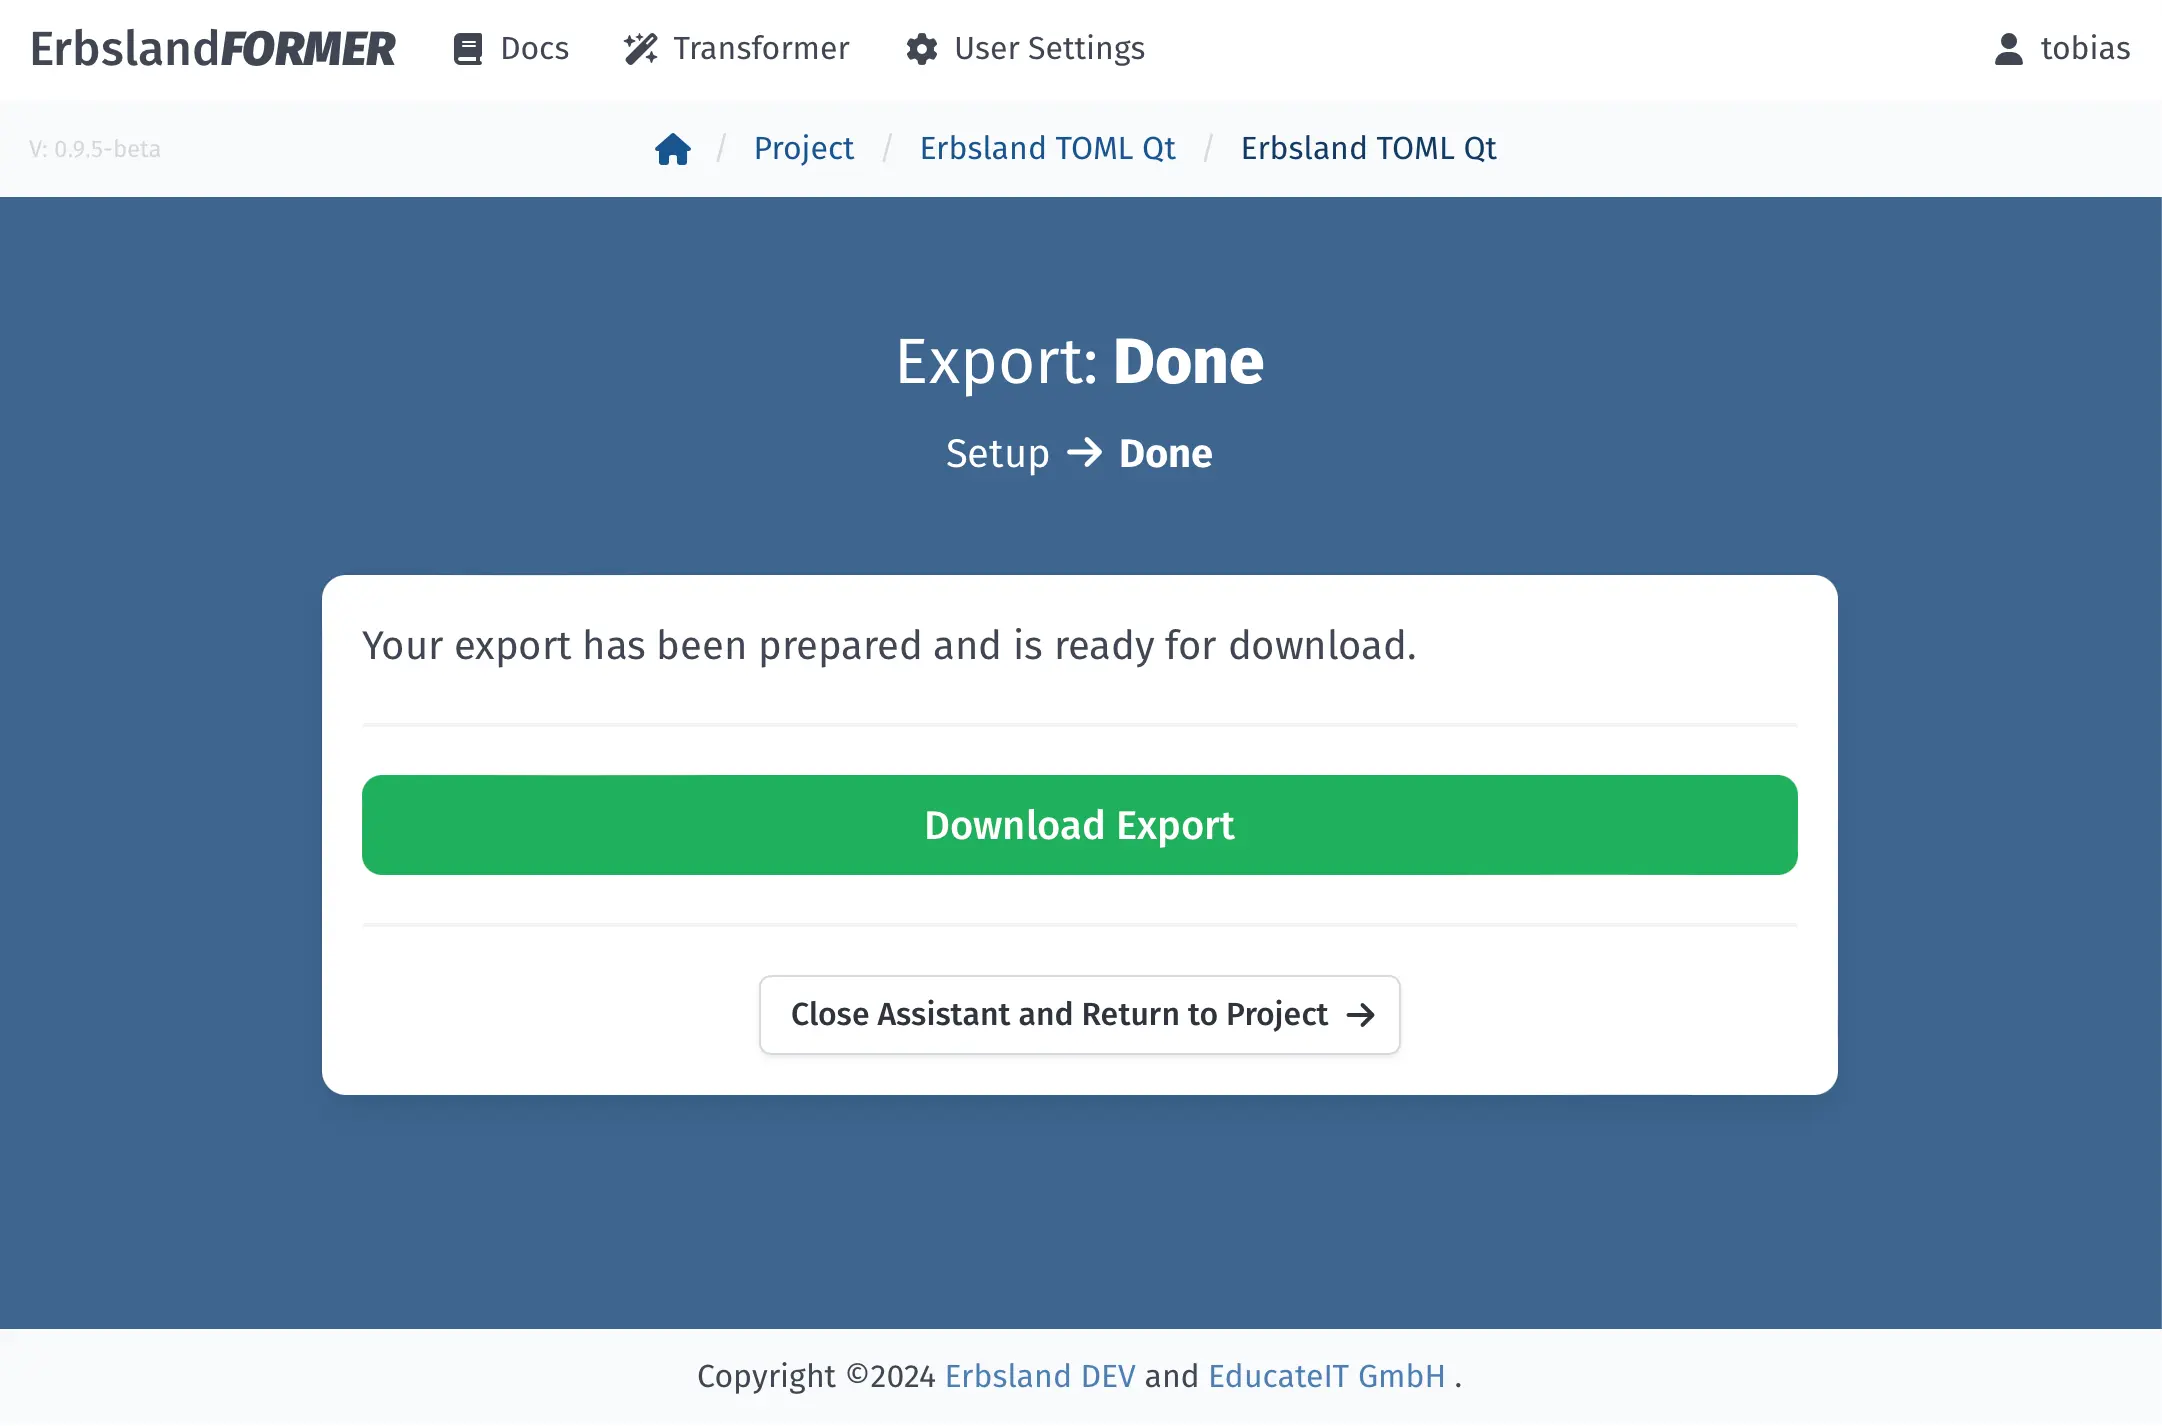
The export is complete. You can now download the ZIP file with the exported documents and integrate the changes back into the project.