Administrator Manual
This chapter of the manual is designed for administrators of an ErbslandFORMER application installation. It covers the different user roles, how to manage users on the system, and highlights a few important settings that affect all users on a server.
User Roles
There are three different user roles in ErbslandFORMER: superusers, administrators, and regular users.

The three user roles.
A superuser can manage administrator accounts, administrators can manage user accounts, and regular users are limited to using the system. To enforce this separation, superusers and administrators can only manage the system but cannot use it for regular work. This separation is in place to prevent accidents when administrator accounts are used for routine tasks.
Common User Setups
The number of different user roles required mainly depends on the size and complexity of the installation:
Single User: One user account.
Small Team: One admin account and several user accounts.
Company: One superuser account, one admin per team, and several user accounts.
Each admin requires a regular user account along with their admin account if they intend to perform regular tasks.
Superusers
Typically, there is either none or just a single superuser account on the system. A superuser is also considered a user who has access to the management commands or the configuration on the server. Therefore, if the superuser (e.g., sysadmin) has access to the management commands, they don’t need a superuser account in the database.
To create a superuser on the system, use the createsuperuser management command. Refer to How to Use the Management Commands for details on how to use a management command.
User Management
When logging into the application with an administrator or superuser account, you will be automatically redirected to the user management interface.

In this interface, you will see a list of all users registered in the application. If you are logged in as an administrator, you will see both administrators and users. If you are logged in as a superuser, you will also see other superusers.
Each user card displays basic information about the user, such as their username, ID, email address, first and last name. Additionally, you can see when the user last logged into the system and when their account was created.
At the bottom of each row, you will find a button to edit the user details and three vertical dots that reveal a menu with more actions.
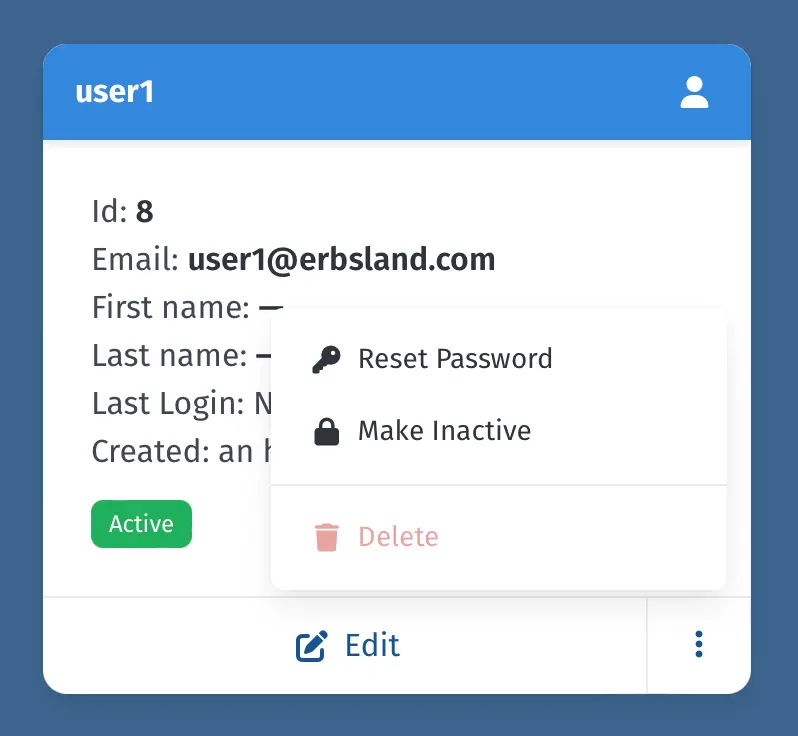
The popup that appears when the vertical dots are clicked or hovered over.
Permissions
There are a few limitations on what administrators and superusers can do:
- Administrators:
Can mark user accounts as active and inactive.
Can reset user account passwords.
Can edit user account details.
Cannot see or change superuser accounts.
Cannot create new admin accounts or change any details of other admin accounts.
Cannot delete user accounts
- Superusers:
Have no such limitations and can perform all administrative tasks.
Hint
Because superusers have no administrative limitations, it is recommended to only create admin accounts for user management.
Add New User
Clicking the Add New User button brings up the interface to add a new user.

The user interface to add a new user.
Use this interface to define a Username, First name, Last name, and Email address for the user. The Initial password field contains a secure randomly generated password that you can send to the new user.
The user is created when you click the Add New User button.
Add New Admin
When logged in with a superuser account, there is also a Add New Admin button that allows you to add a new admin account. This process is similar to adding a new user, but the created account will have admin permissions.
Edit User
Clicking on the Edit button brings up the interface with the user details.
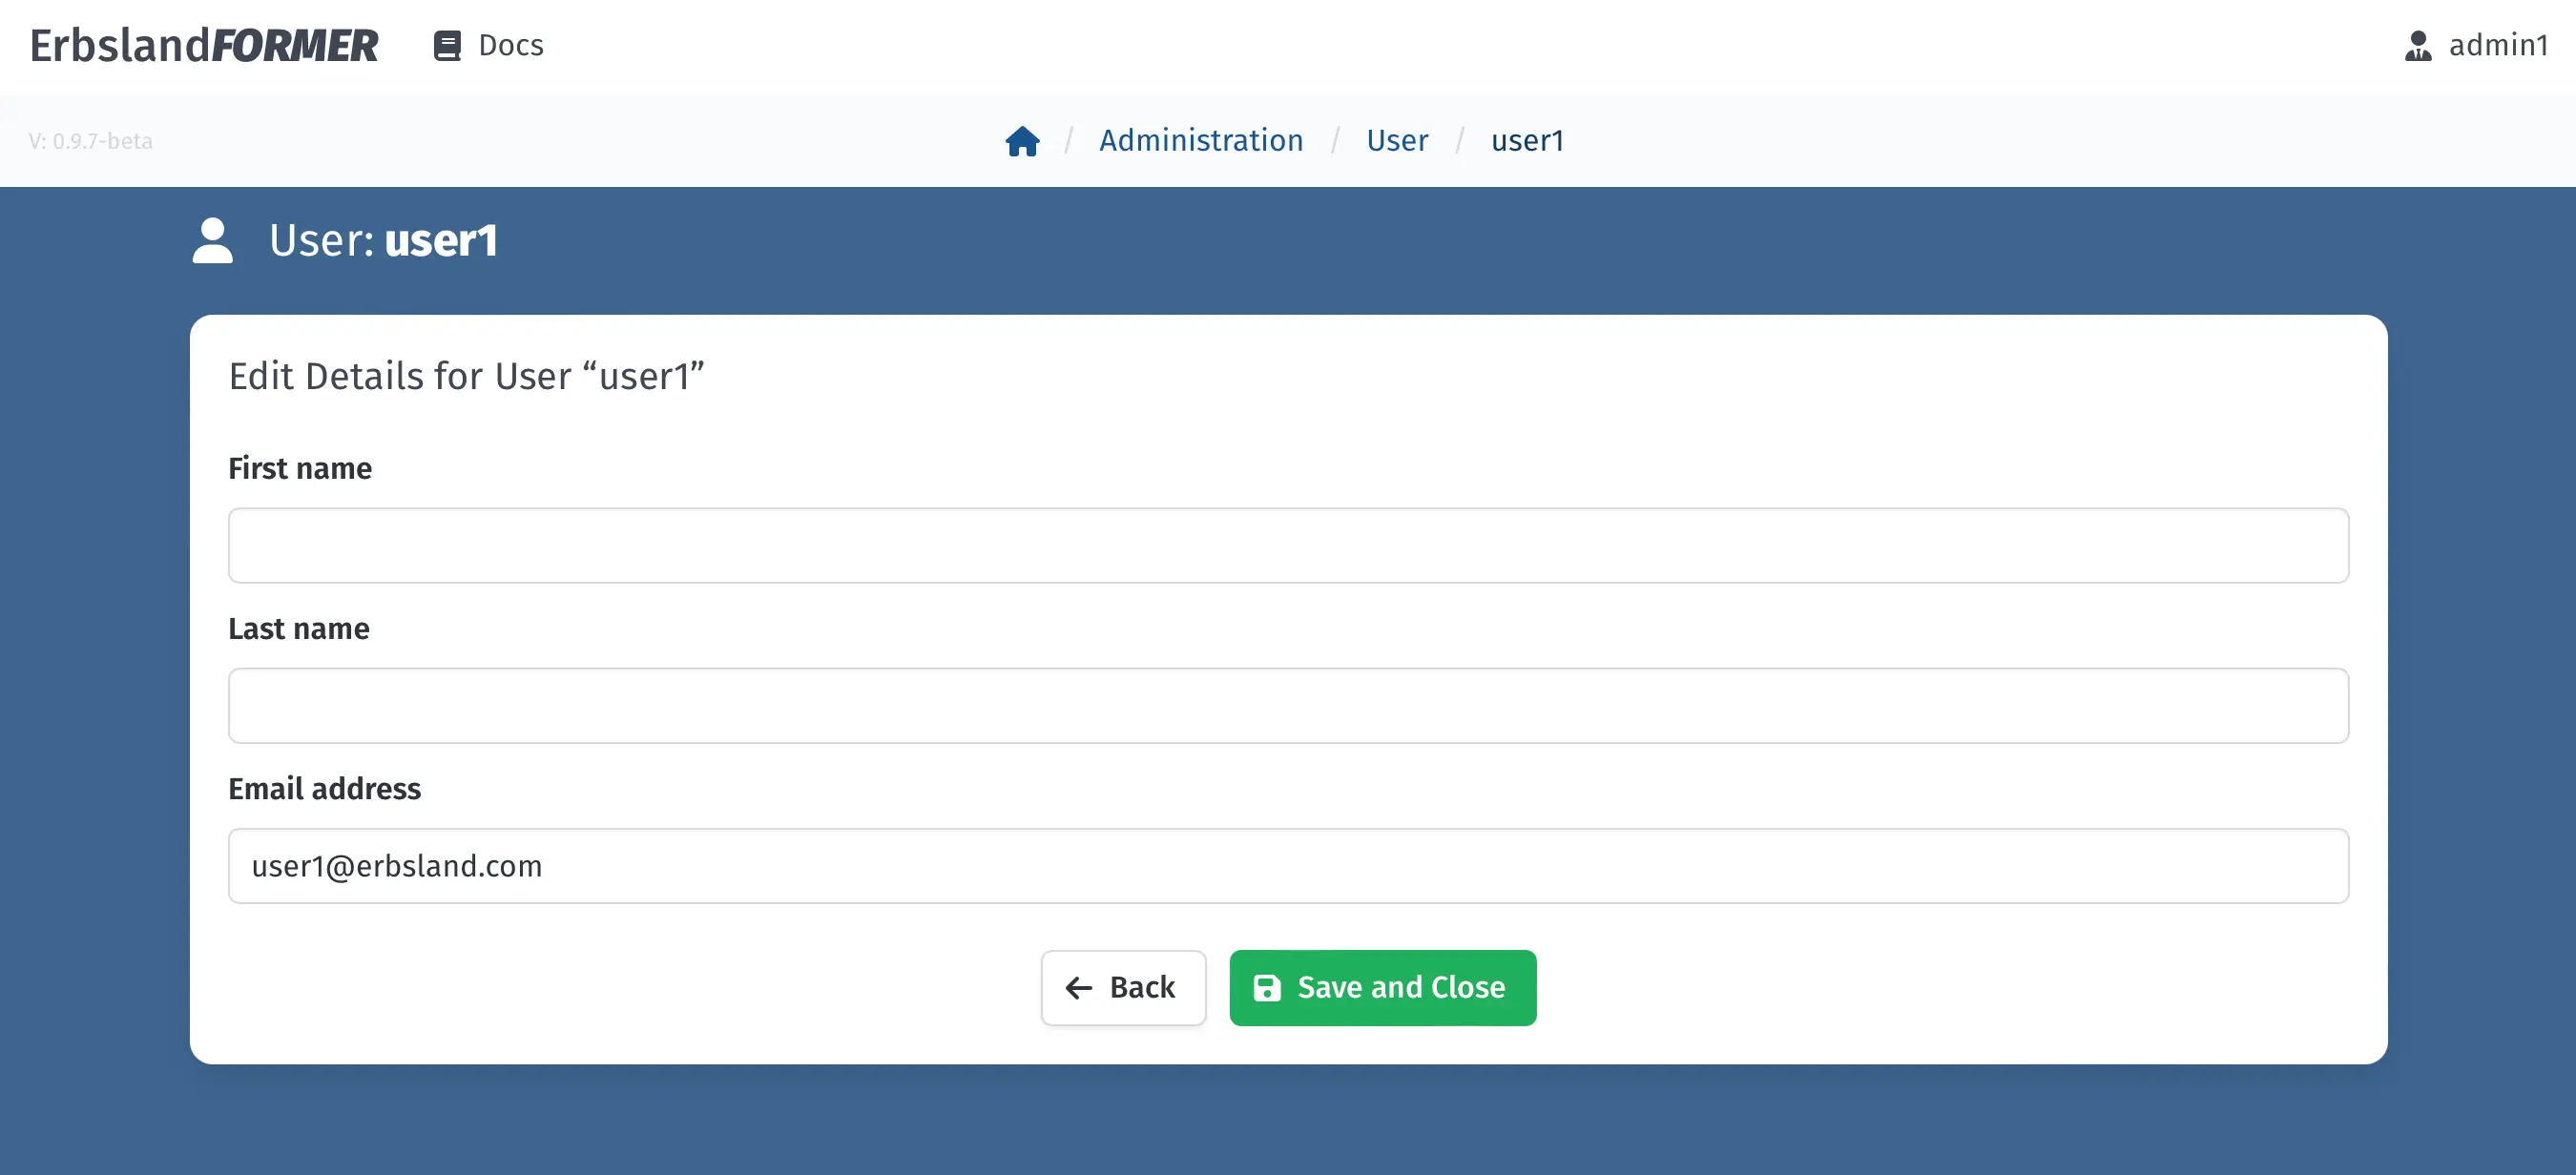
In this interface, you can edit the user’s First name, Last name, and Email address. Clicking Back will discard your changes, while clicking Save and Close will save your changes.
Reset Password
Clicking on Reset Password allows you to reset the user’s password. Enter the new password in both fields in the interface that appears.
Make Inactive
Instead of deleting a user, you should mark them as inactive. Clicking the Make Inactive action will mark the user as inactive. An inactive user cannot log into the application.
Make Active
The Make Active button appears for inactive users. Clicking it will reactivate the user, allowing them to log into the application again.
Delete User
Only superusers can delete users. However, it is generally not recommended to delete users who have already performed tasks in the application. Instead, mark the user as inactive. The delete user action is available for cases where a user or administrator was accidentally created and has not yet been used.
Warning
Deleting users who have actively worked with the application may cause various side effects and is not recommended.
How to Use the Management Commands
The management commands are an alternative for system administrators to perform administrative tasks on the command line. To use the management commands for the server, you need to be logged in as the same user under which the application is running. If a system administrator set up the server for you, ask them to run the management commands or create a limited login for you to execute these commands.
Regular Server
After logging into a regular server as an administrator, you can run management commands as follows:
test@erbsland-former:~$ sudo su erbsland_former
erbsland_former@erbsland-former:/home/test$ cd /var/www/erbsland-former
erbsland_former@erbsland-former:/var/www/erbsland-former$ source venv/bin/activate
(venv) erbsland_former@erbsland-former:/var/www/erbsland-former$ python app/manage.py add_user test1
(...)
(venv) erbsland_former@erbsland-former:/var/www/erbsland-former$ █
Docker
After logging into the Docker management server, you can run management commands as follows:
test@erbsland-former:~$ docker exec -it erbsland-former-app python manage.py add_user test1
(...)
test@erbsland-former:~$ █
Useful Management Commands
Here are several useful commands for administering the server:
changepassword: Use this command to change a user’s password.
add_user: Use this command to add a new regular user to the application.
add_admin: Use this command to add a new administrator to the application.
createsuperuser: Use this command to create a superuser for the application.
list_extensions: Use this command to get a list of all activated extensions.
Use the command line argument --help with any of these commands to get additional usage information.
Important Application-Wide Settings
The application provides several settings that can only be configured on the server. These settings affect all users and allow you to customize, extend, or limit the application’s capabilities.
Note
If you are unfamiliar with server administration, please ask your system administrator to set up these options for you.
How to Change Global Settings
In the server setup, you created a new settings file named my_settings.py. To modify global settings, simply add the variable at the end of this file to overwrite its default value.
Preselect a Default Document Syntax or Size Unit
You can preselect the default document syntax and size unit displayed in the user interface if a user does not have a preference for a task. Set the defaults using the settings BACKEND_DEFAULT_SYNTAX_HANDLER and BACKEND_DEFAULT_SIZE_CALCULATOR. Specify the correct identifier for the syntax handler or size calculator. Use the management command list_extensions to get a list of all identifiers.
Disabling a Document Syntax, Transformer, or Size Unit
If you want to hide a certain document syntax, transformer, or size unit, use the settings BACKEND_IGNORE_SYNTAX_HANDLER, BACKEND_IGNORE_SIZE_CALCULATOR, and BACKEND_TRANSFORMER.
Limiting the Upload Size
To limit the size of uploaded files, change the settings BACKEND_INGEST_UPLOAD_FILE_SIZE, BACKEND_INGEST_DOCUMENT_SIZE, or BACKEND_INGEST_FILE_COUNT.
AI Transformer Application Settings
The AI transformer can be configured to require, allow, or disallow personal API keys for its processing.
Set an Application-Wide API Key
Use the settings AI_API_KEY, AI_ORGANIZATION_ID, and AI_PROJECT_ID to set an application-wide API key for the AI transformer profiles. When set at the application level, the key is never exposed to the users.
If there is no application-wide setting, each user must provide their own API key for the transformer. An individual key per user allows you to track individual usage but also means that the key is exposed to the user.
By default, users are allowed to overwrite the application-wide key with a custom one. If you want to enforce the application-wide key, set AI_ALLOW_USER_OVERRIDES to False.
Limit the Allowed Language Models
By configuring a custom list of identifiers with the AI_ALLOWED_MODELS, you can limit the language models a user can select and use.