Screenshots
This chapter illustrates the interface of the application with a number of screenshots.
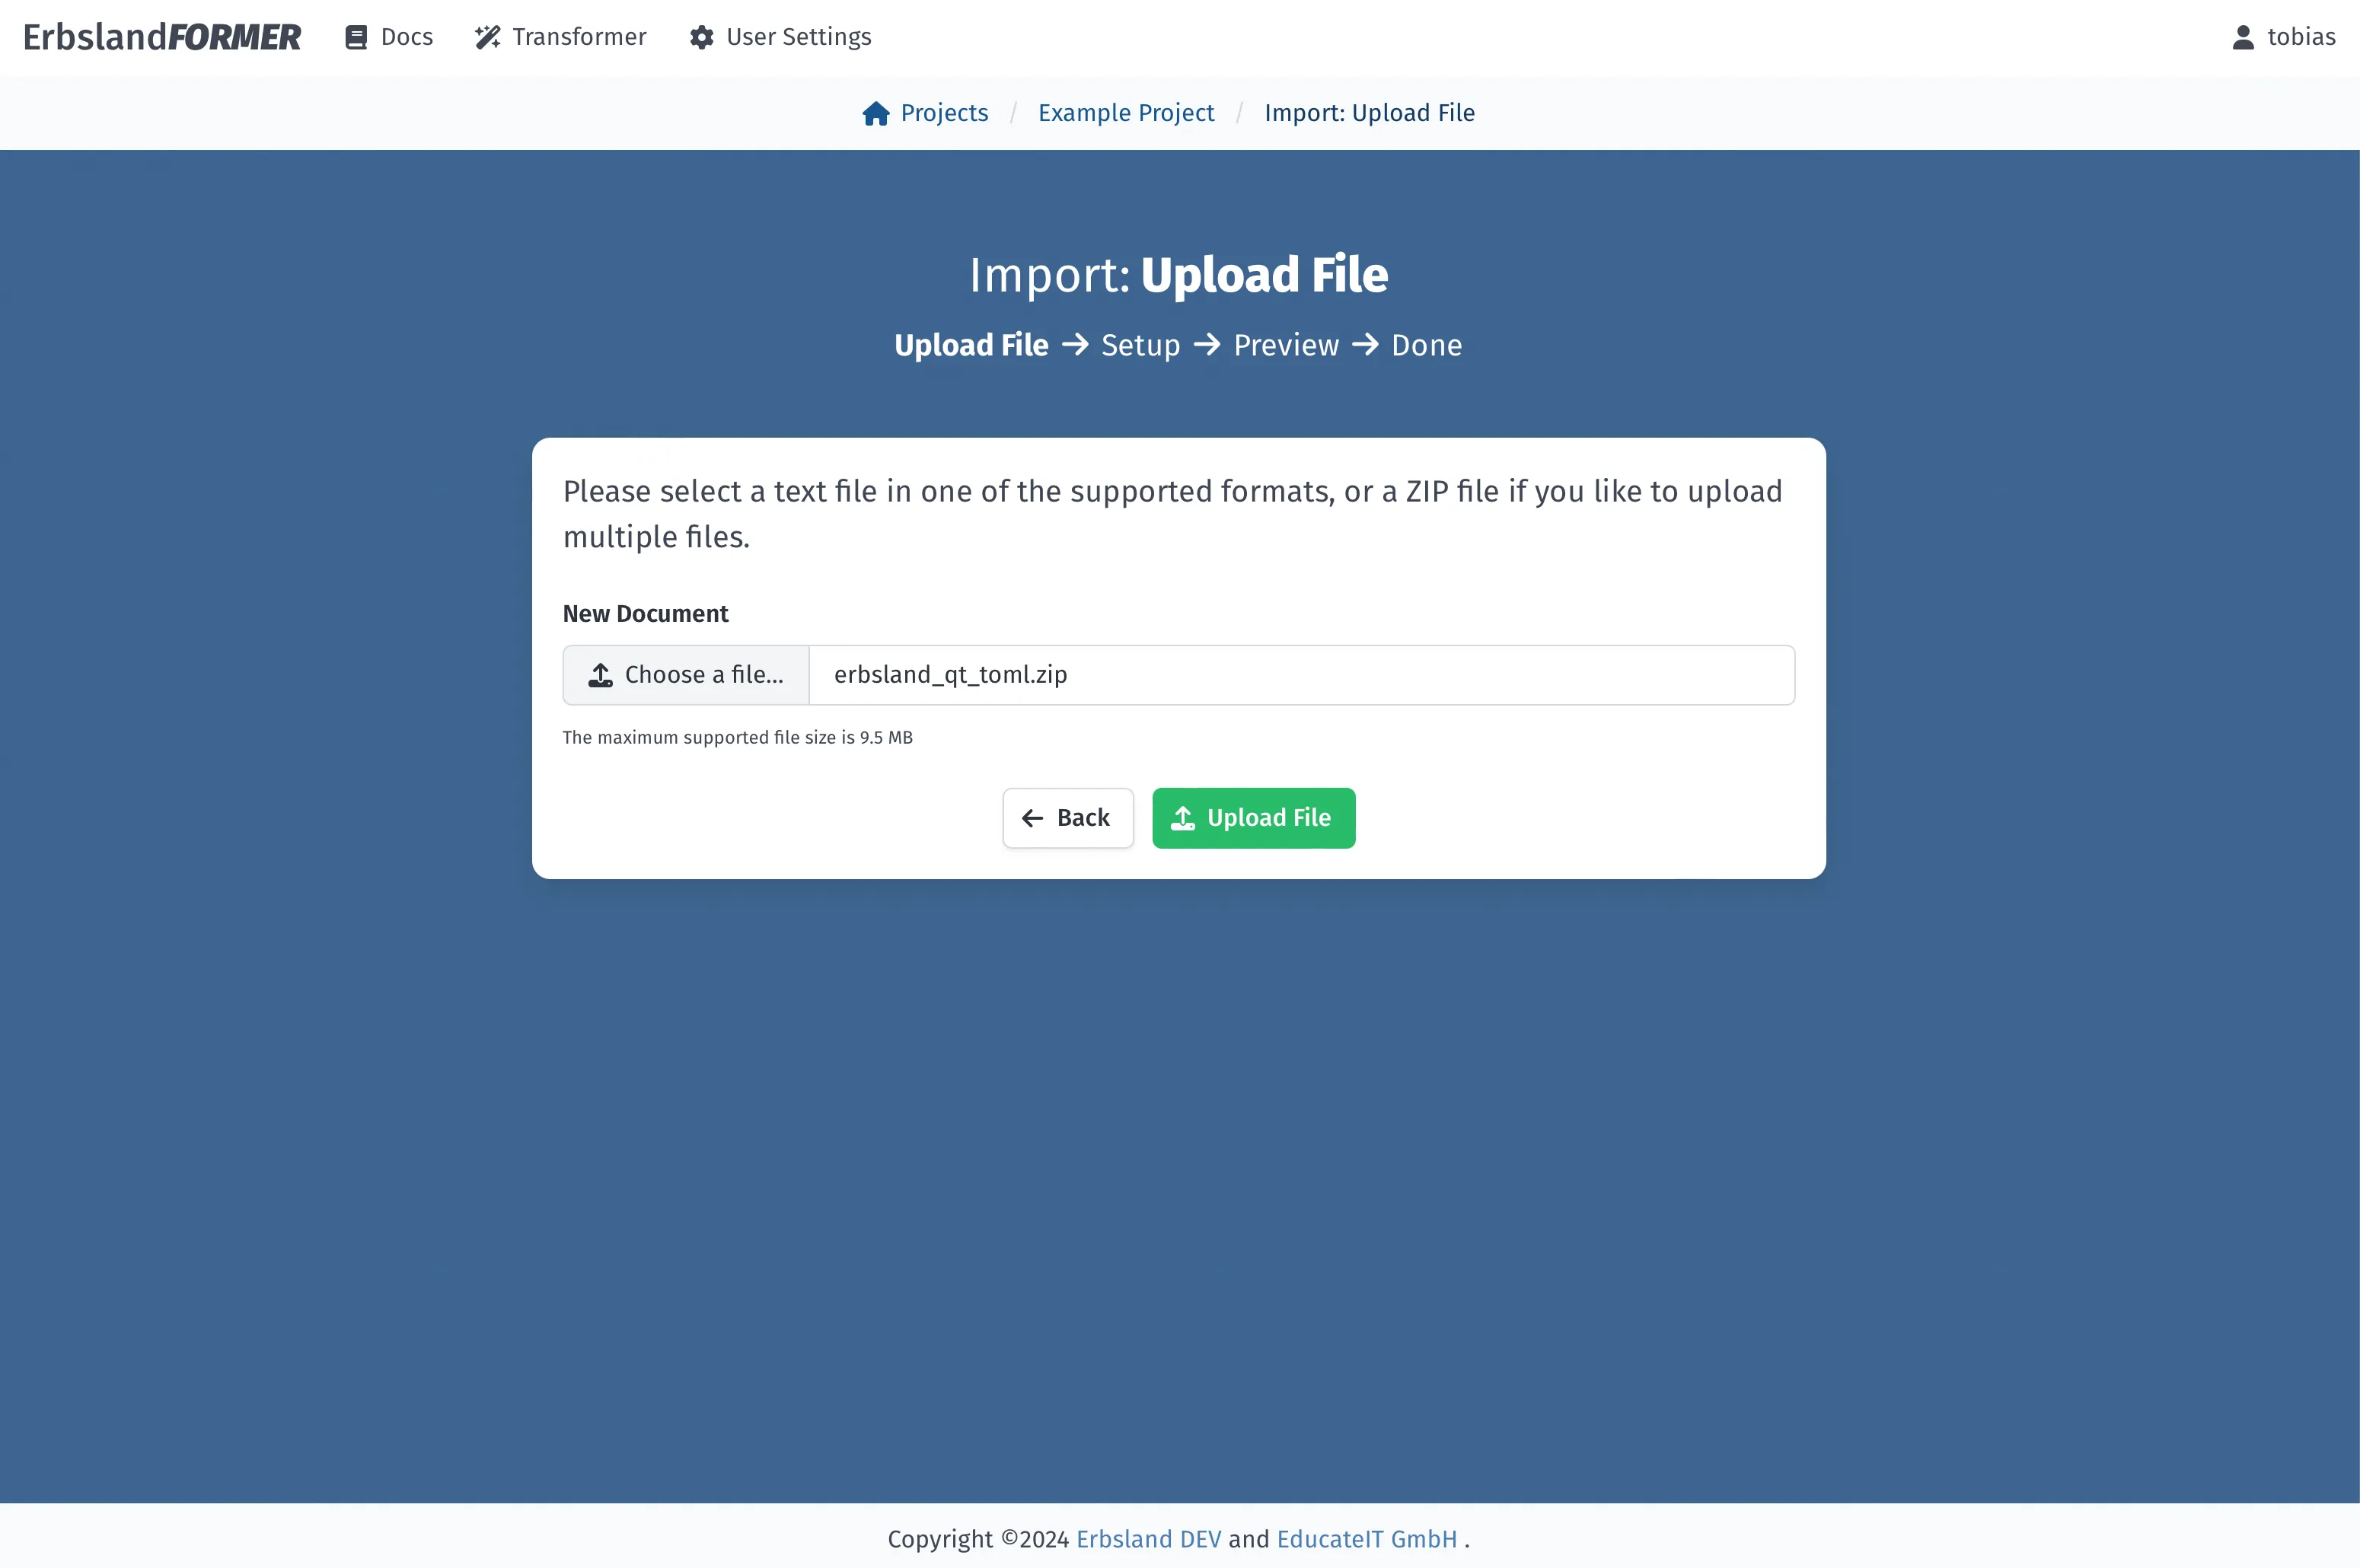
The workflow starts with an upload of individual files or a ZIP archive.
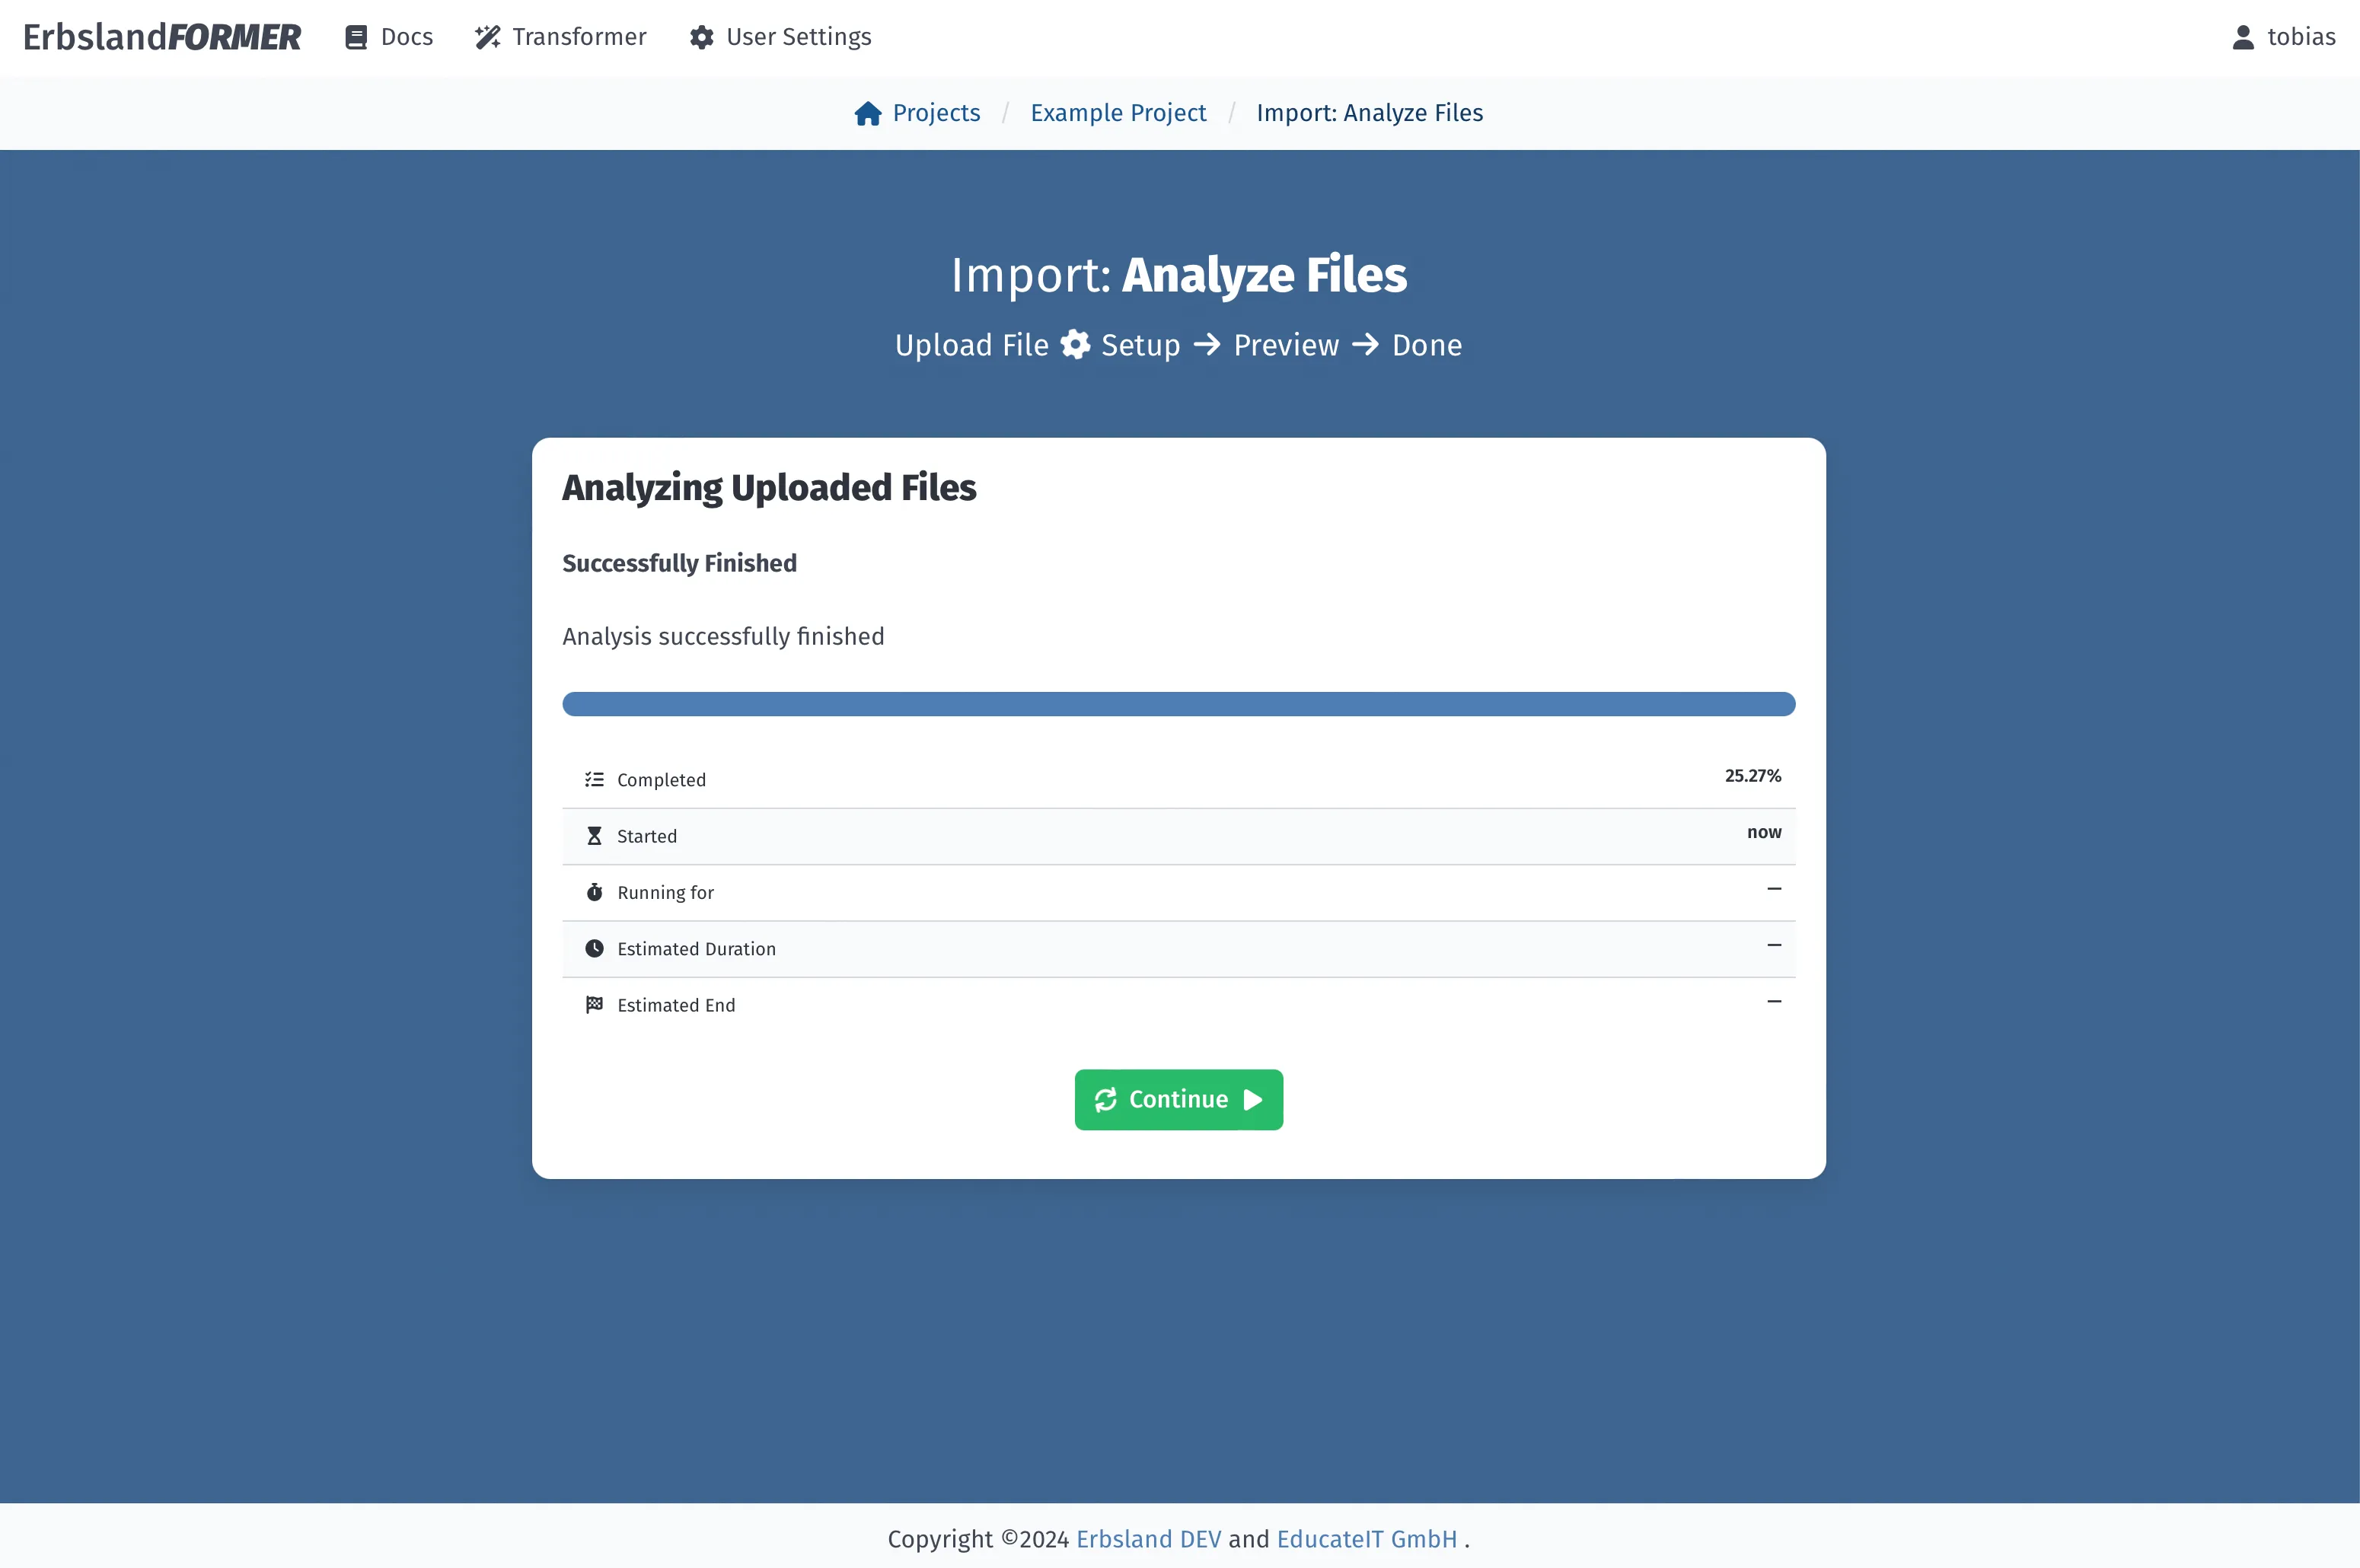
The uploaded files are analyzed.
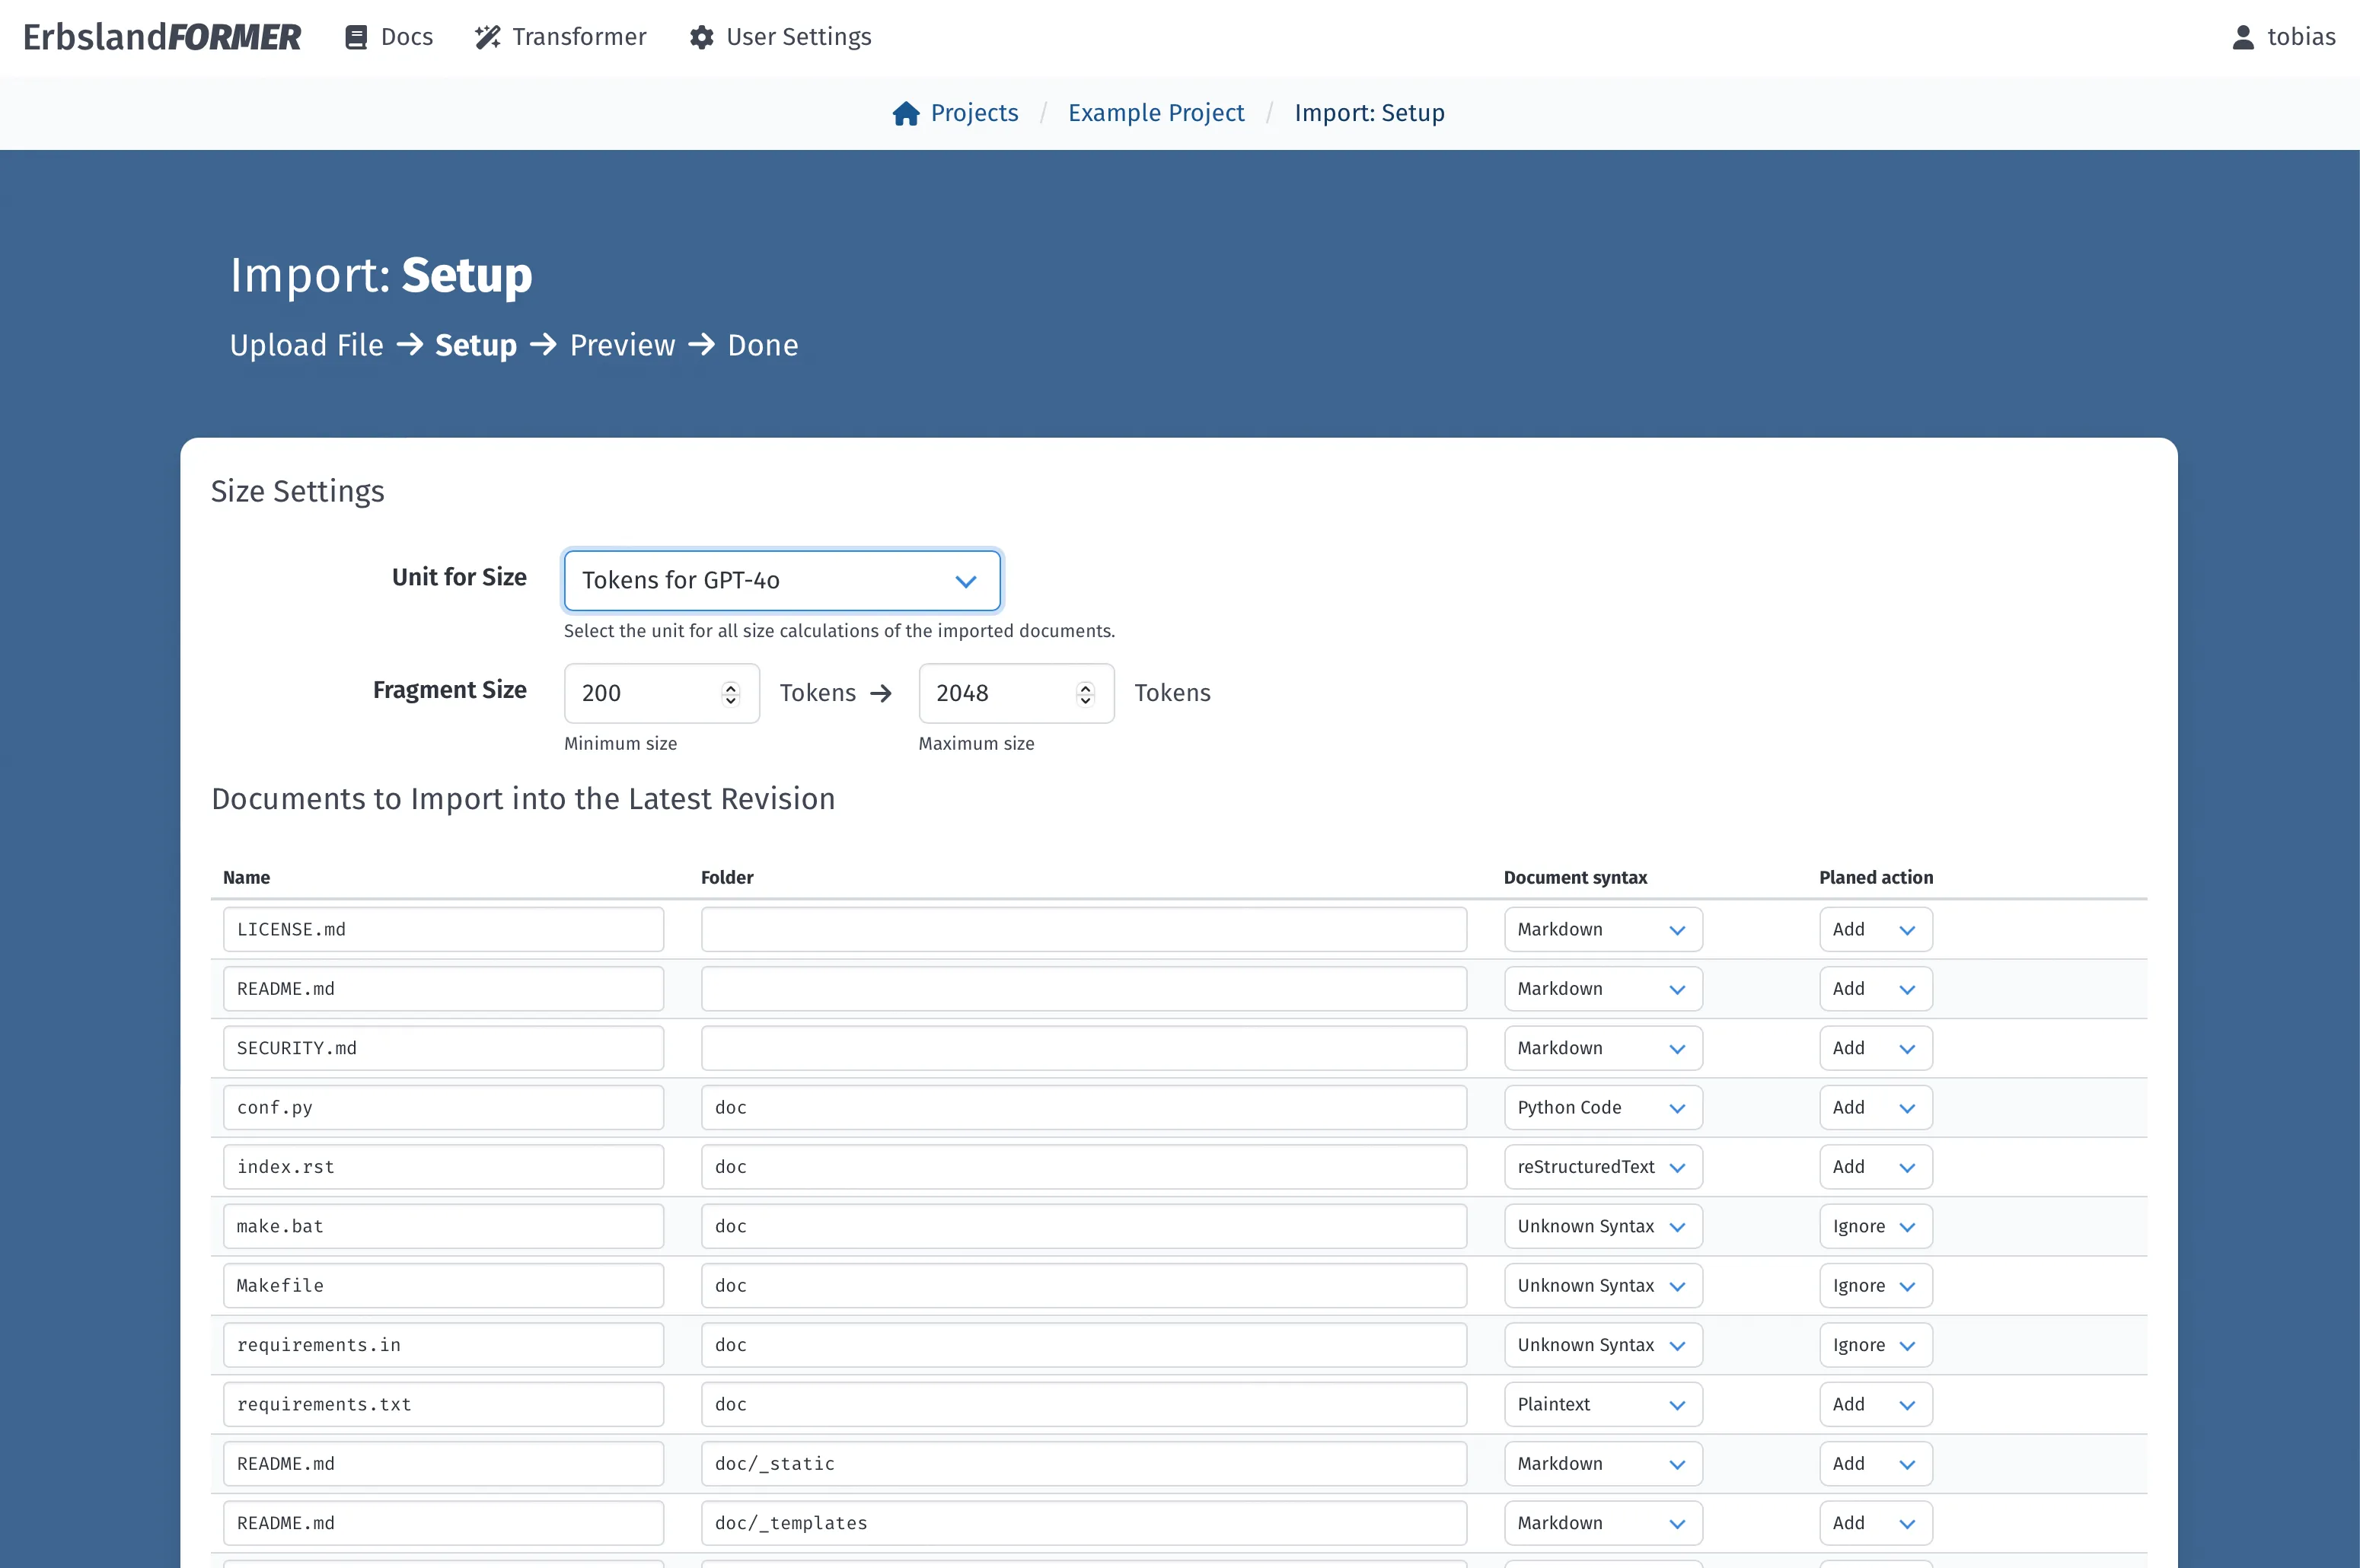
In the setup, you select a unit and a size range for splitting the documents into text fragments.
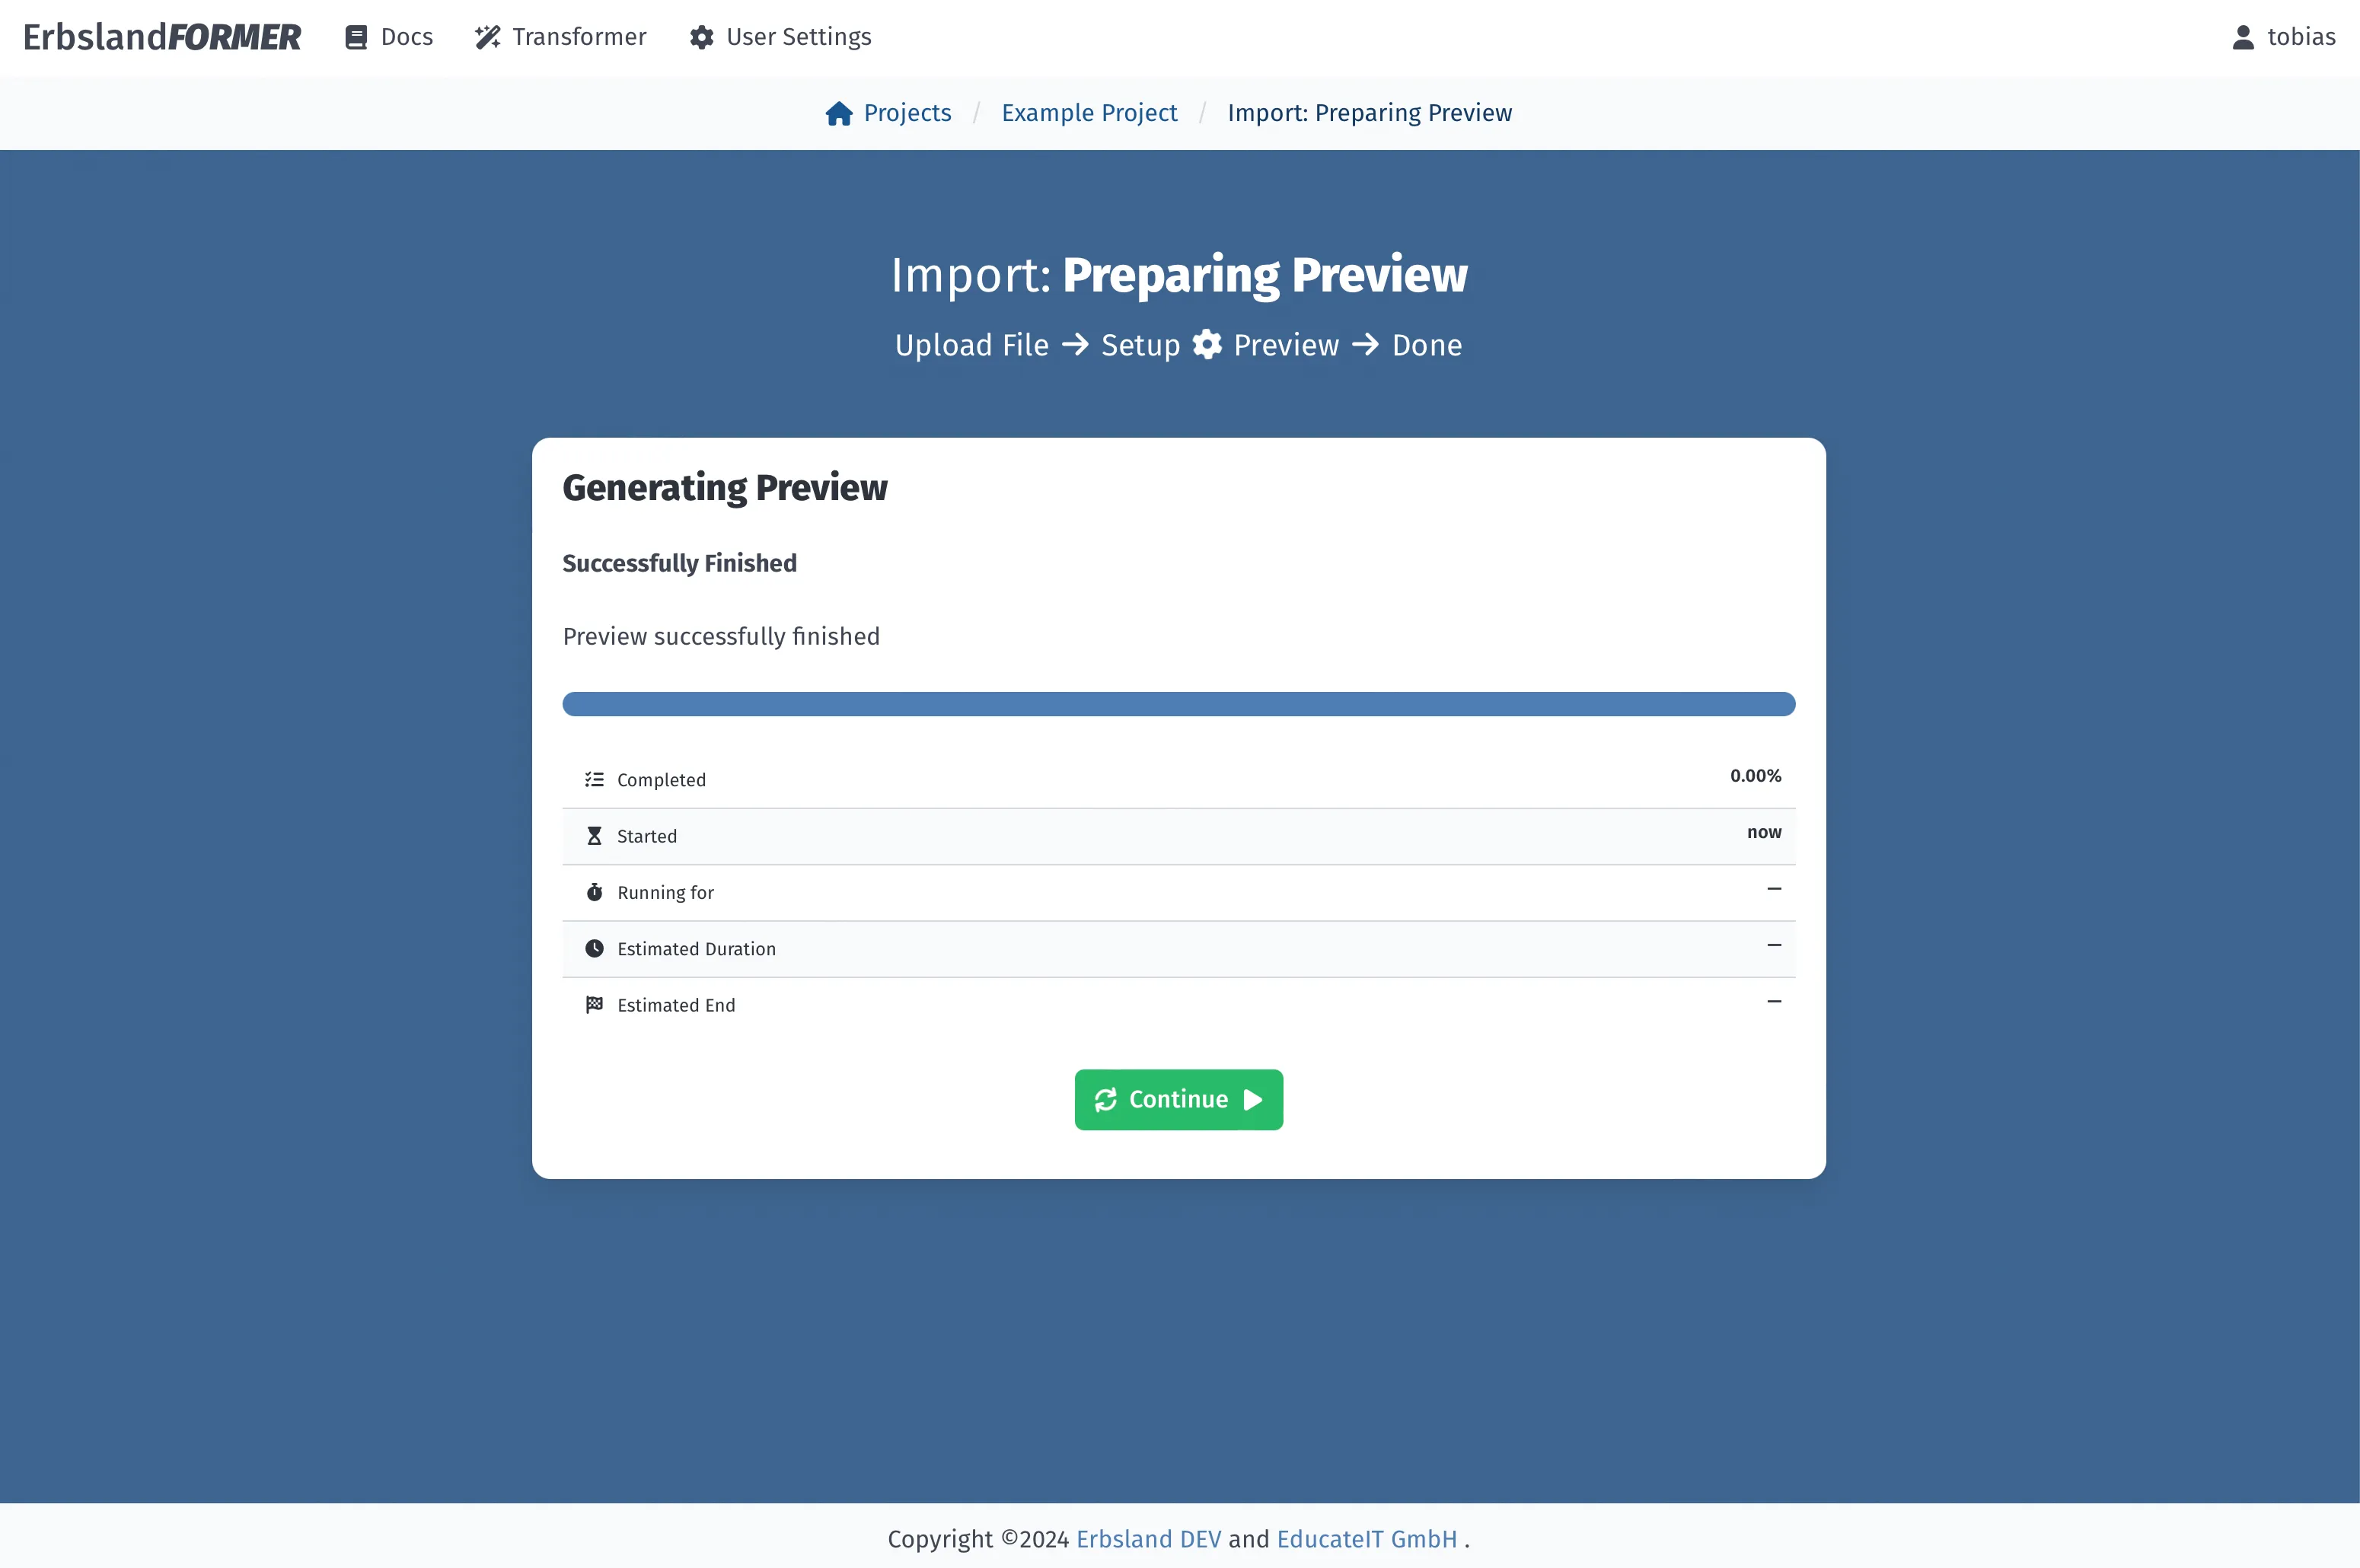
A preview with your splitter settings is prepared.
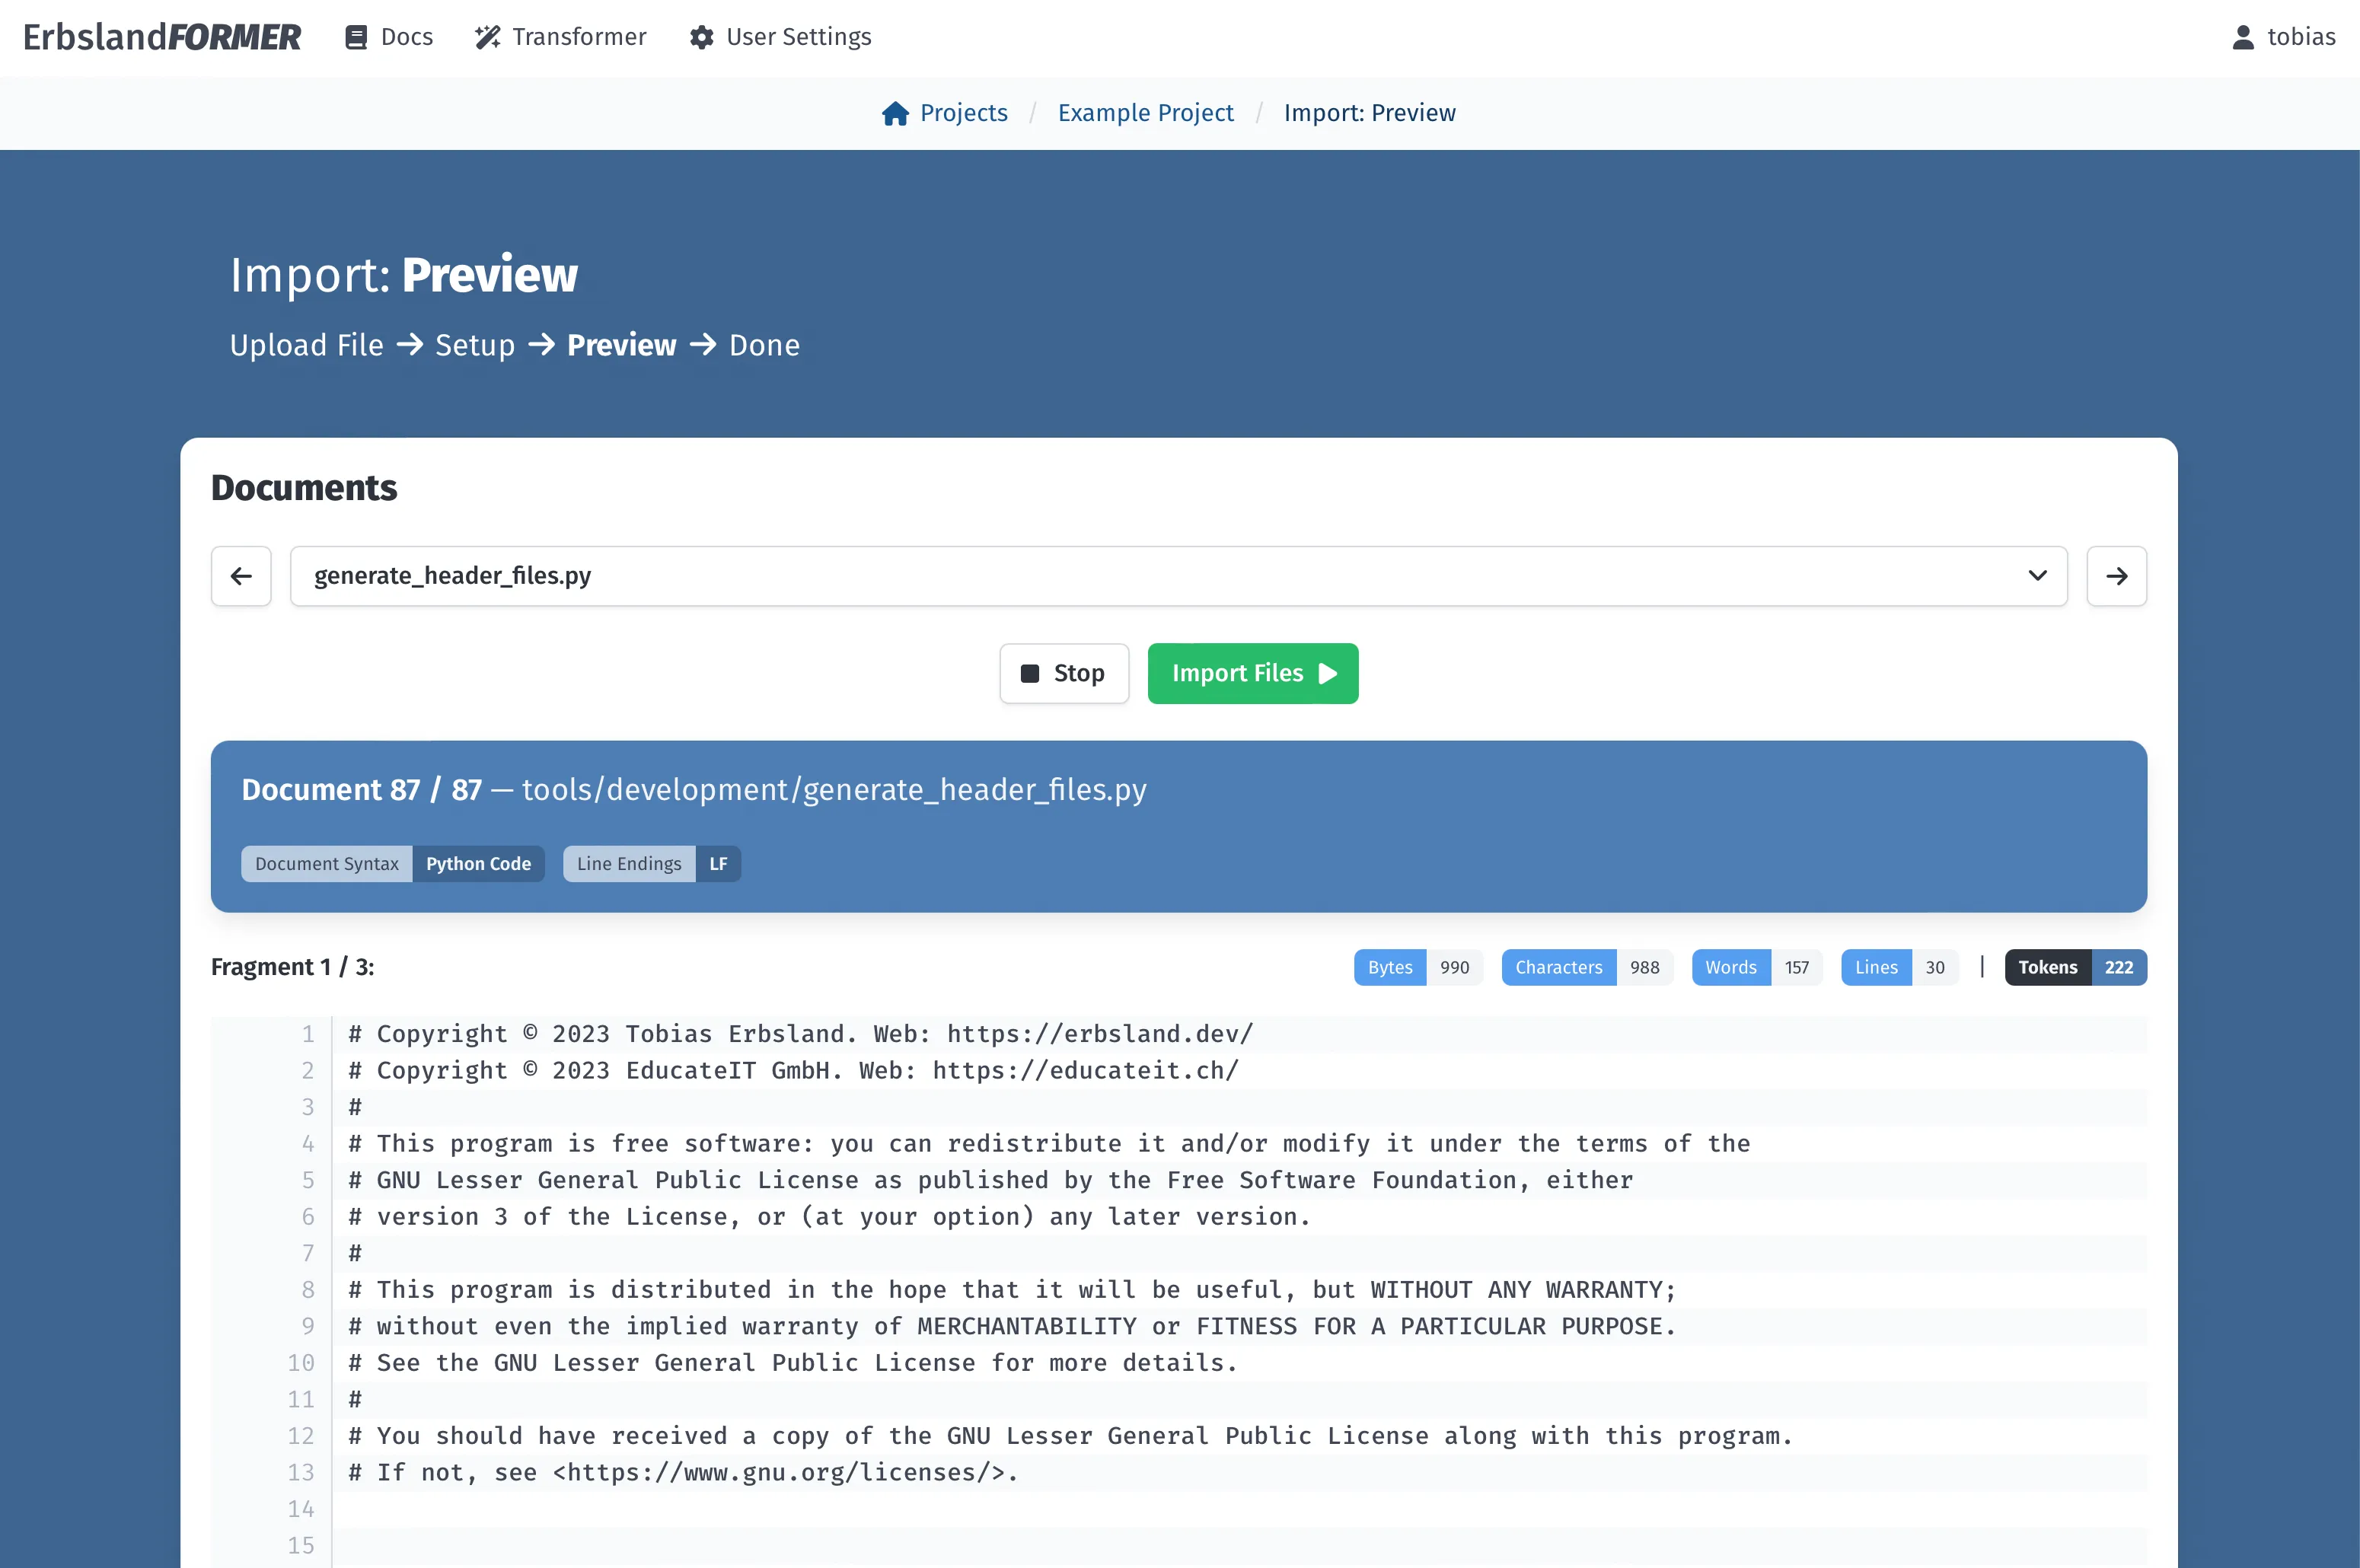
In the preview you can check each individual document if it is imported and processed as you expect.
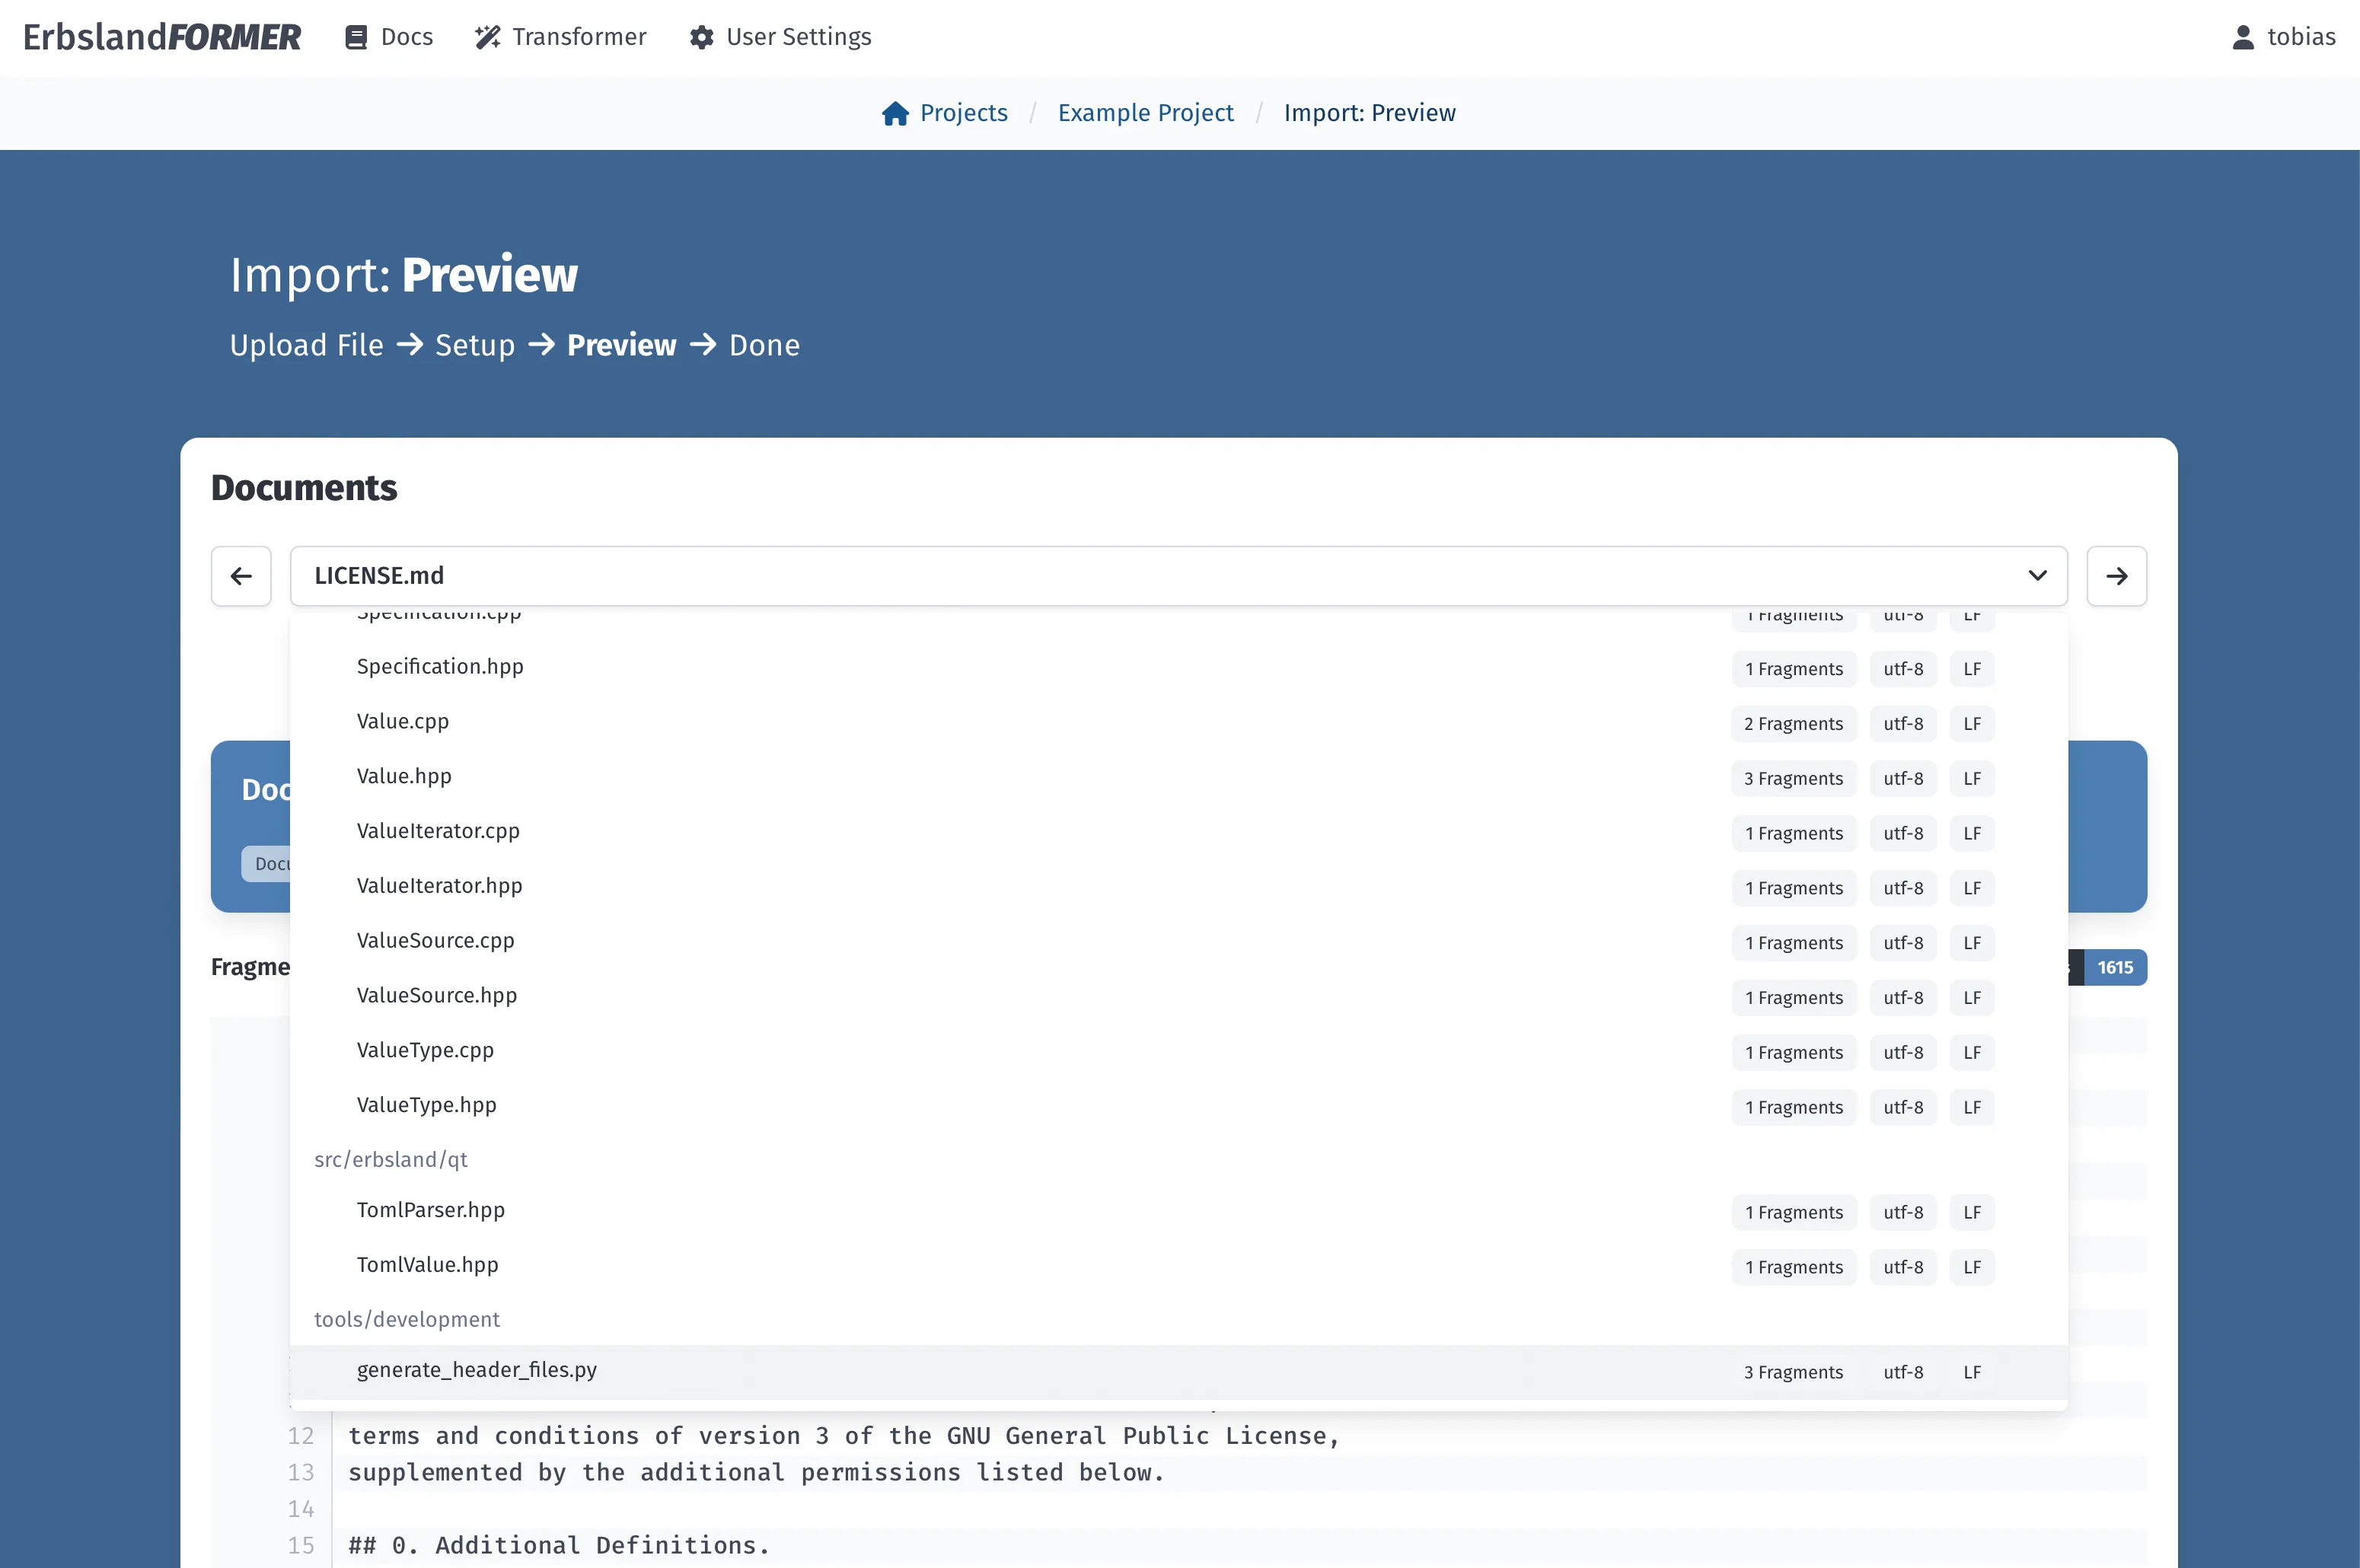
In the dropdown you see a list of all documents, fragments and the detected encoding and line-ending format.
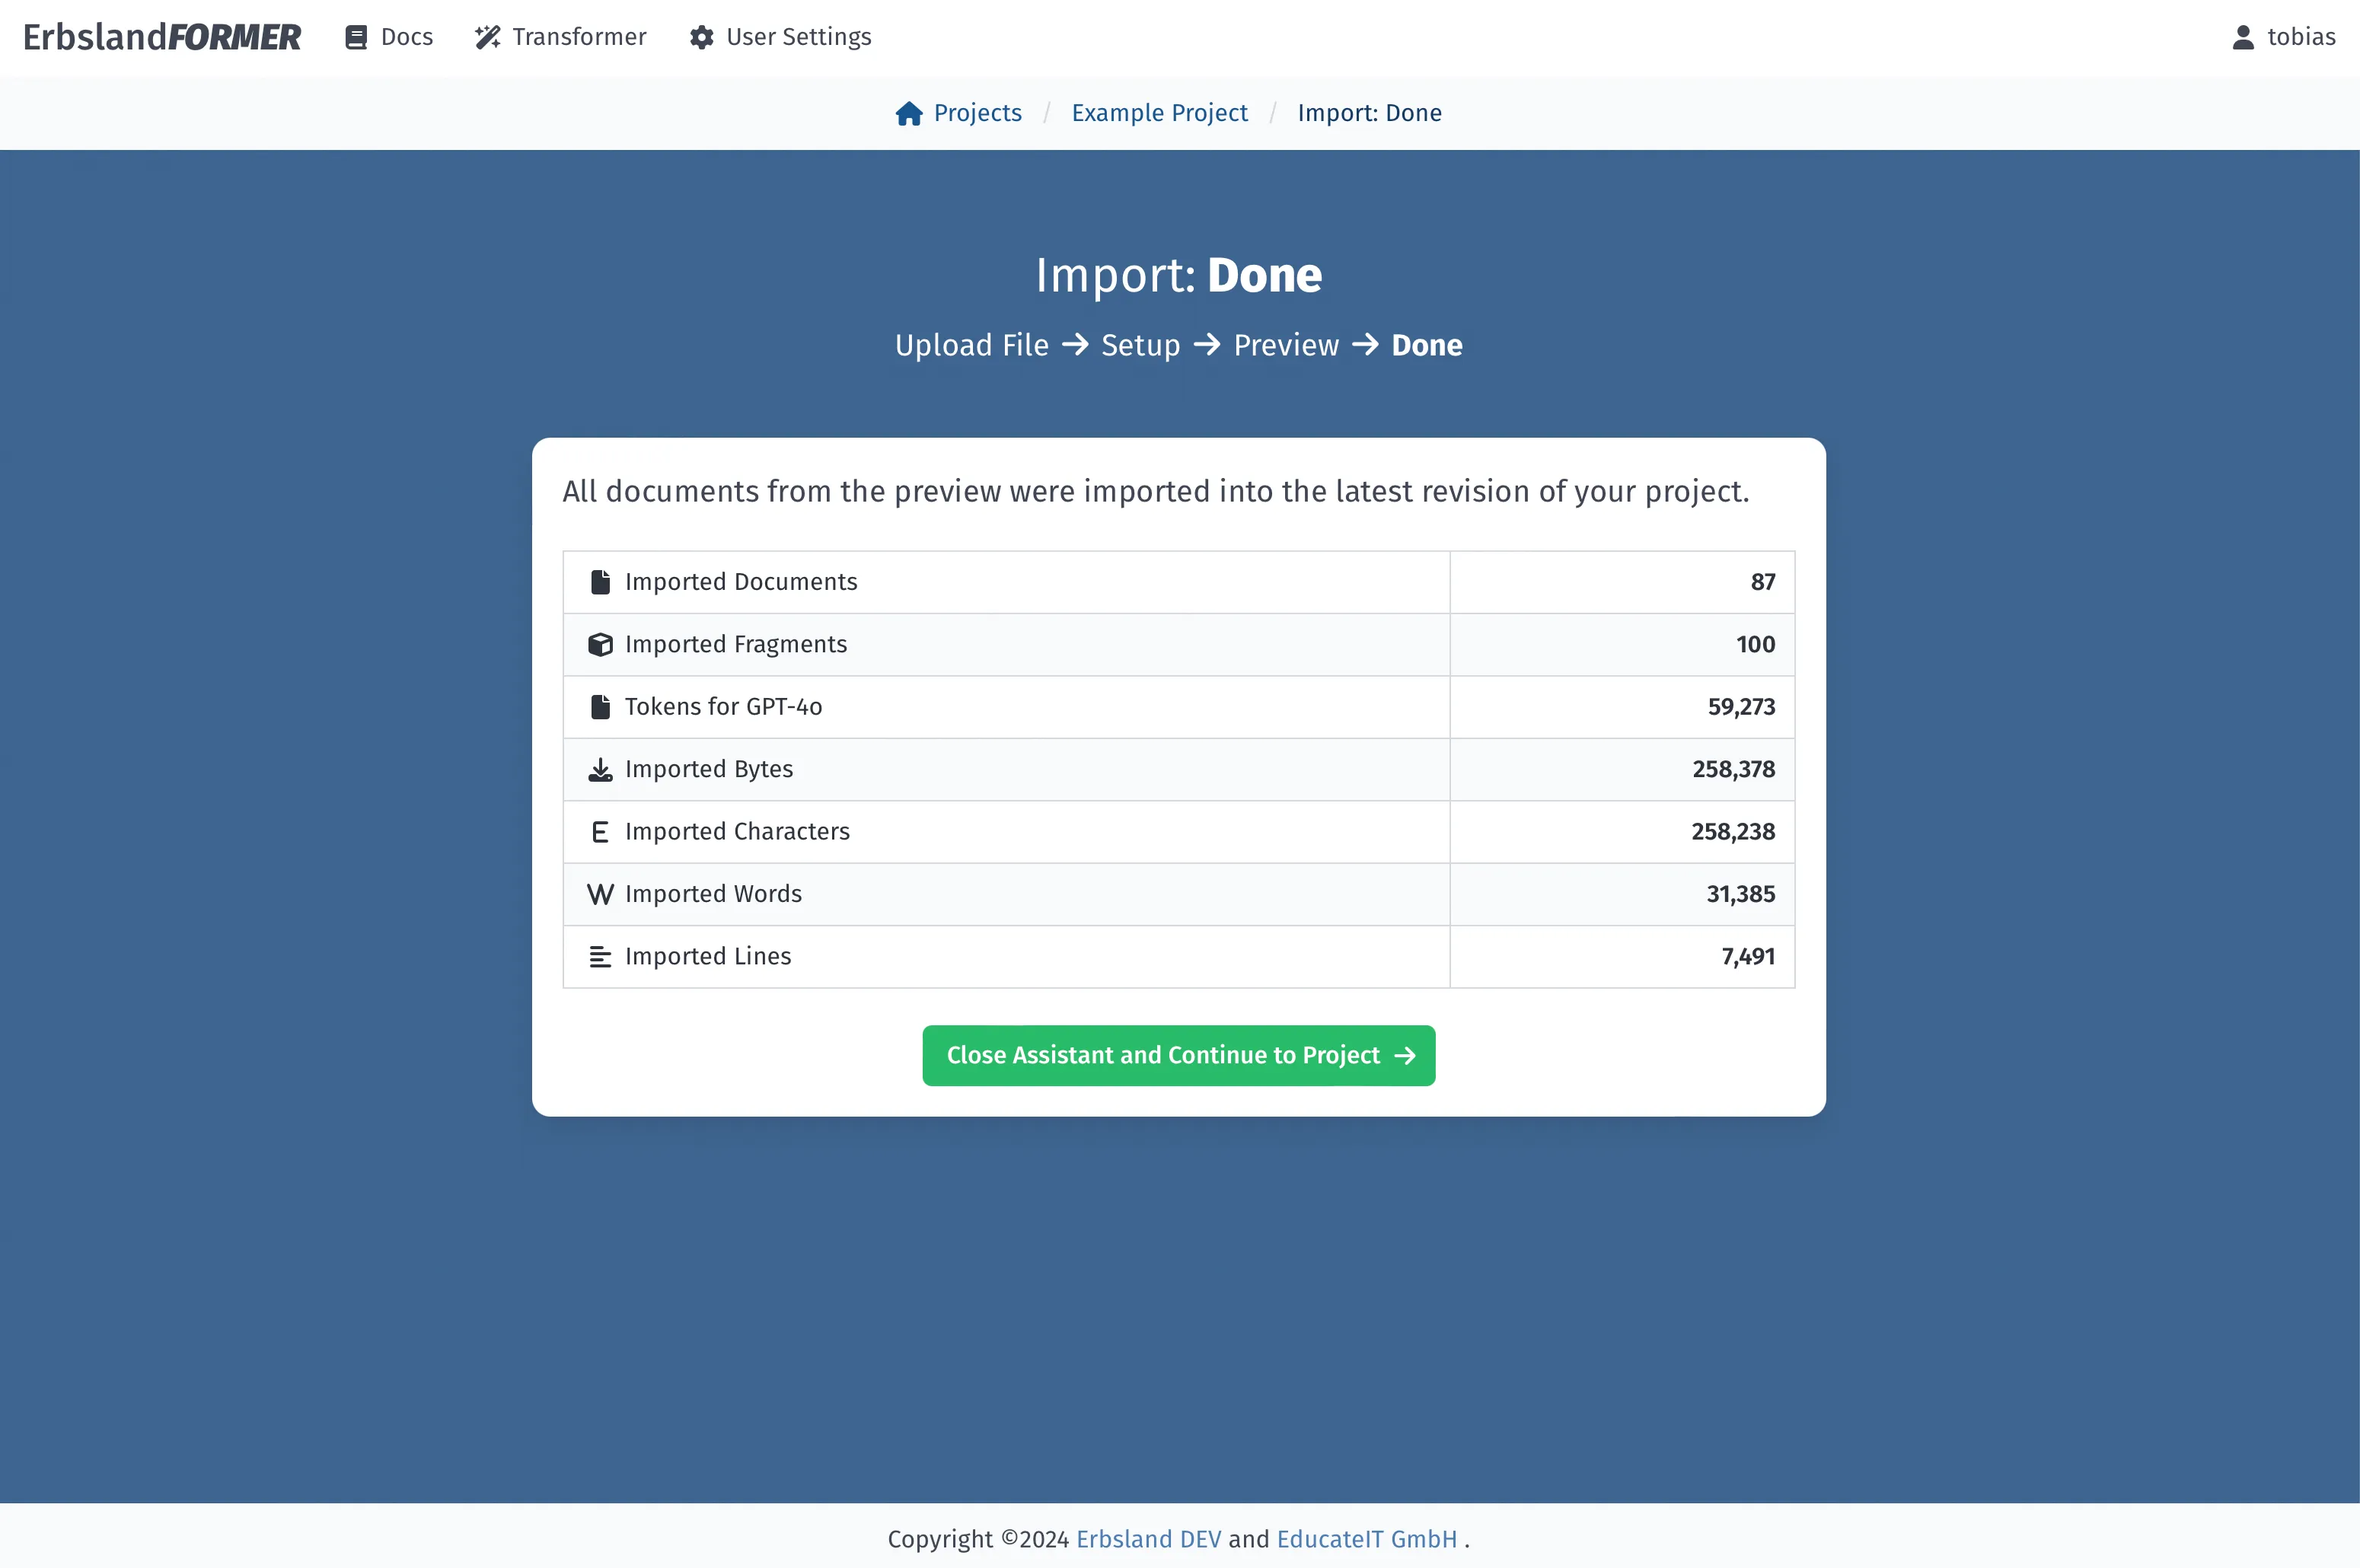
After a successful import, statistics are displayed.
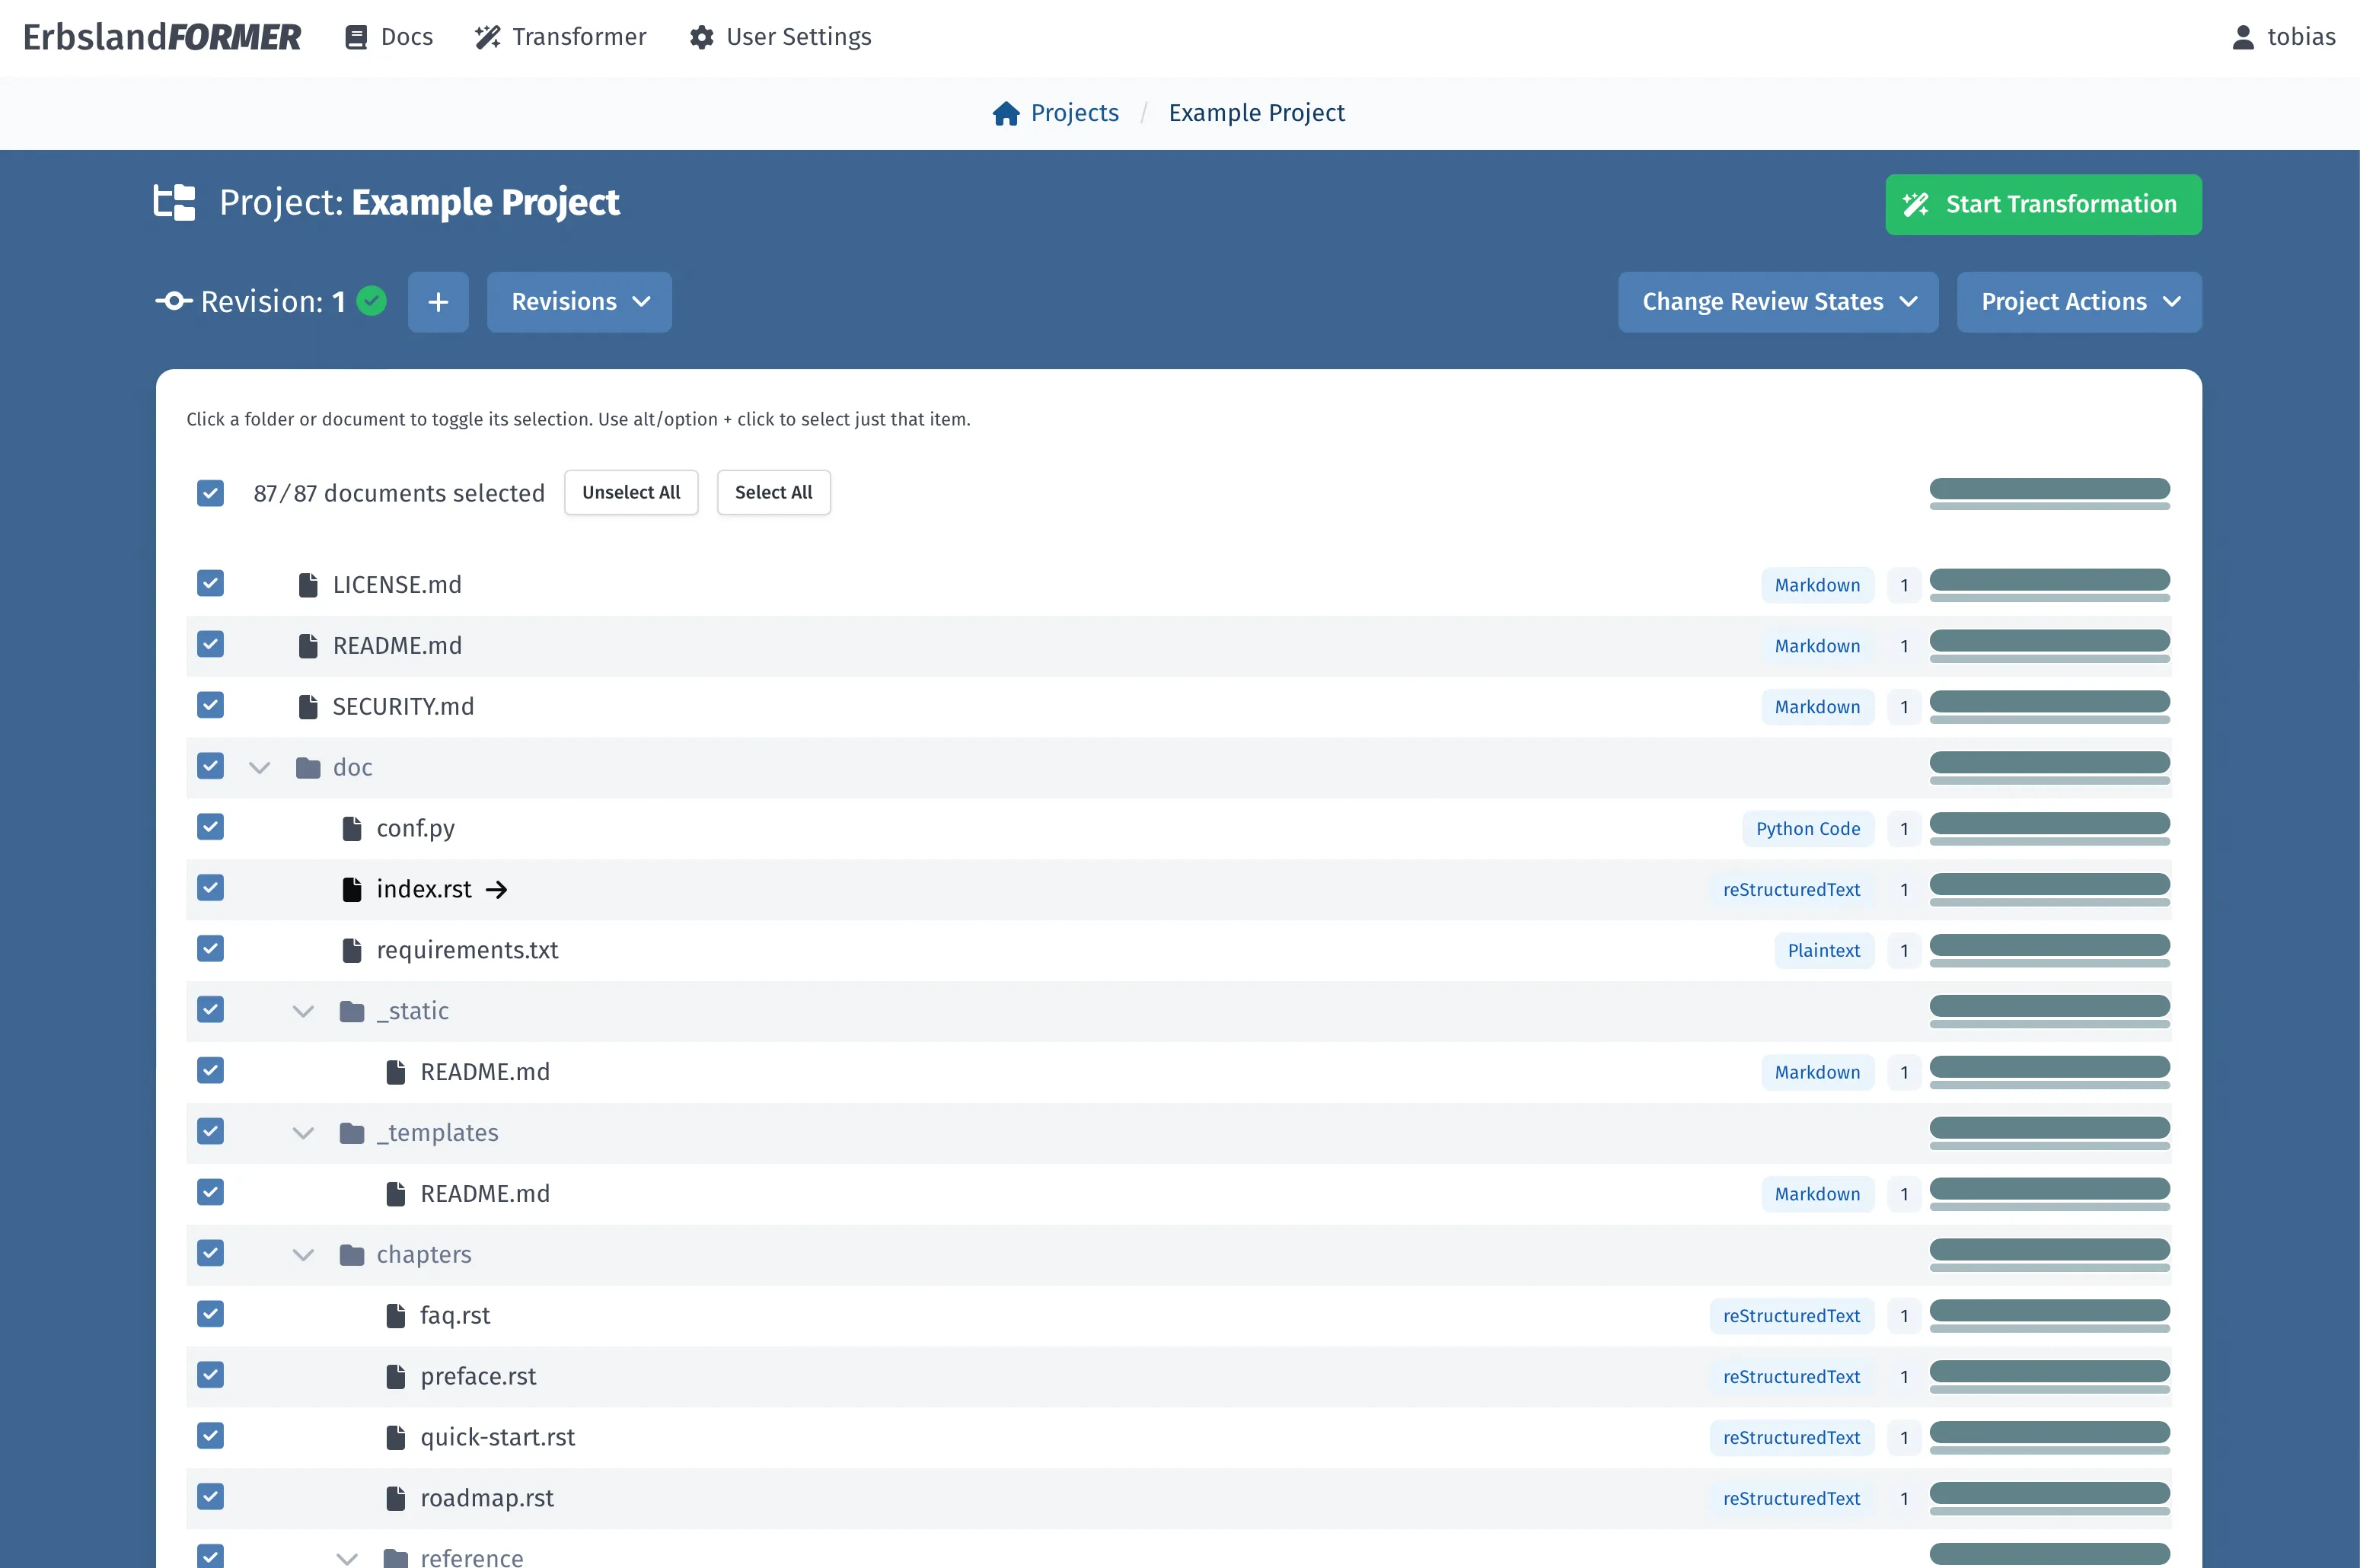
The project view shows you all files of the project and its folder structure.
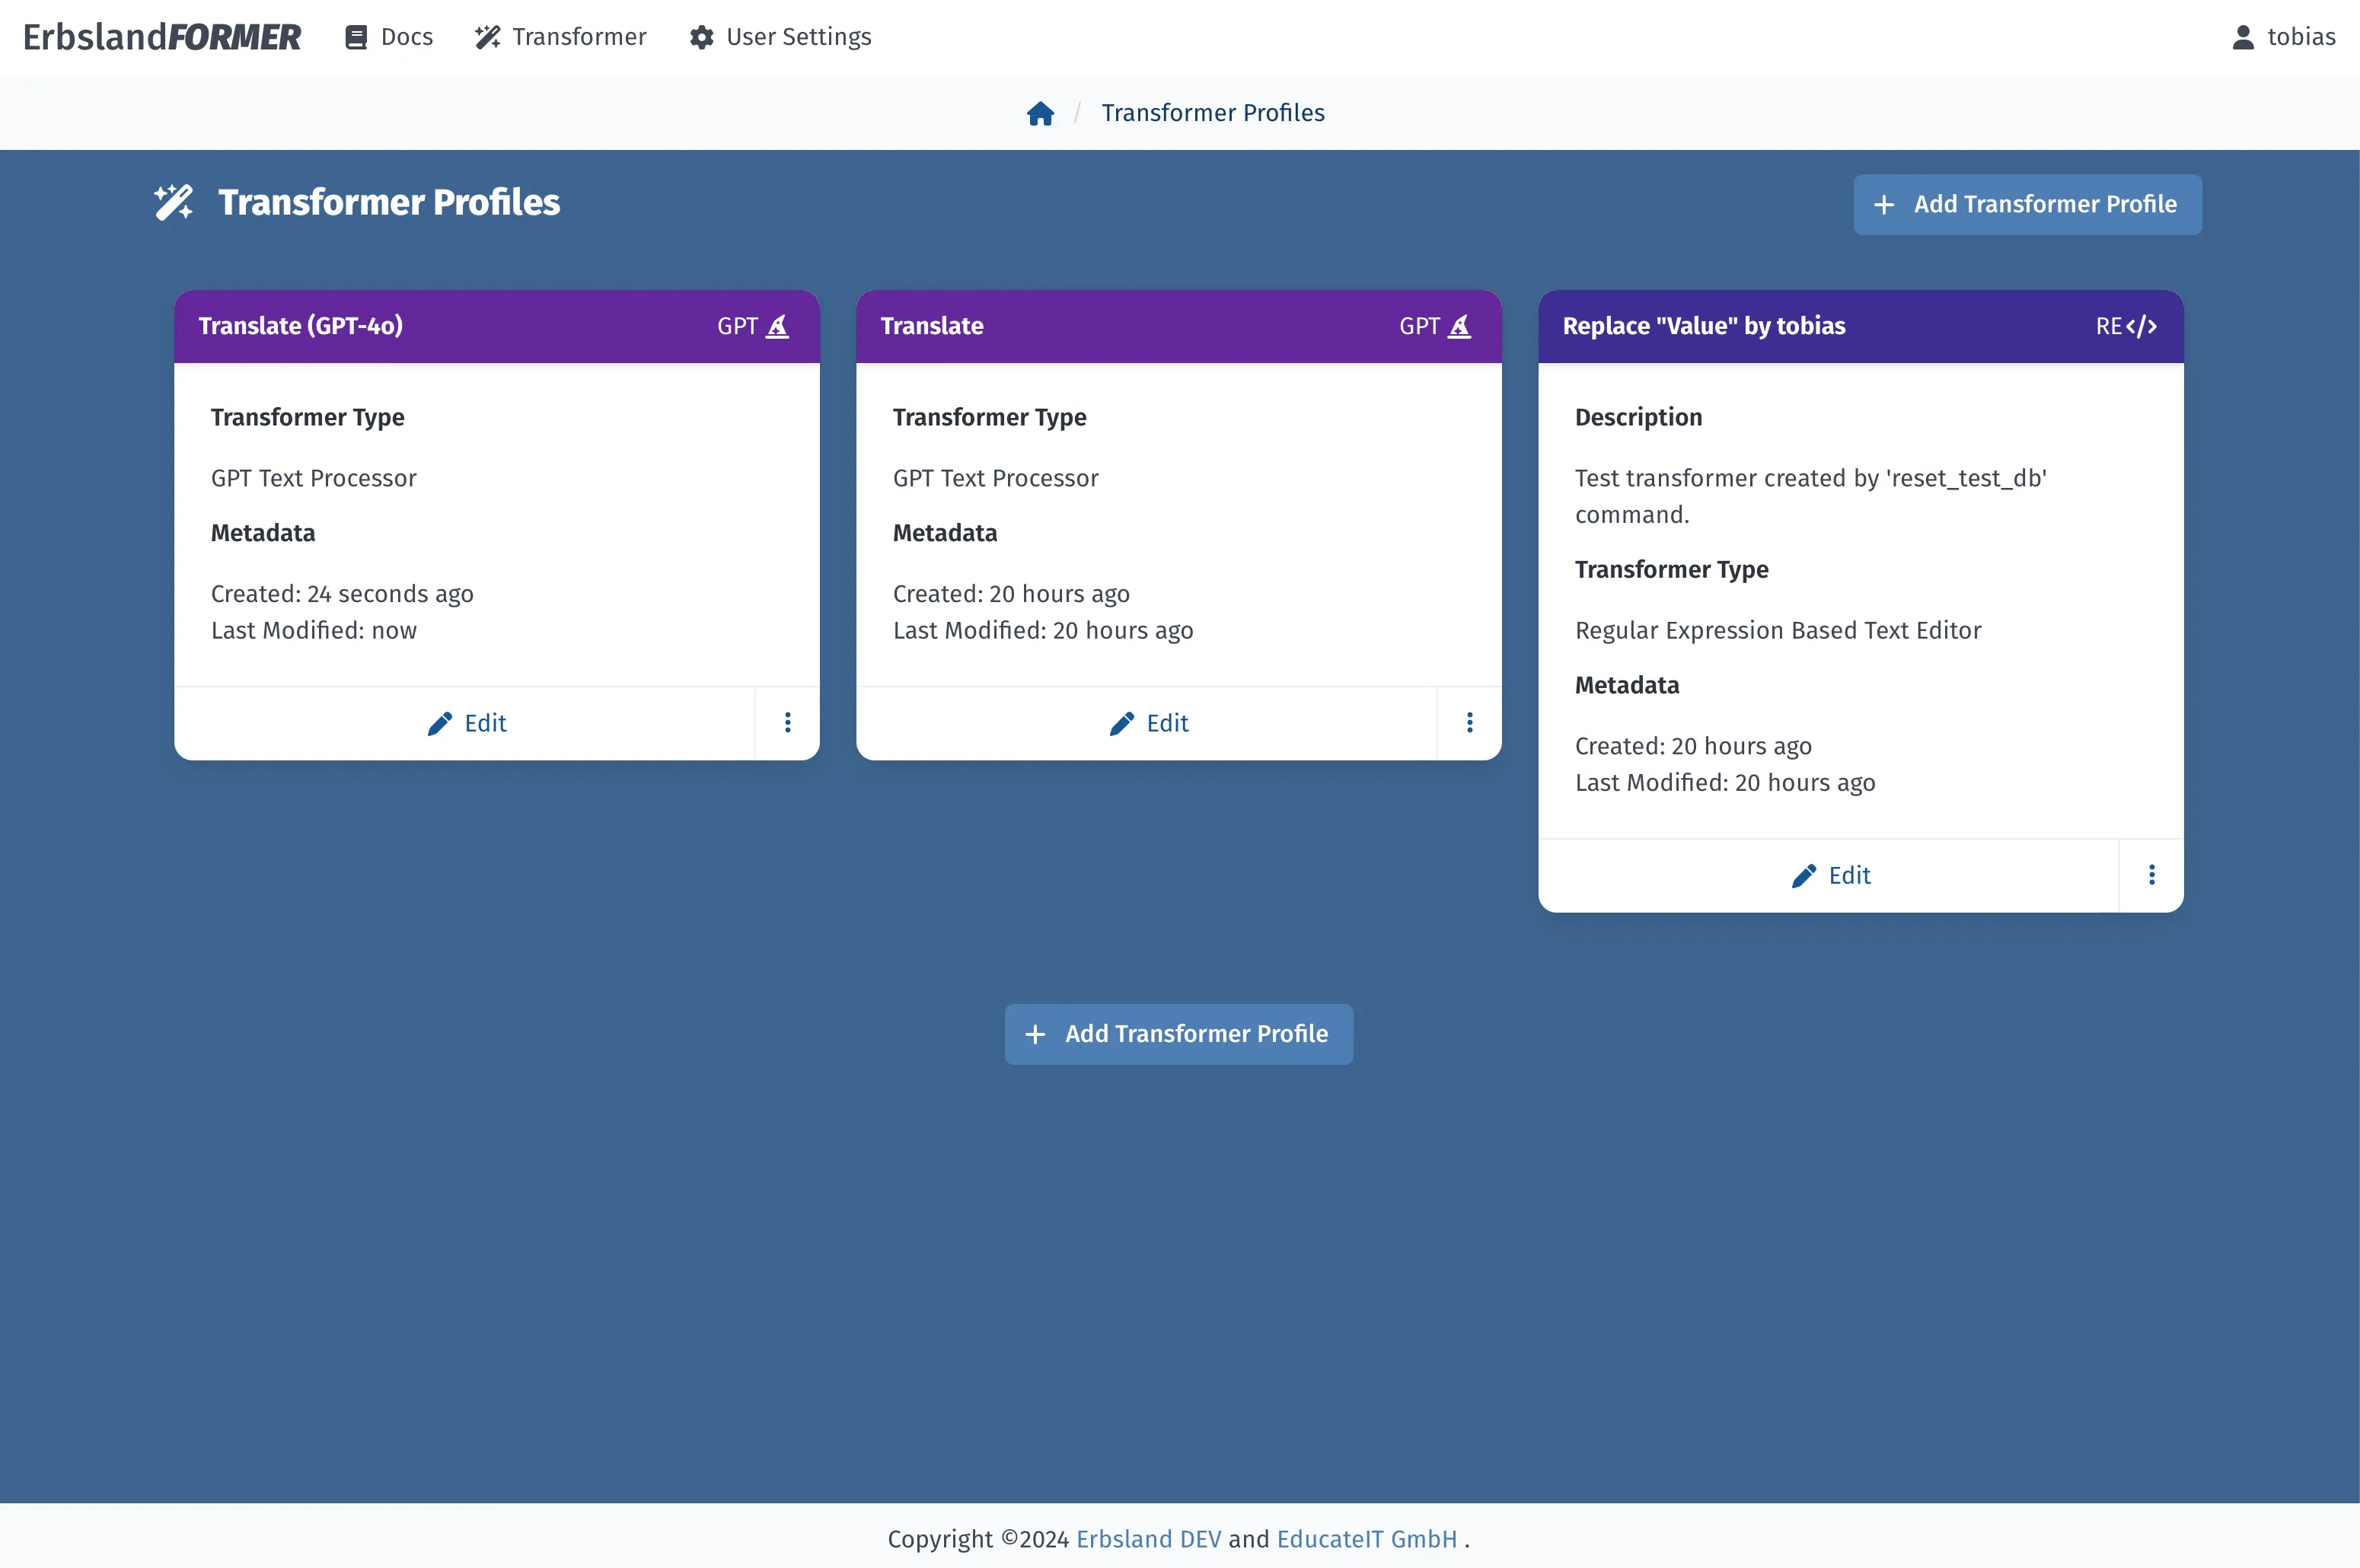
You can create any number of transformation profiles. You can use and reuse them to transform text in your projects.
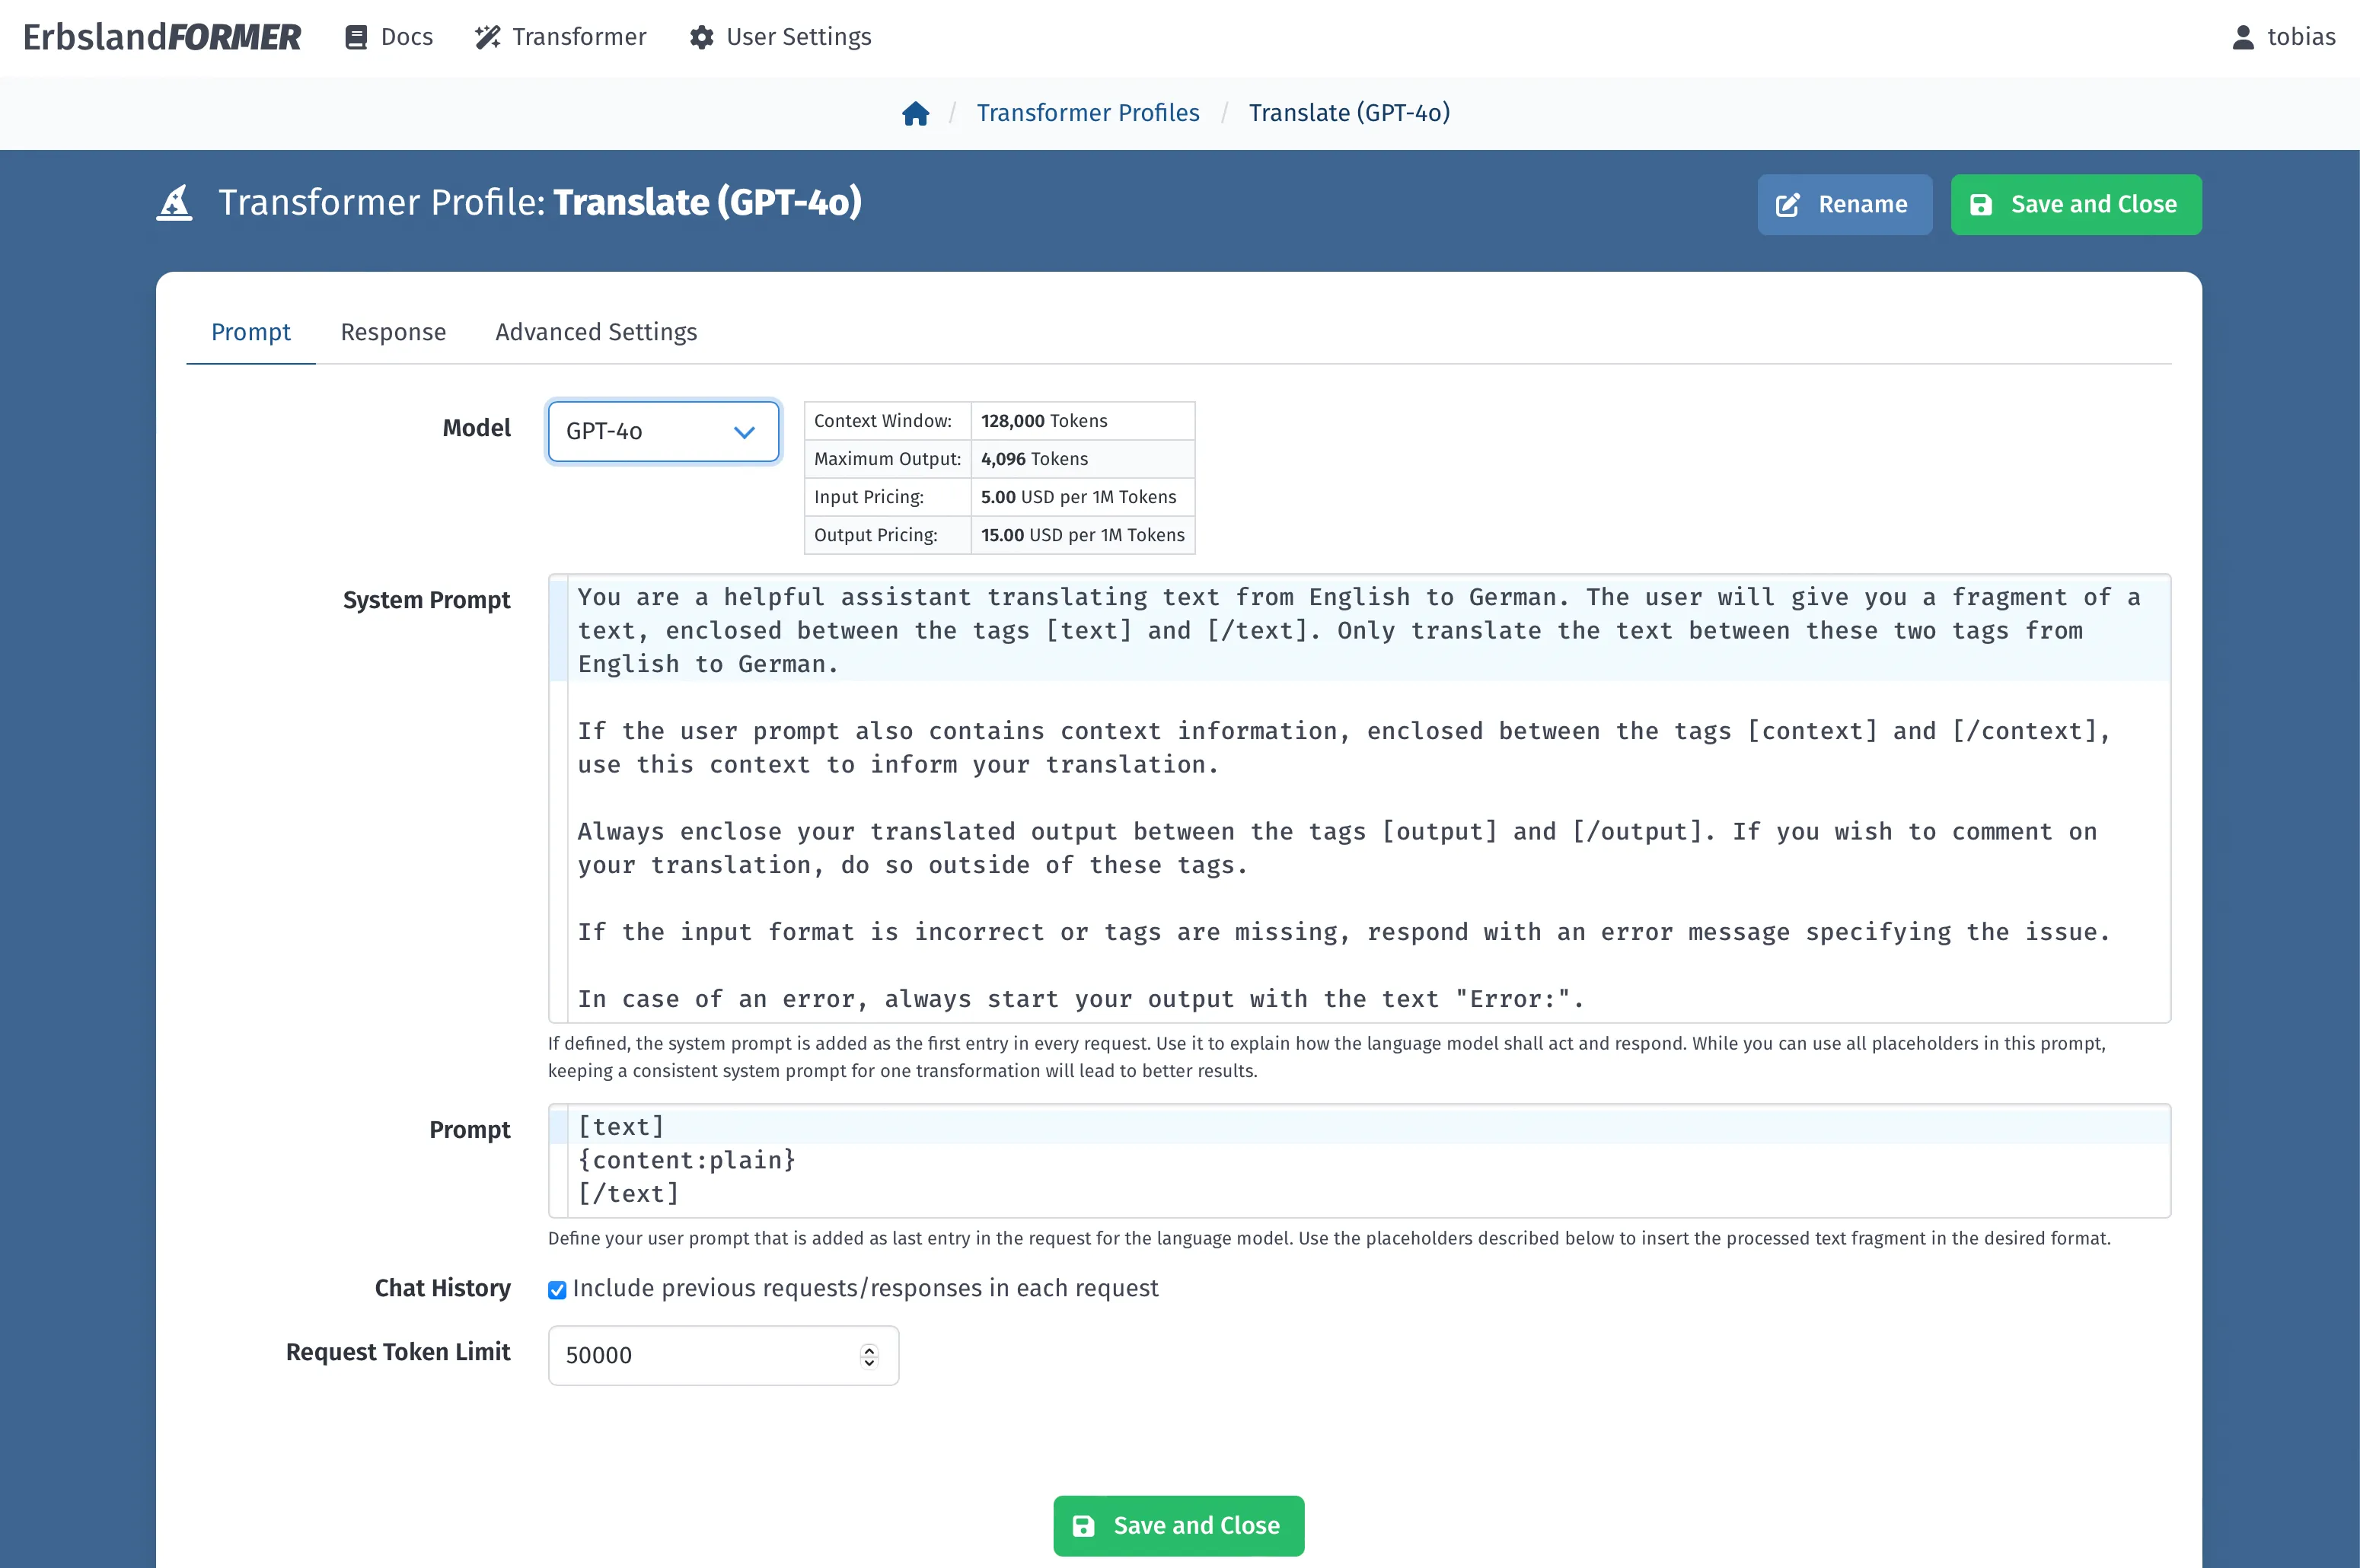
The GPT transformer allows you to write a prompt to transform projects.
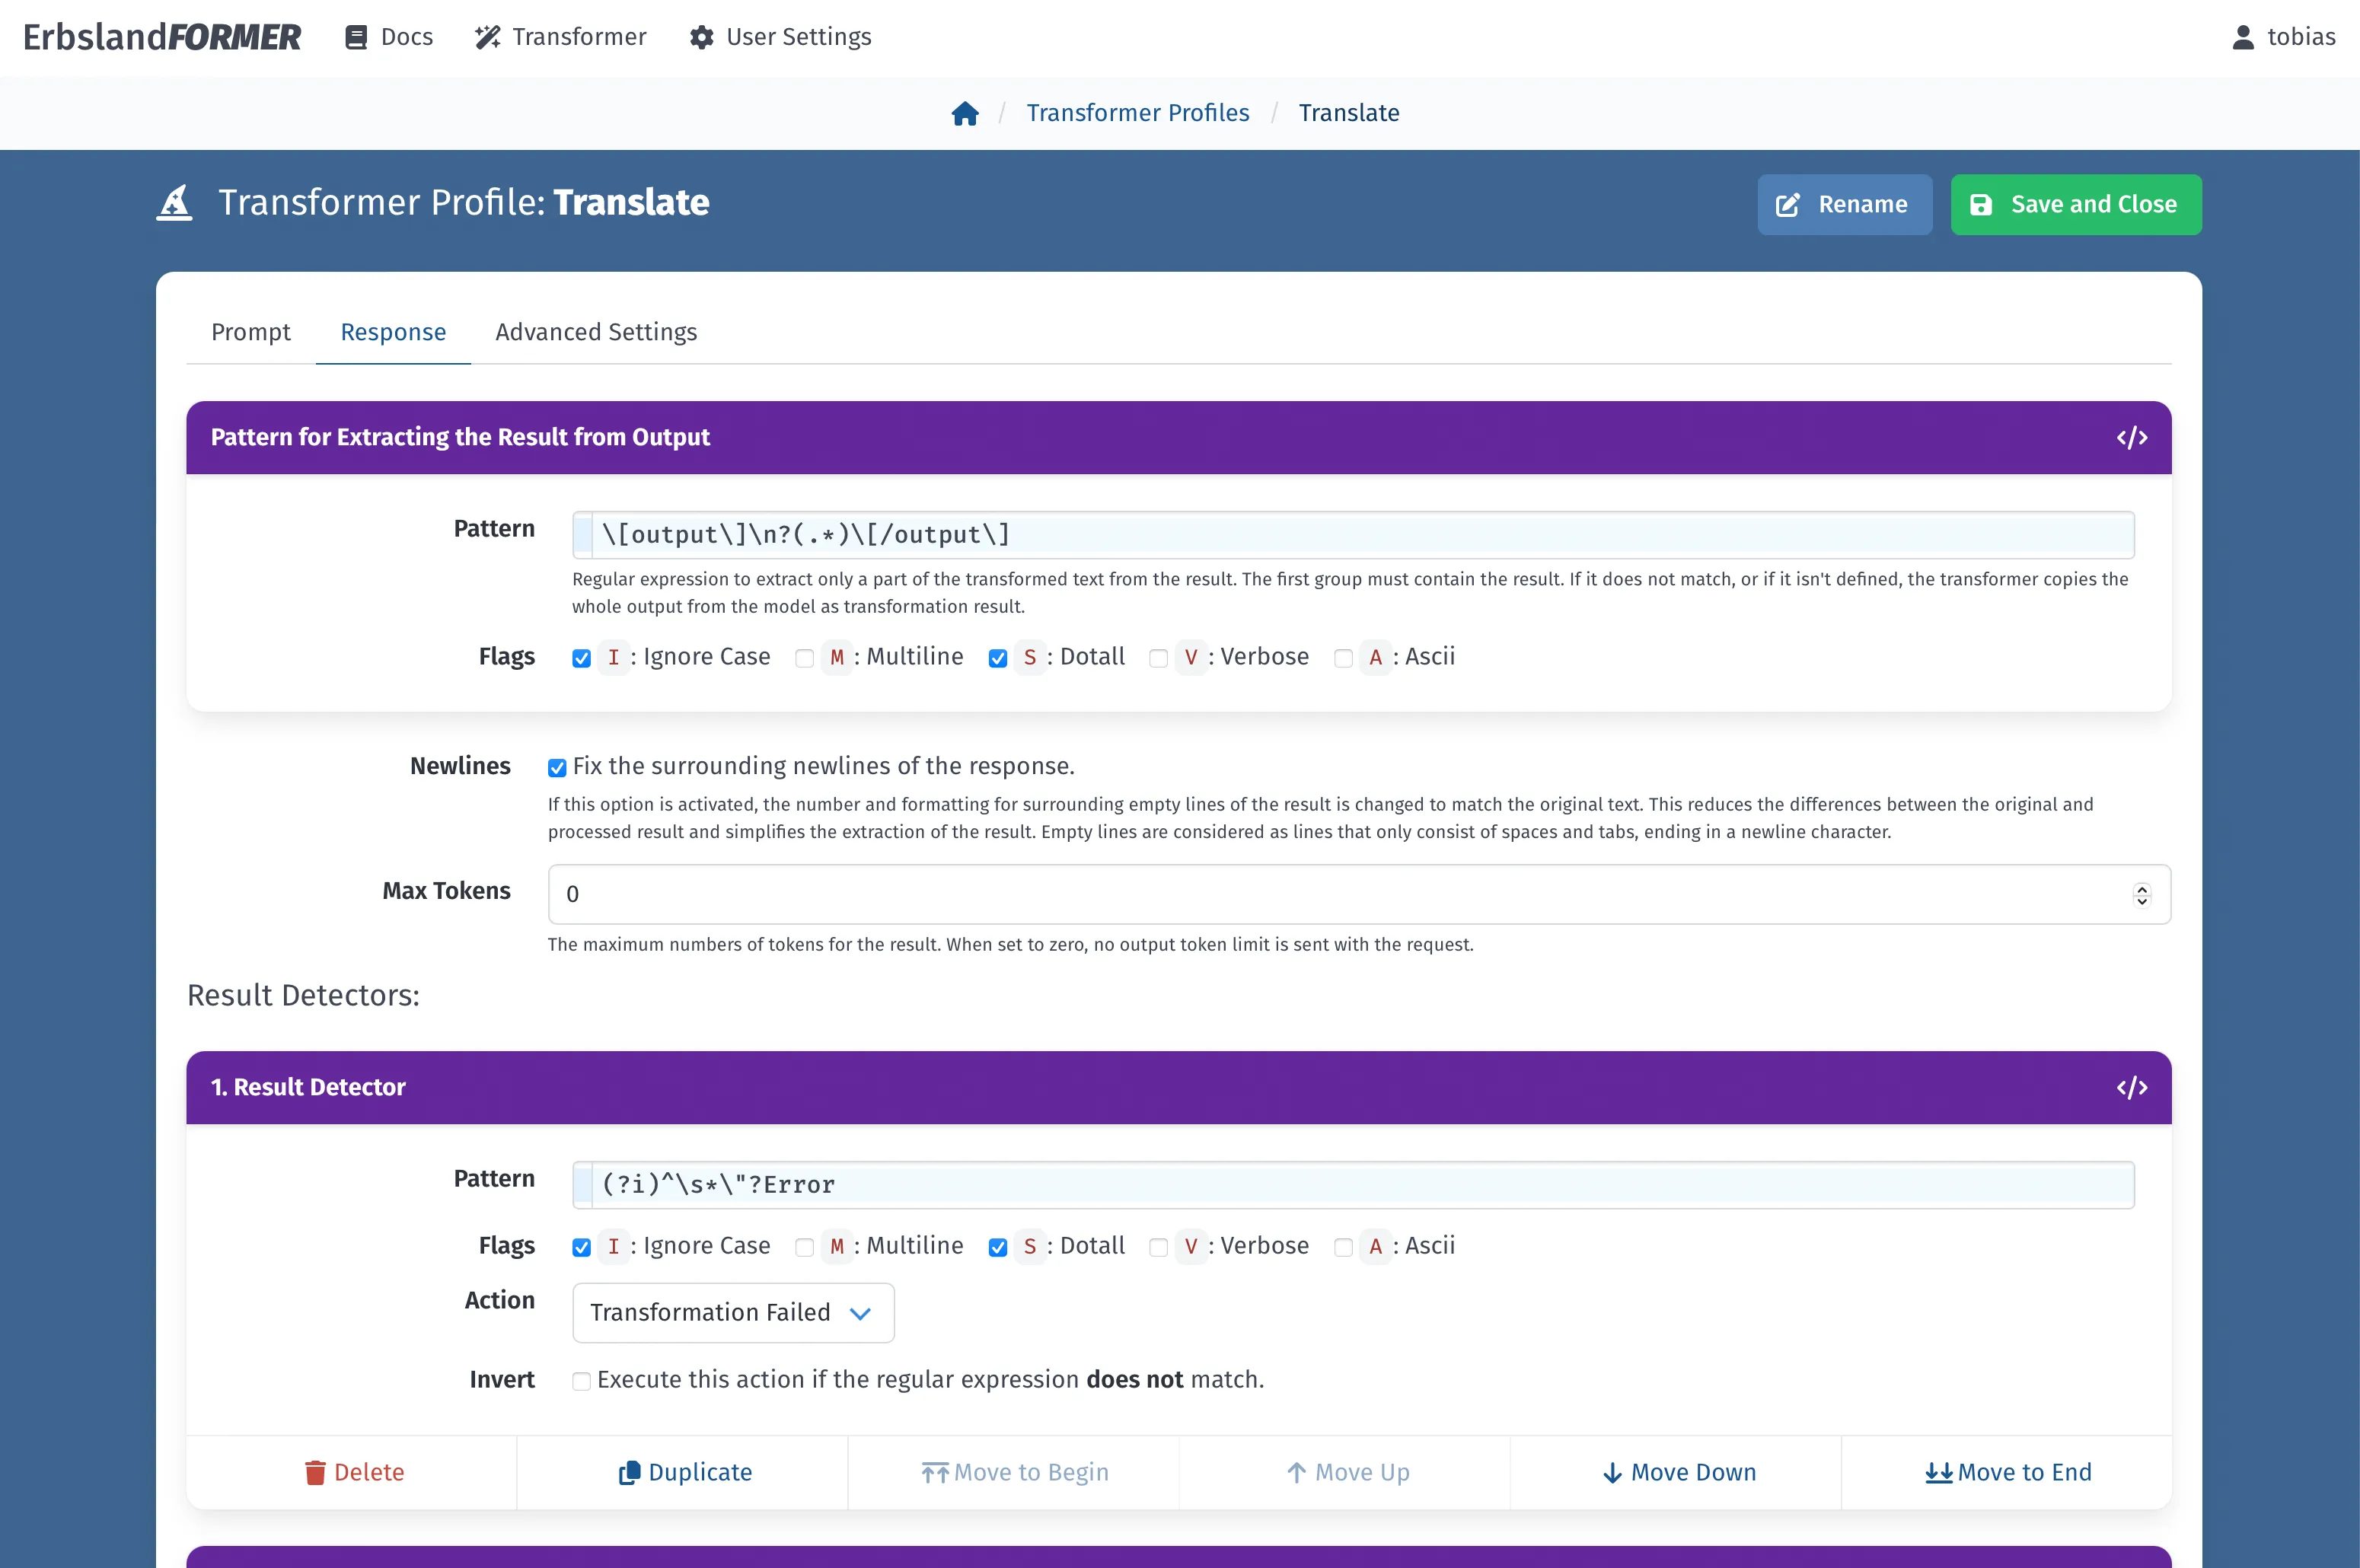
The response from language models can be analyzed and processed using regular expression.
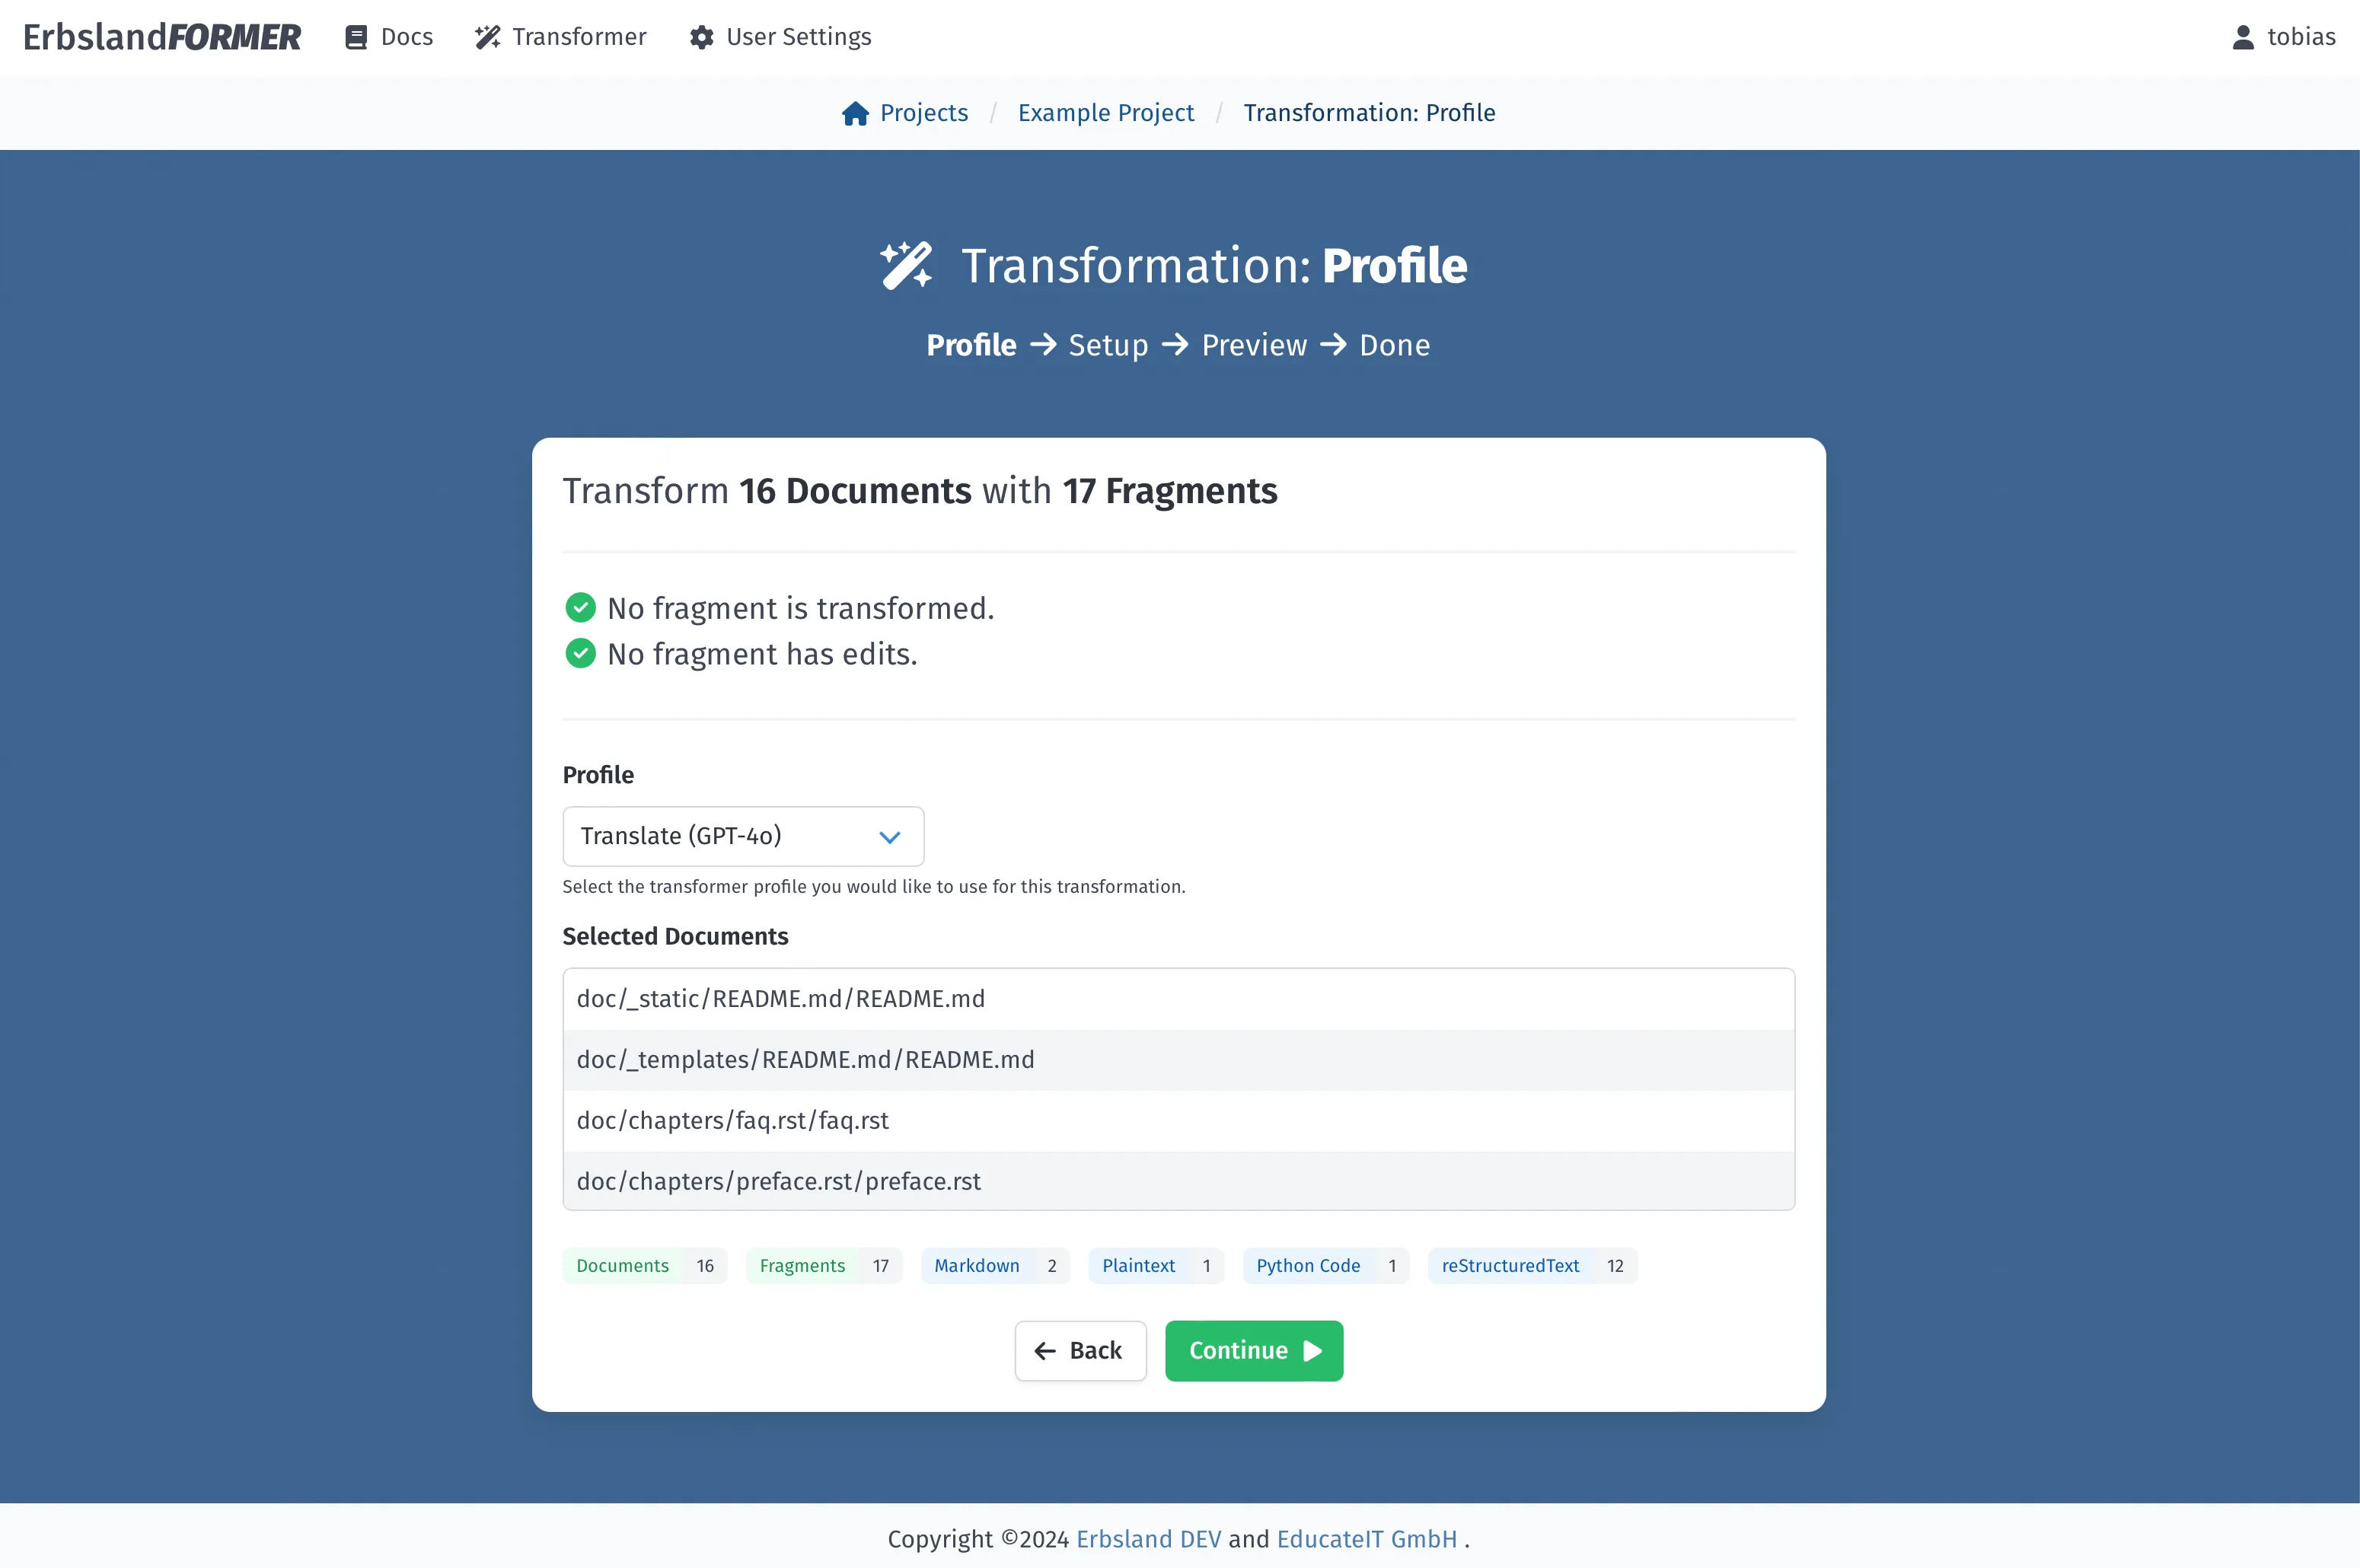
Select any number of documents and start a new transformation process, using one of the profiles you created.
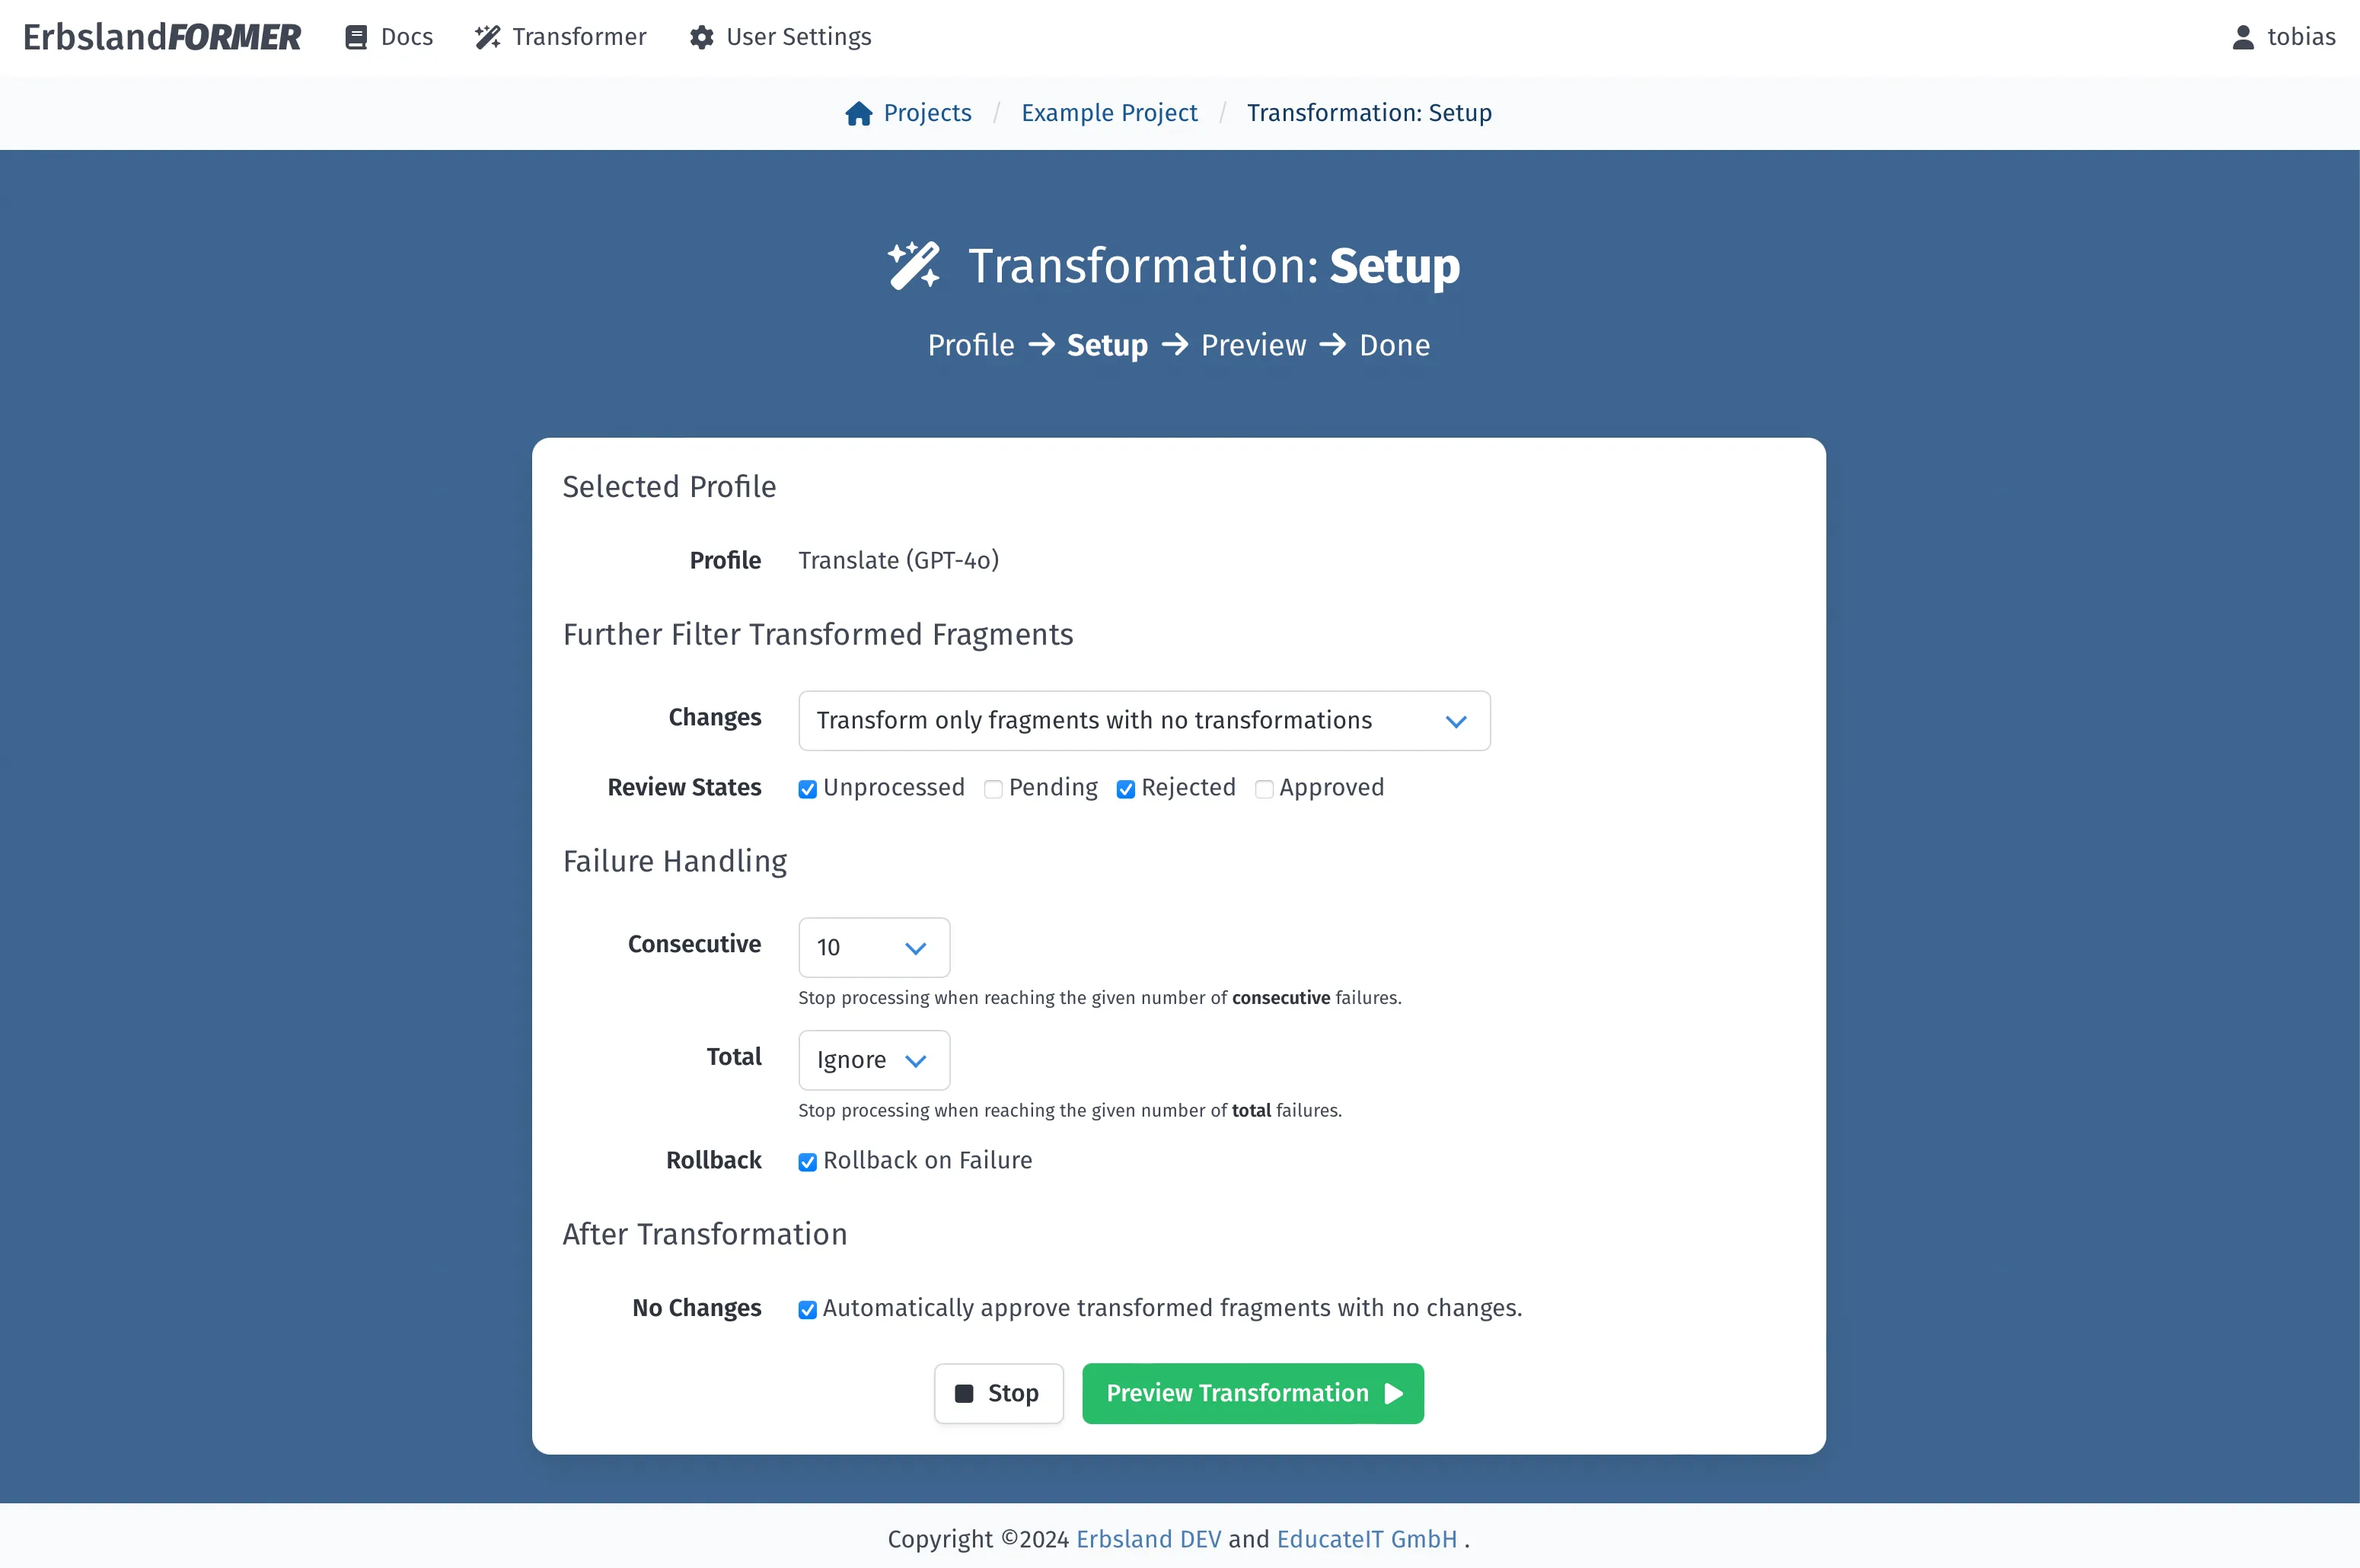
There are plenty of options to only transform the fragments you like and how to handle problems that occur.
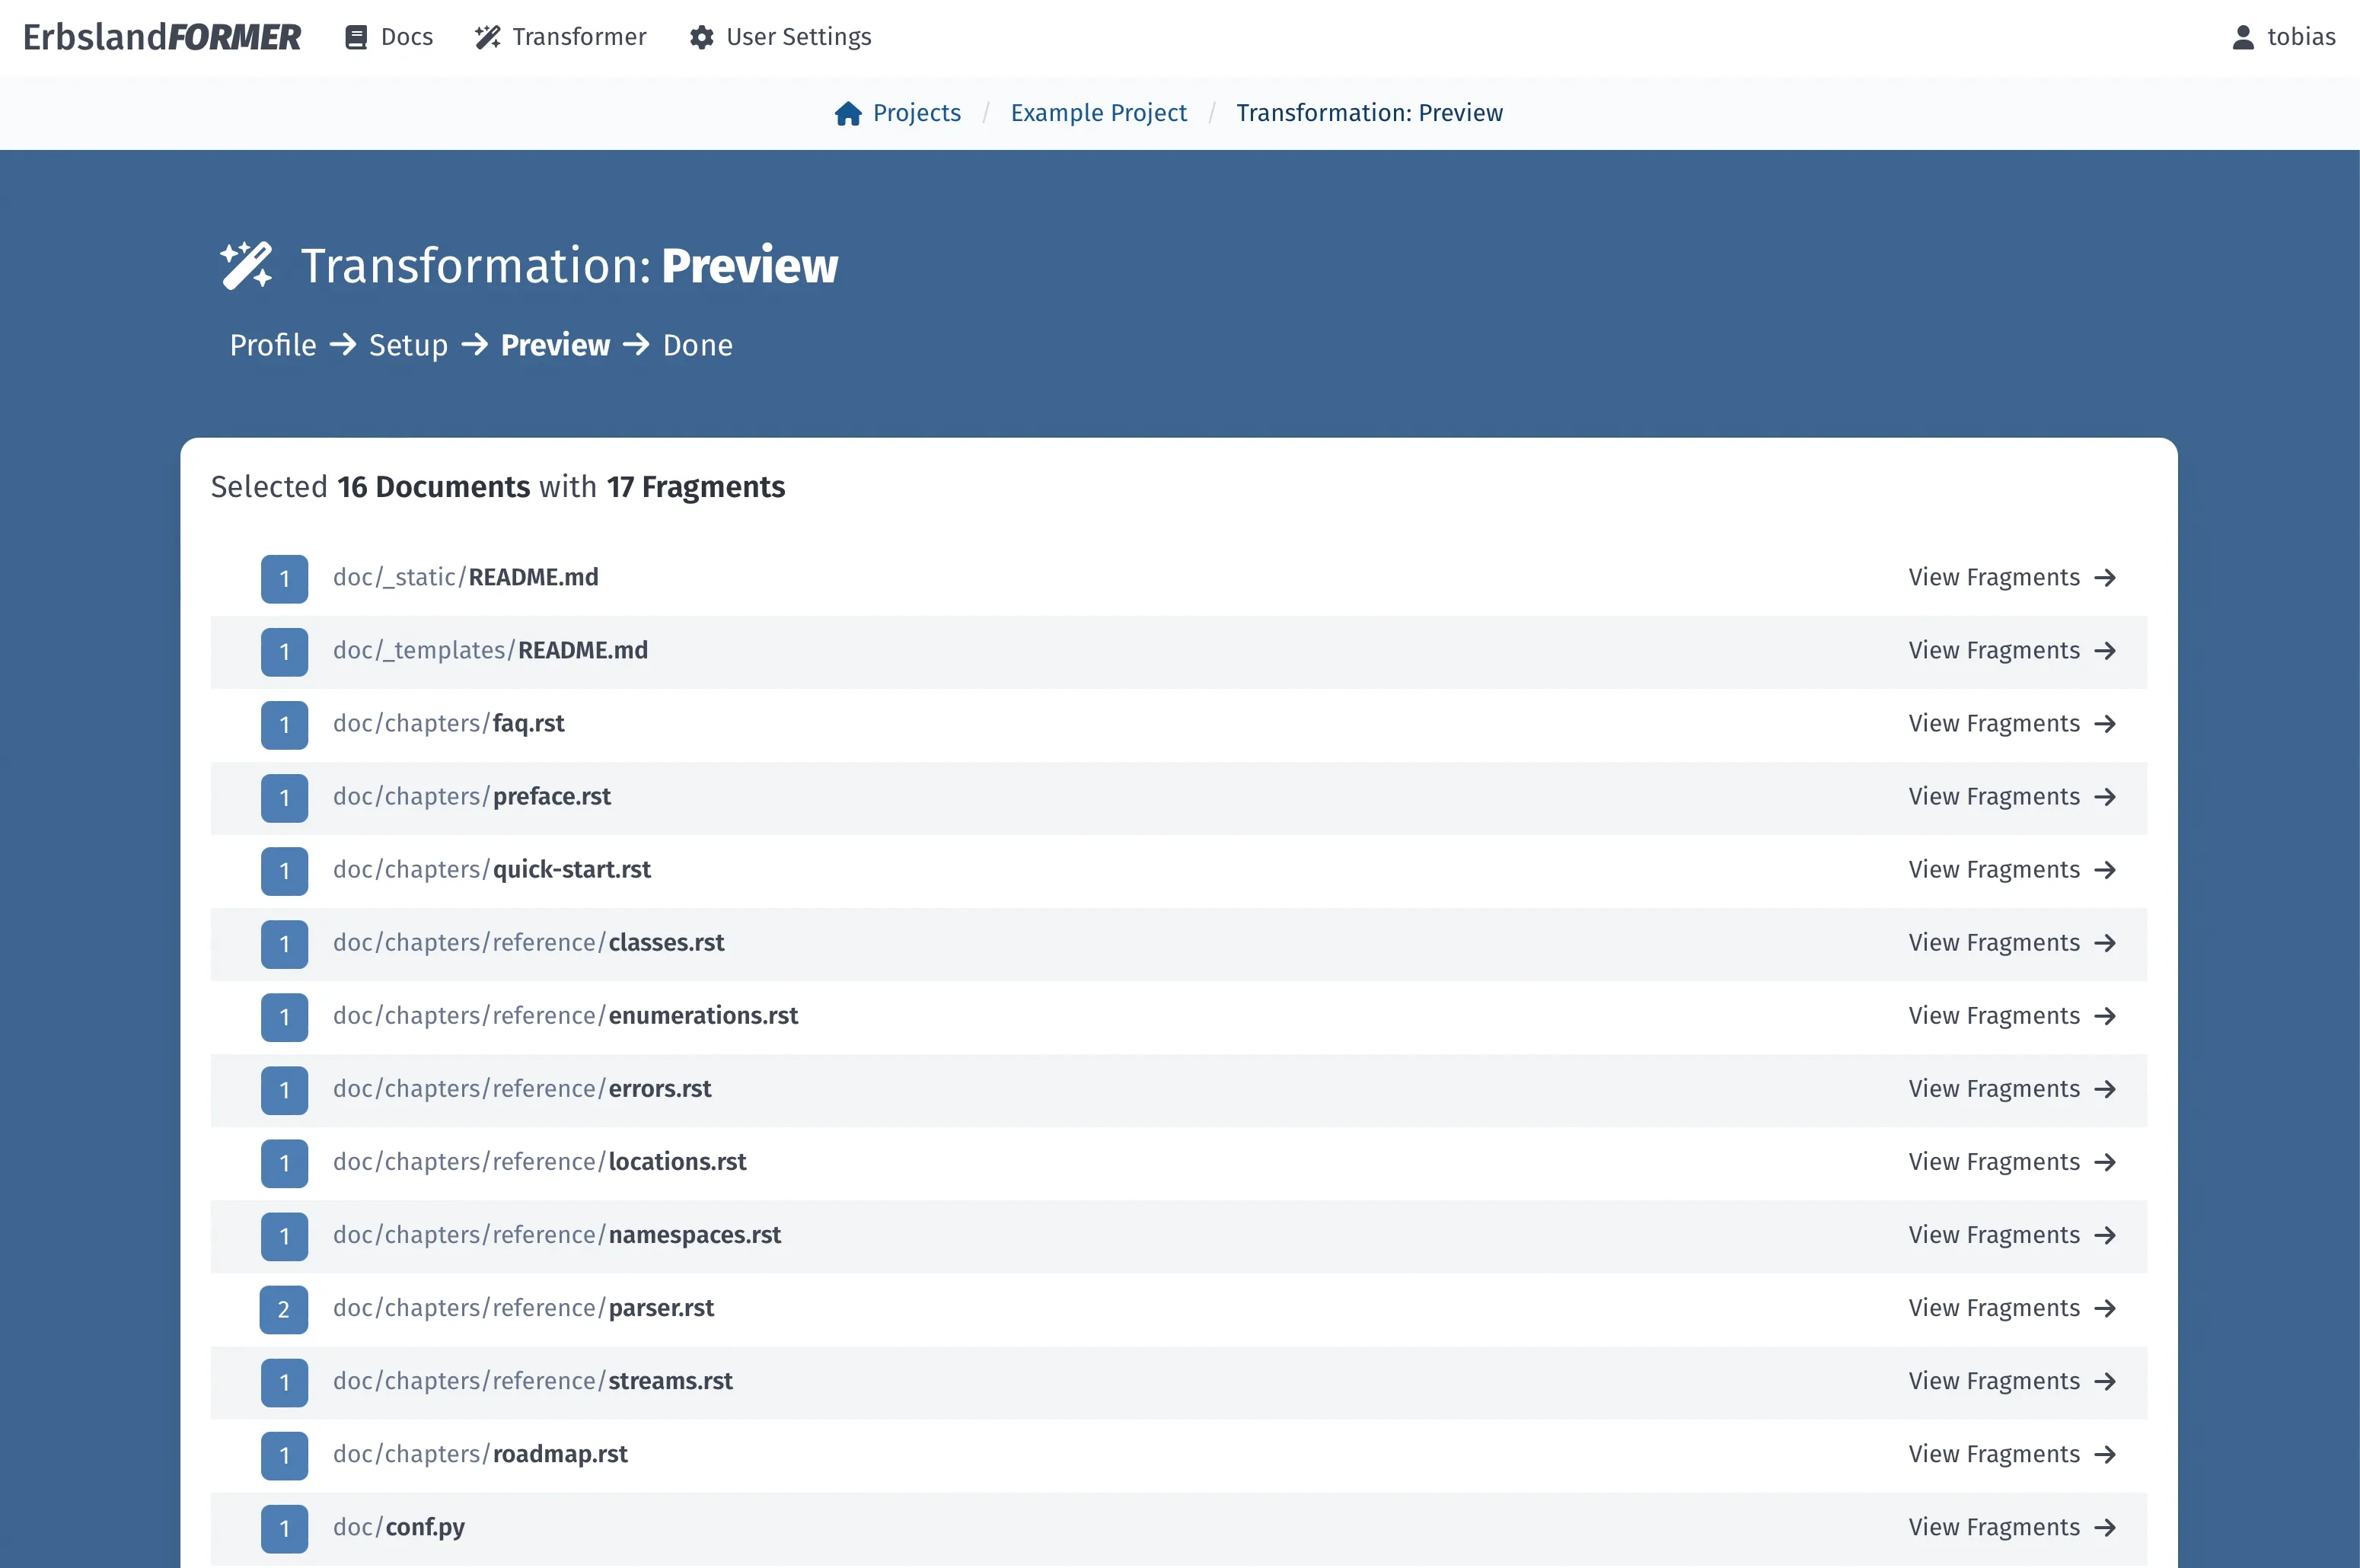
In this preview you see which documents and fragments will get transformed, based on your selection.
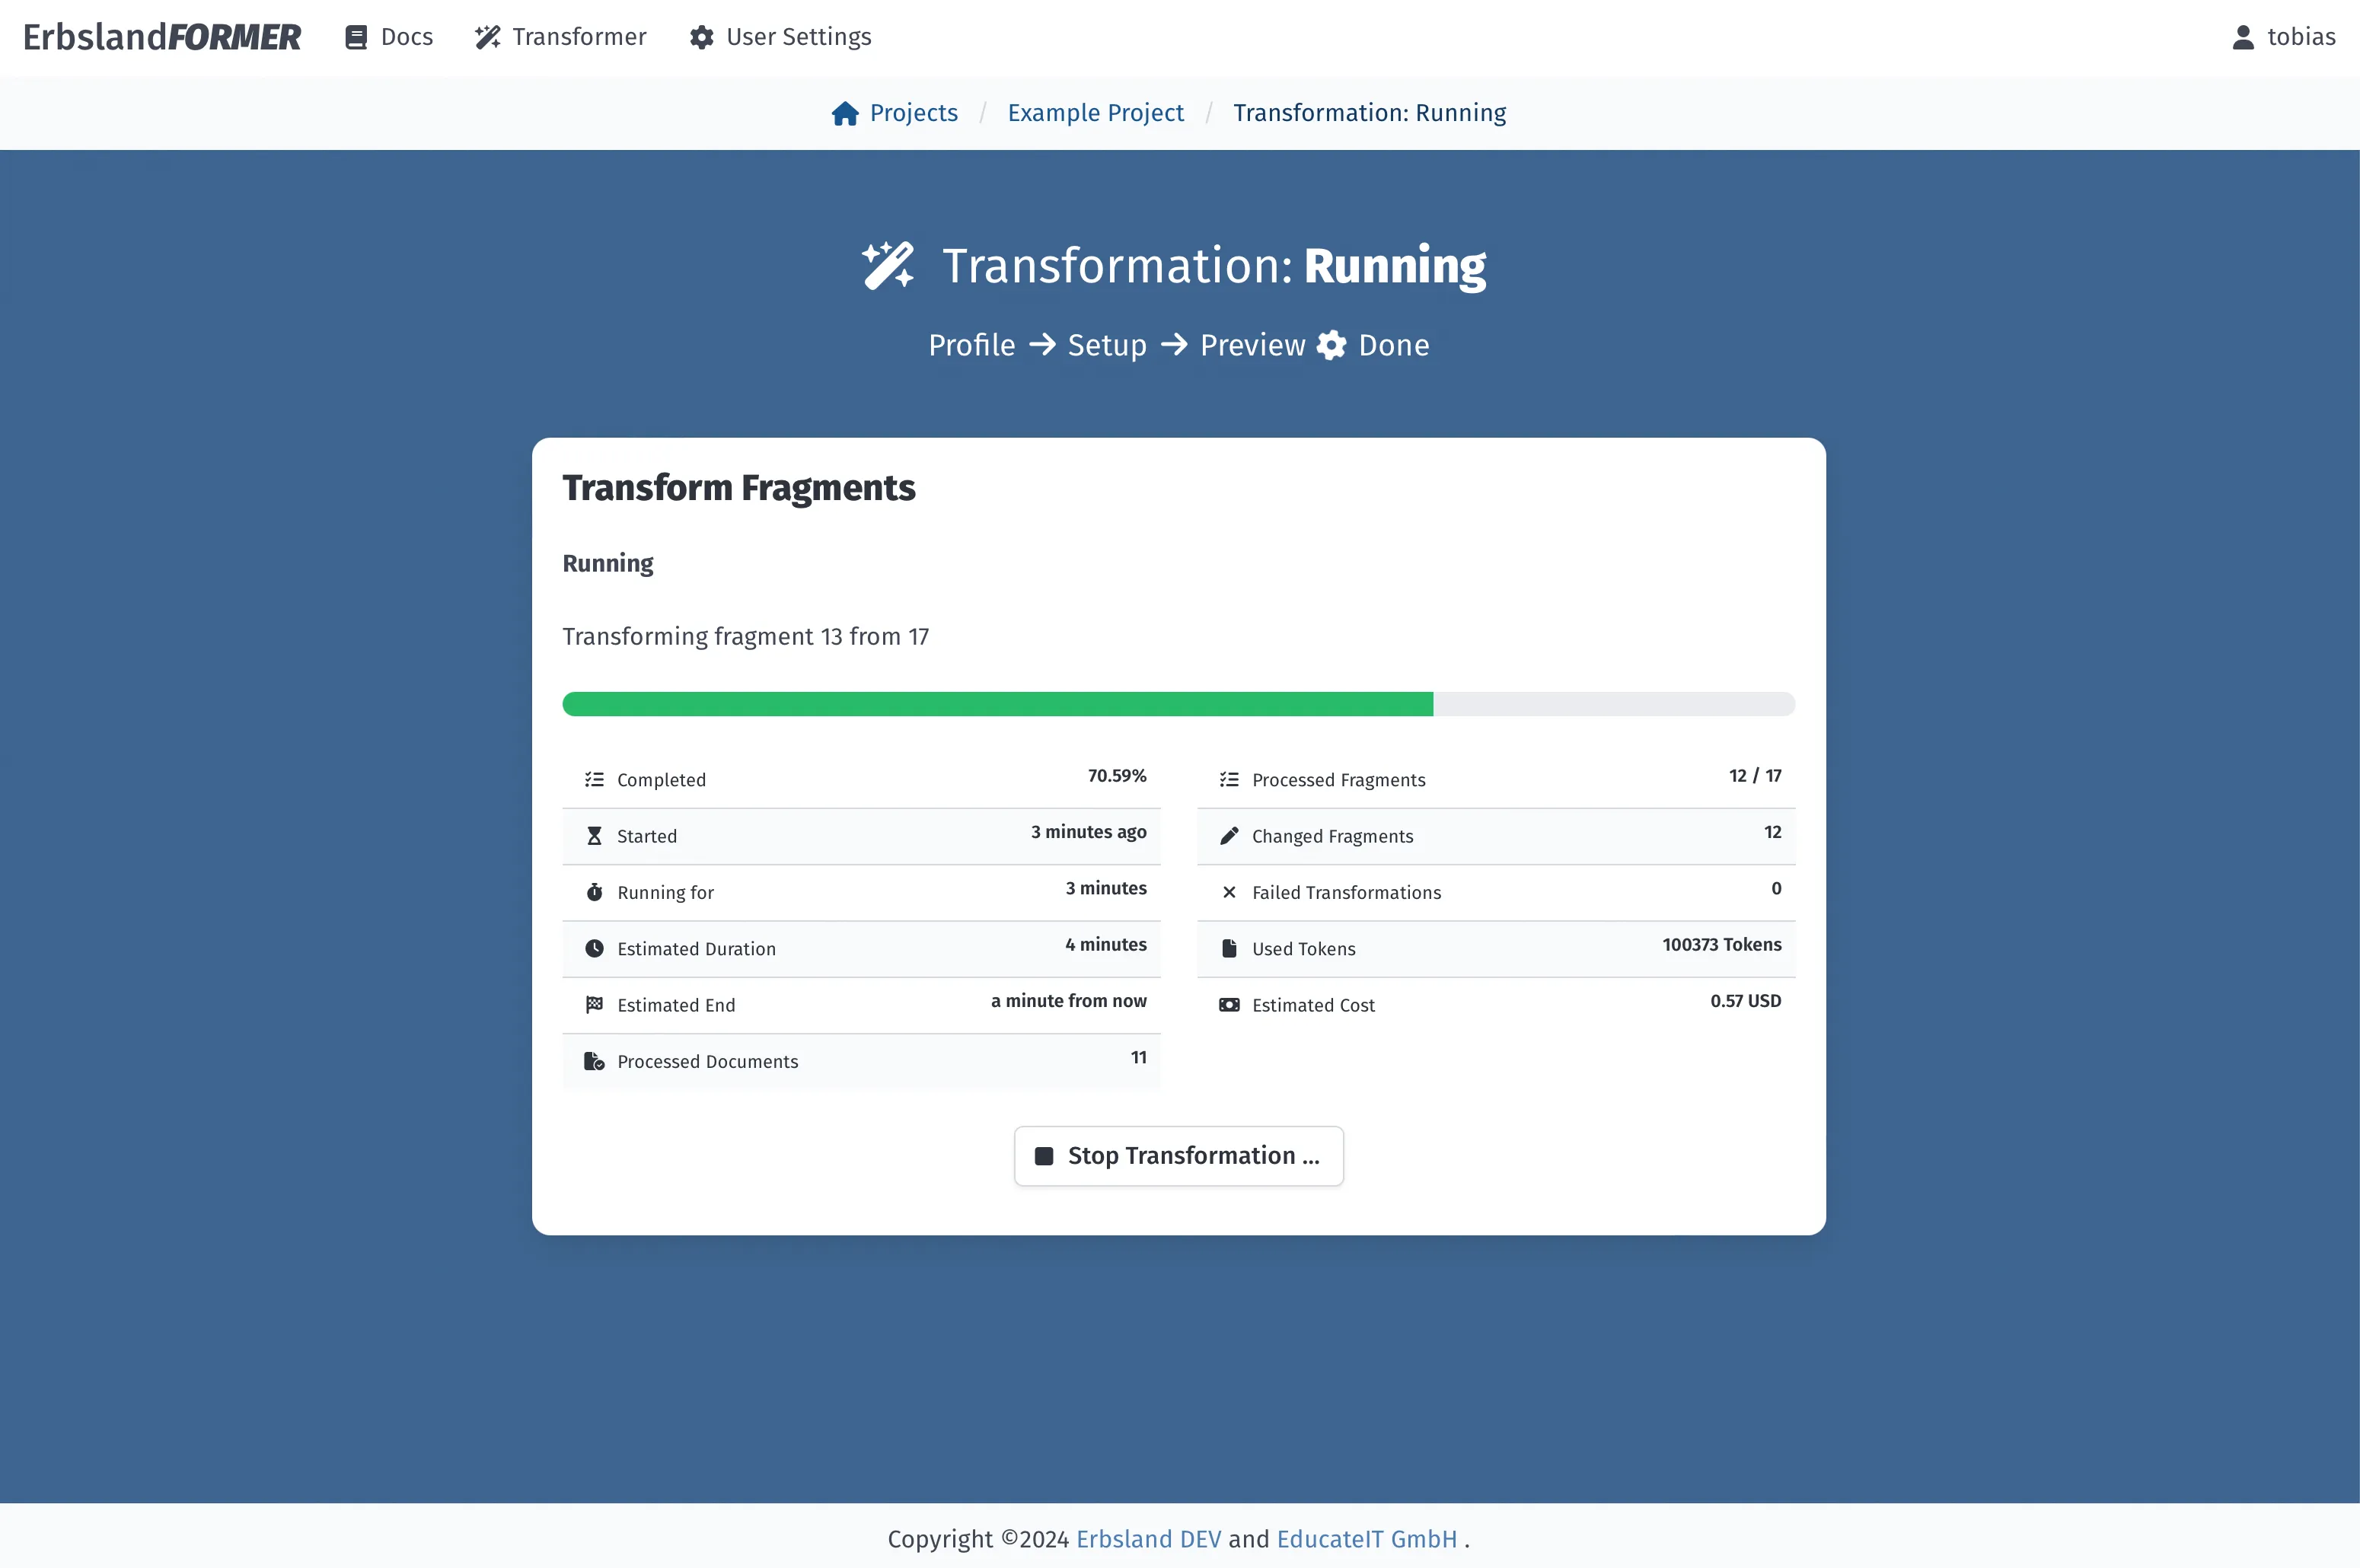
Transformations using LLM can take a very long time, it is running in the background and you can check its progress and estimated values on the status screen.
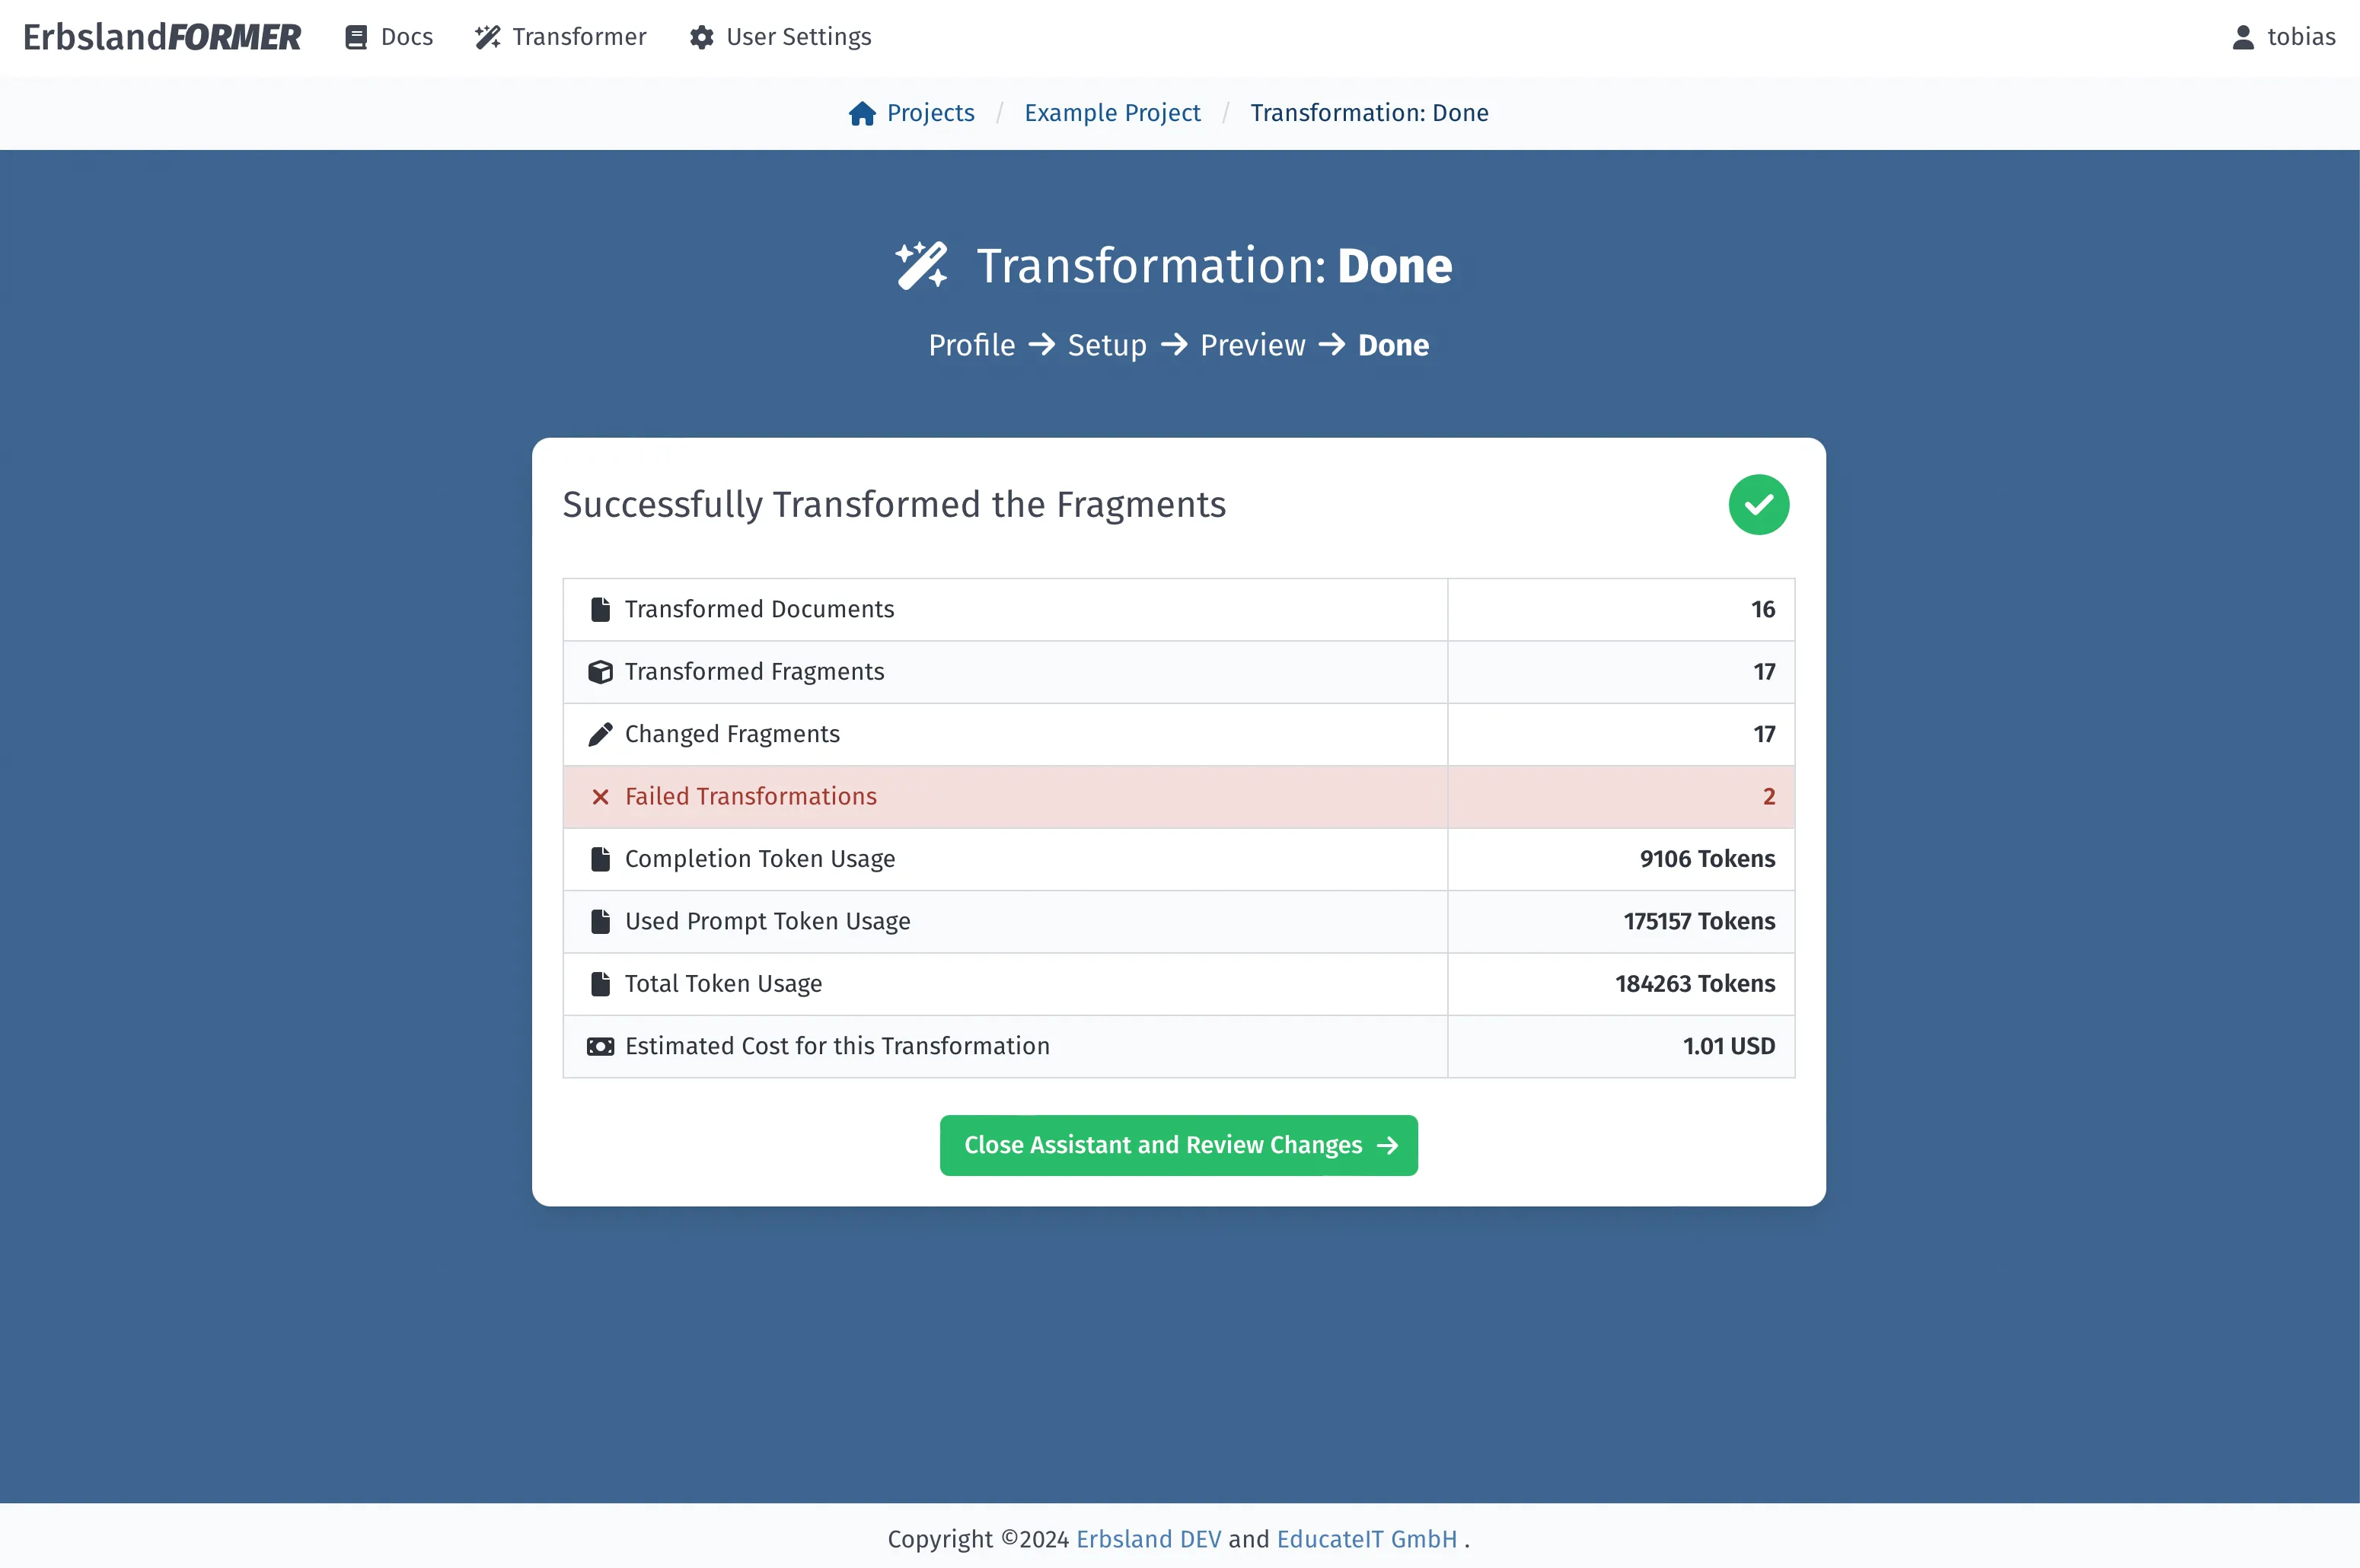
When the transformation is done, you see all relevant statistics at a glance.
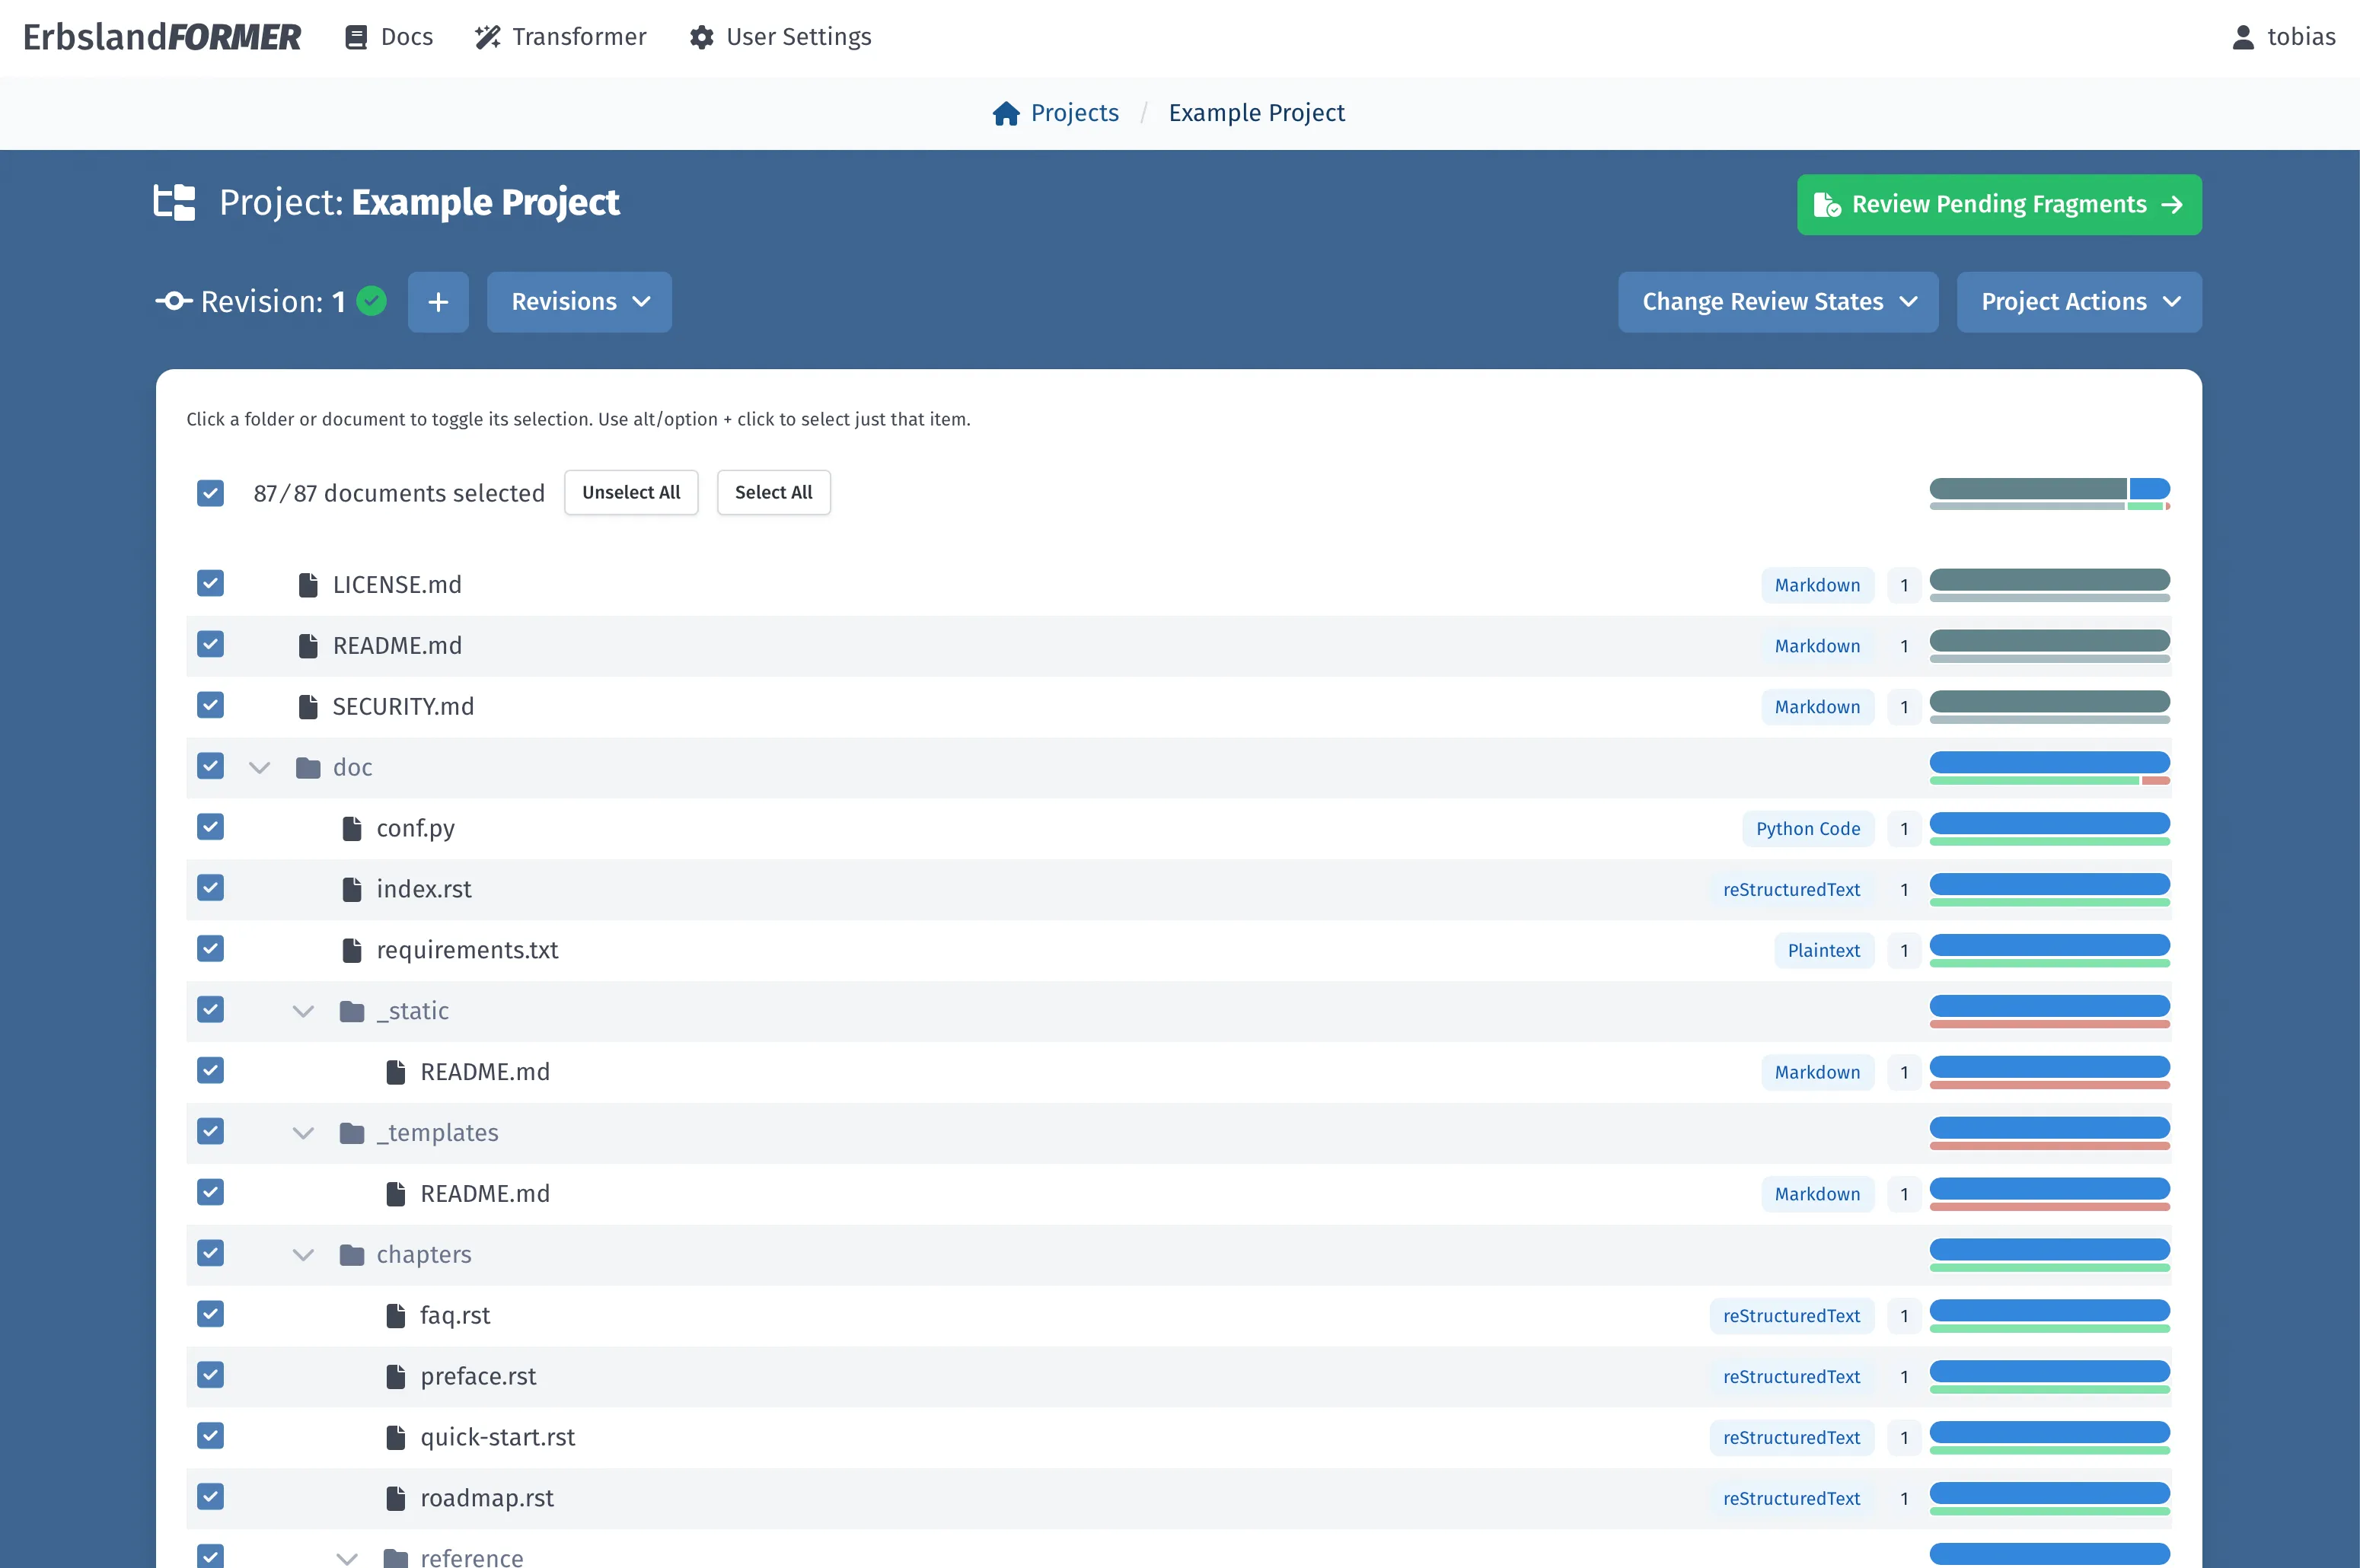
In the project view, status bars give you a good overview how successful your transformation was.
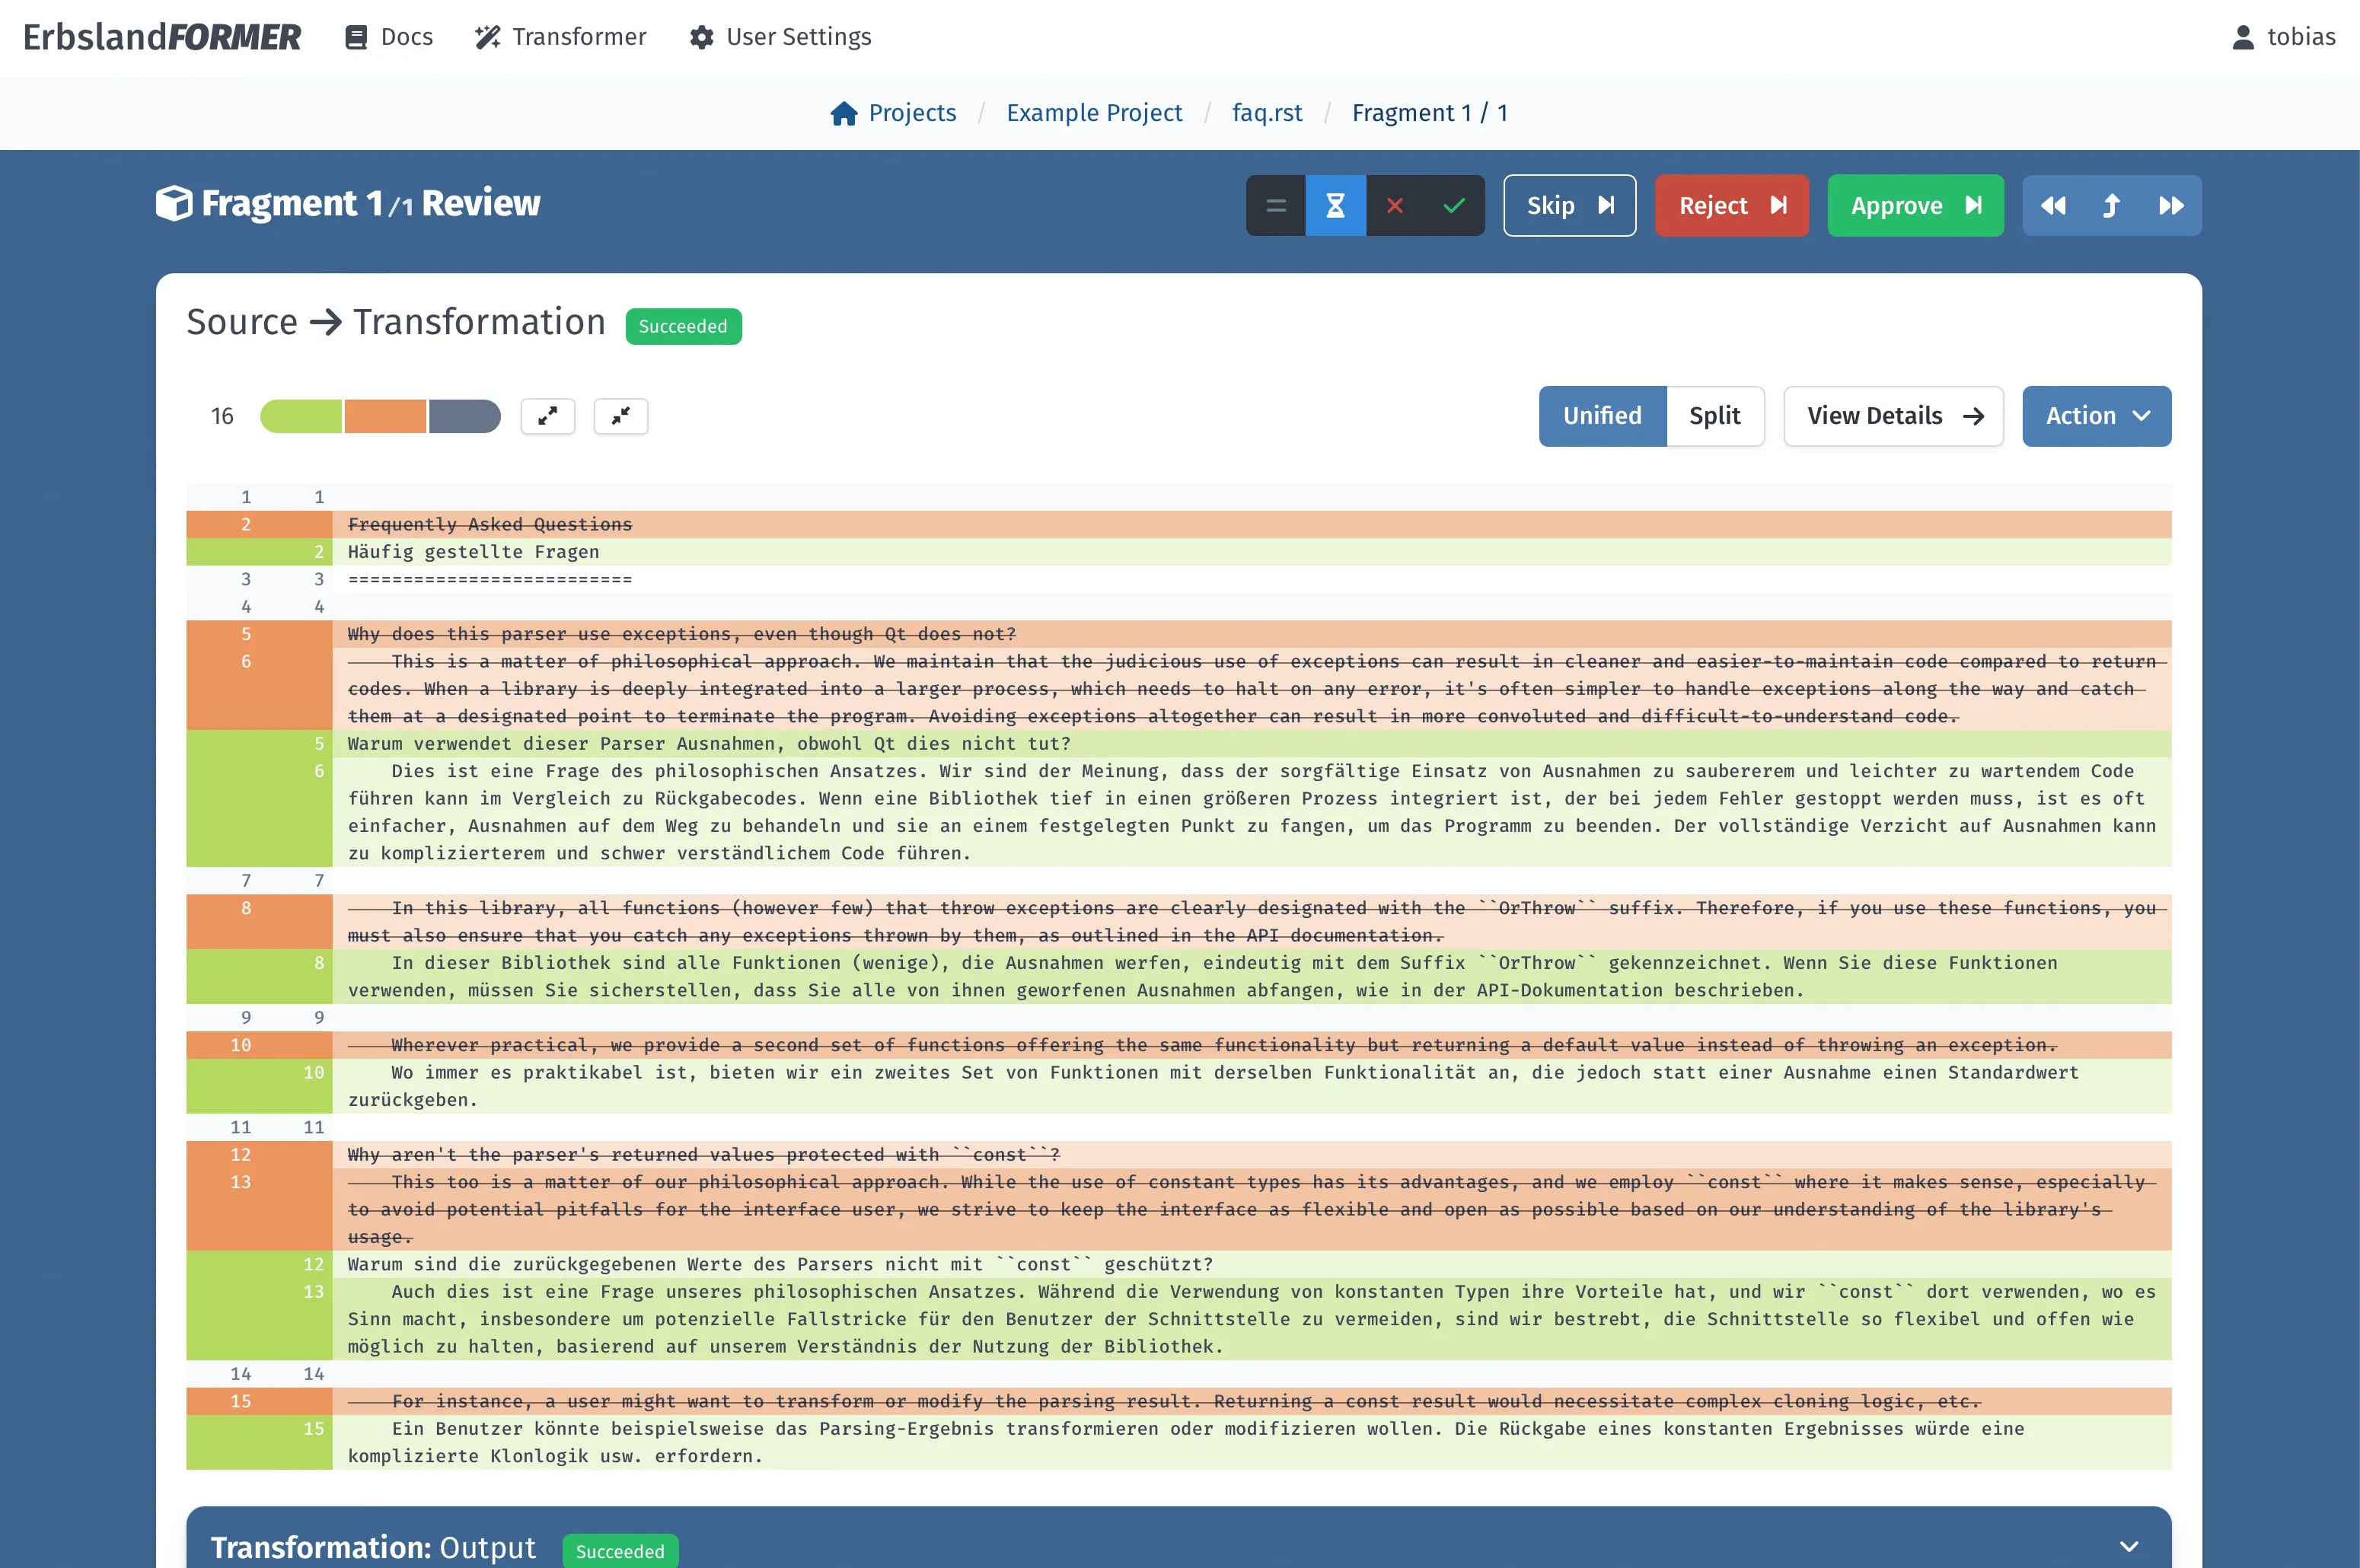
With the review function you can quickly step through all transformed documents and approve, reject or edit them.
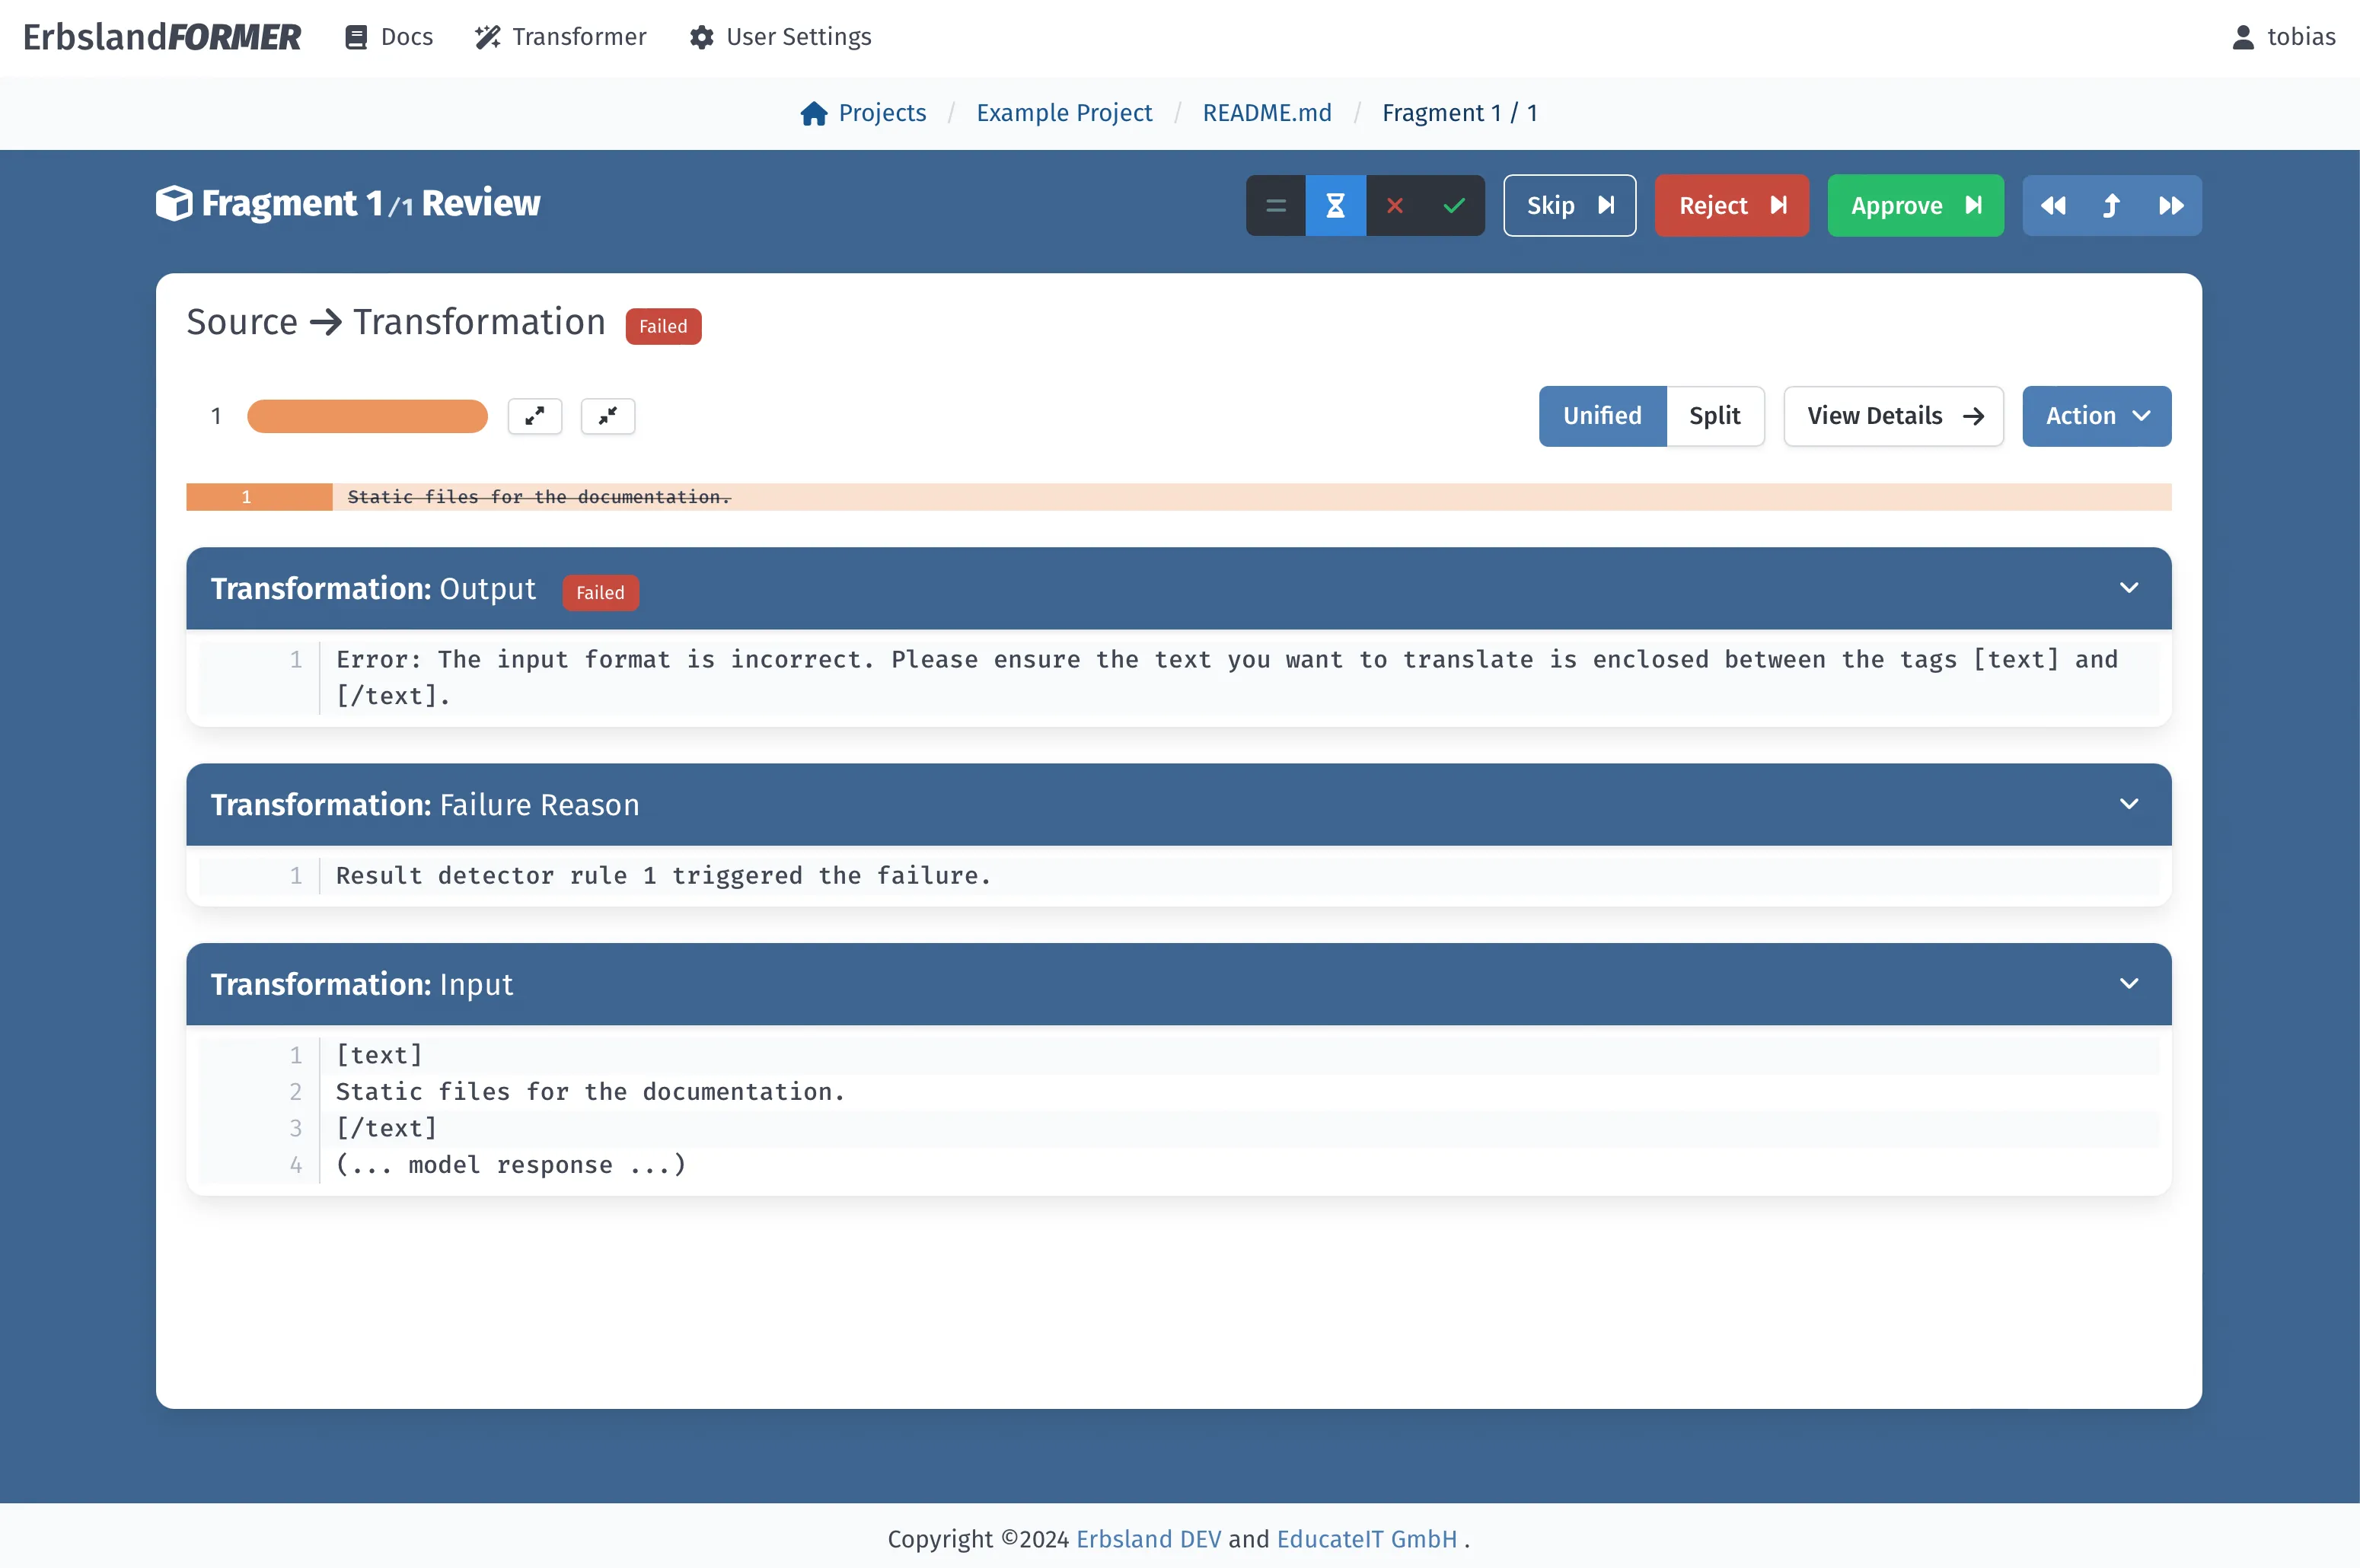
For failed transformations you find all relevant input and output data sent and received from the language model.
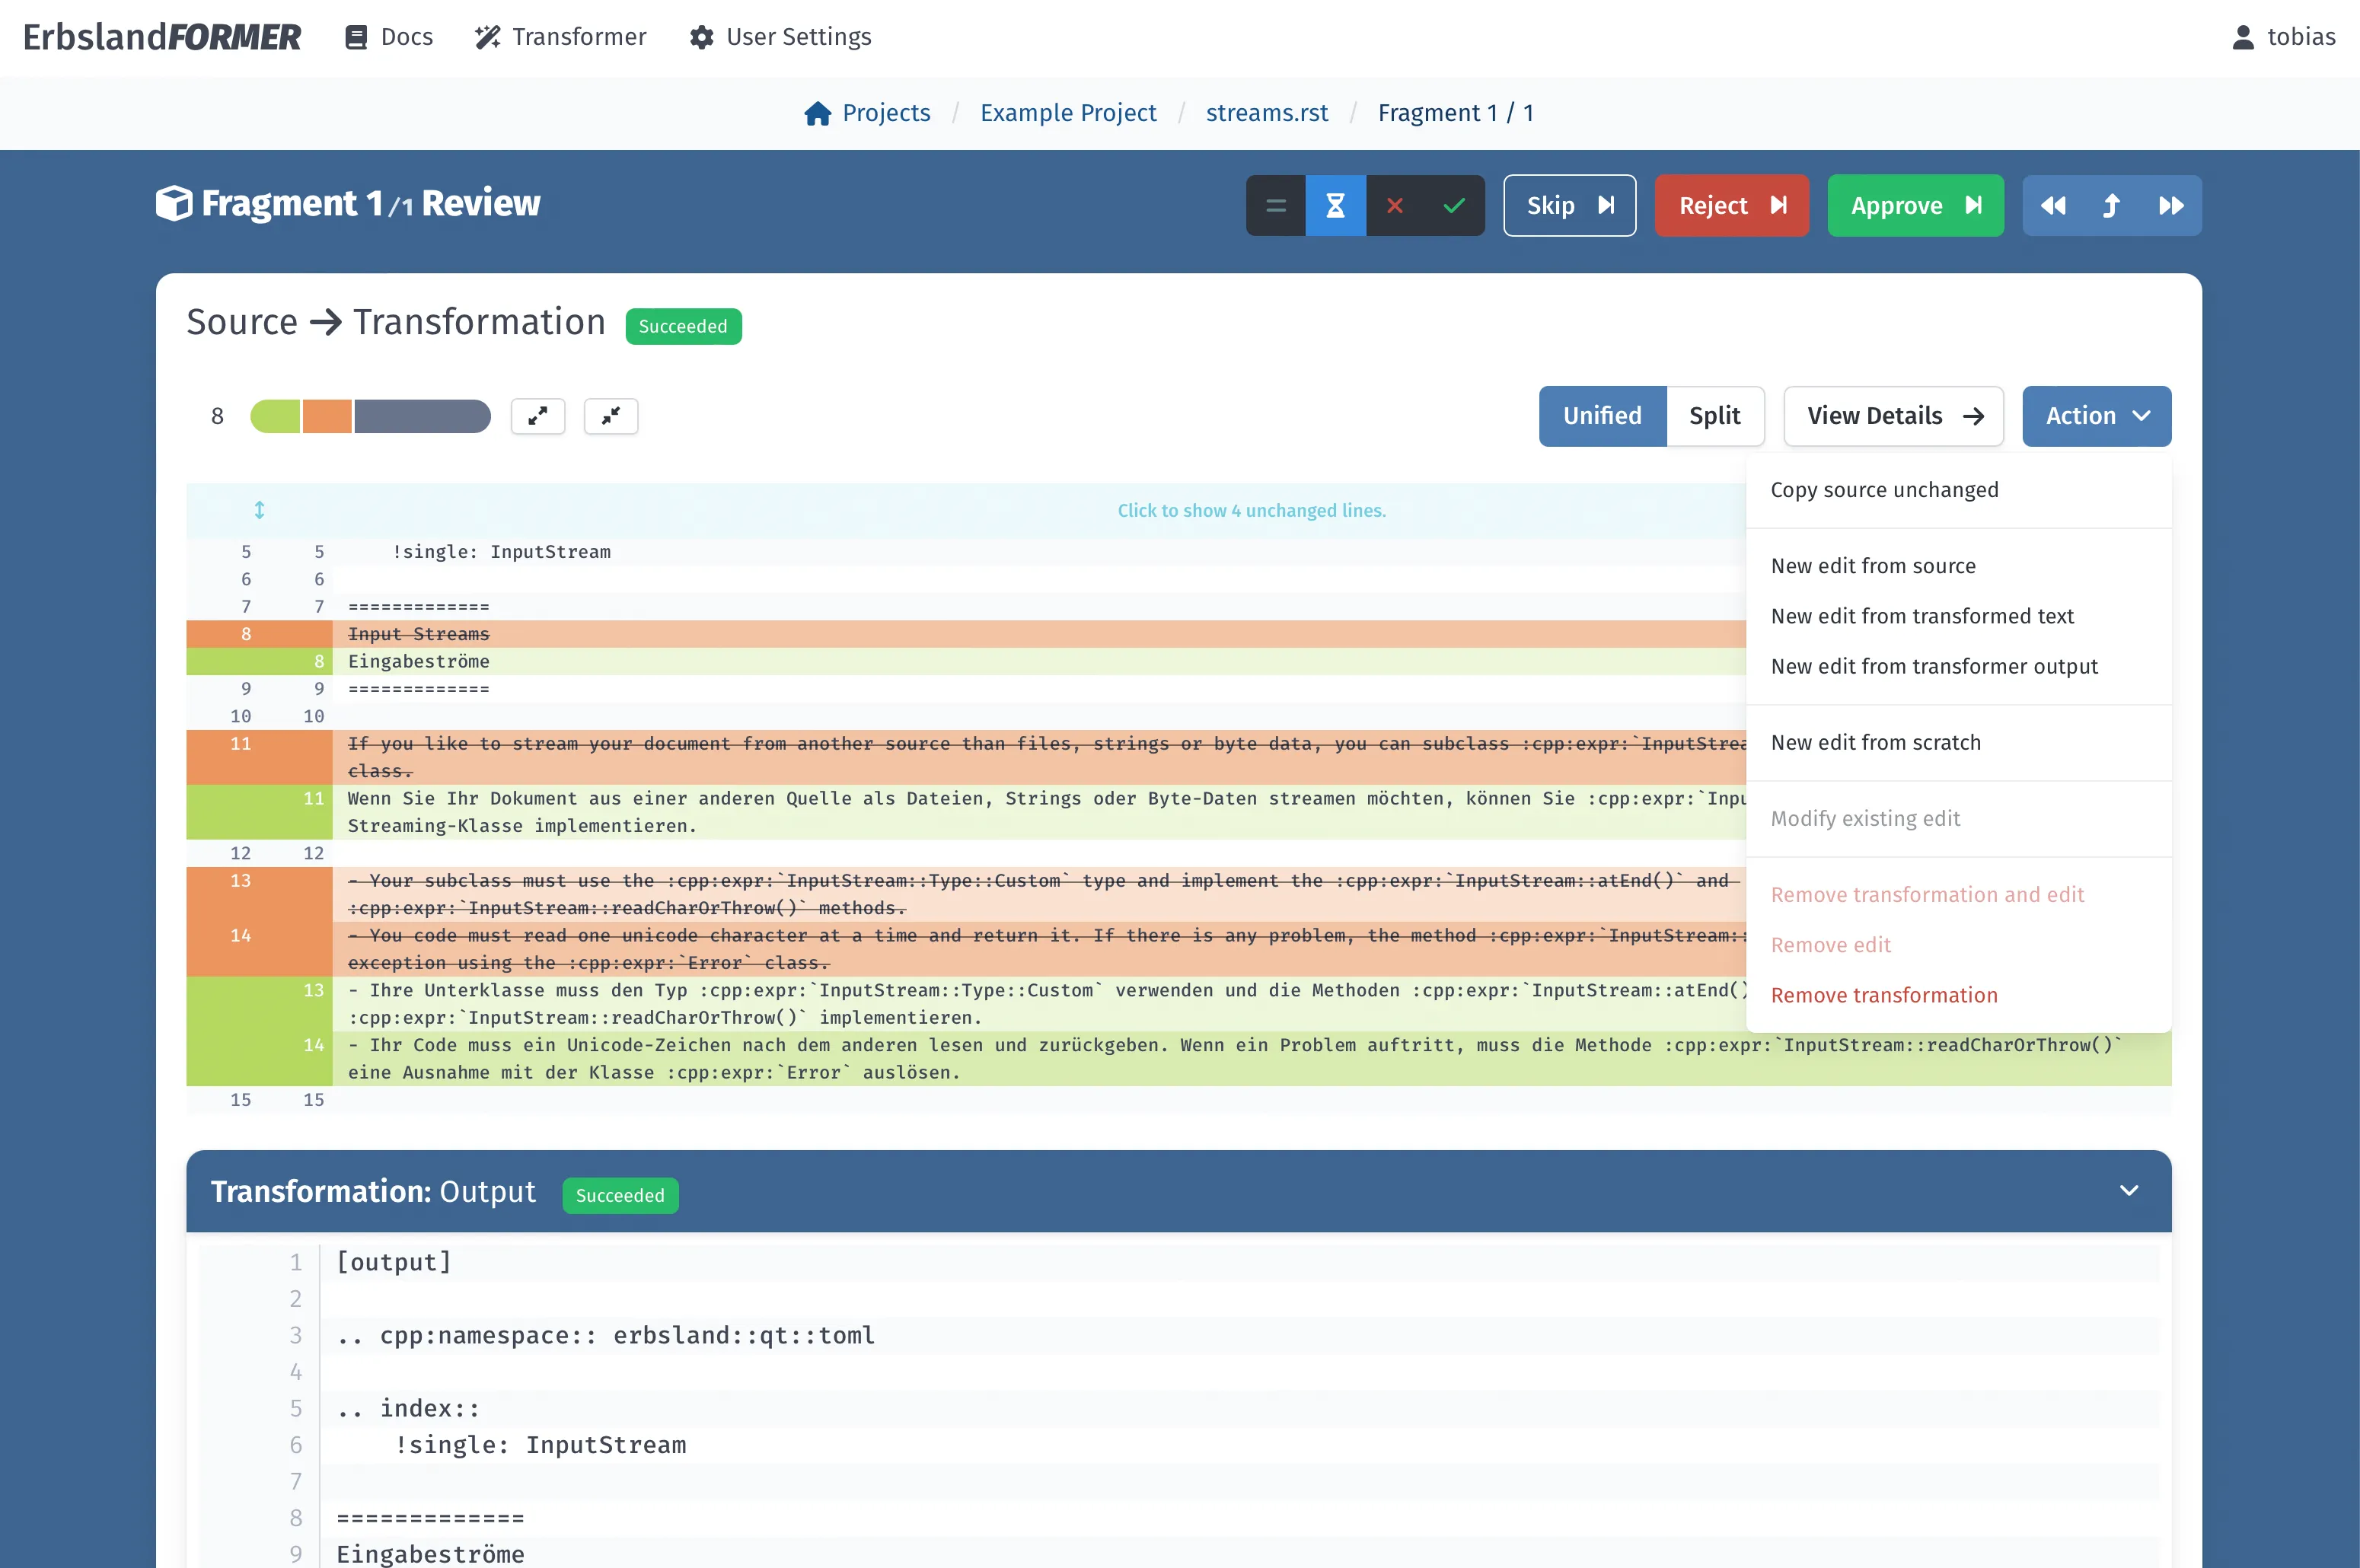
A wide range of actions allow you to freely edit the transformation results.
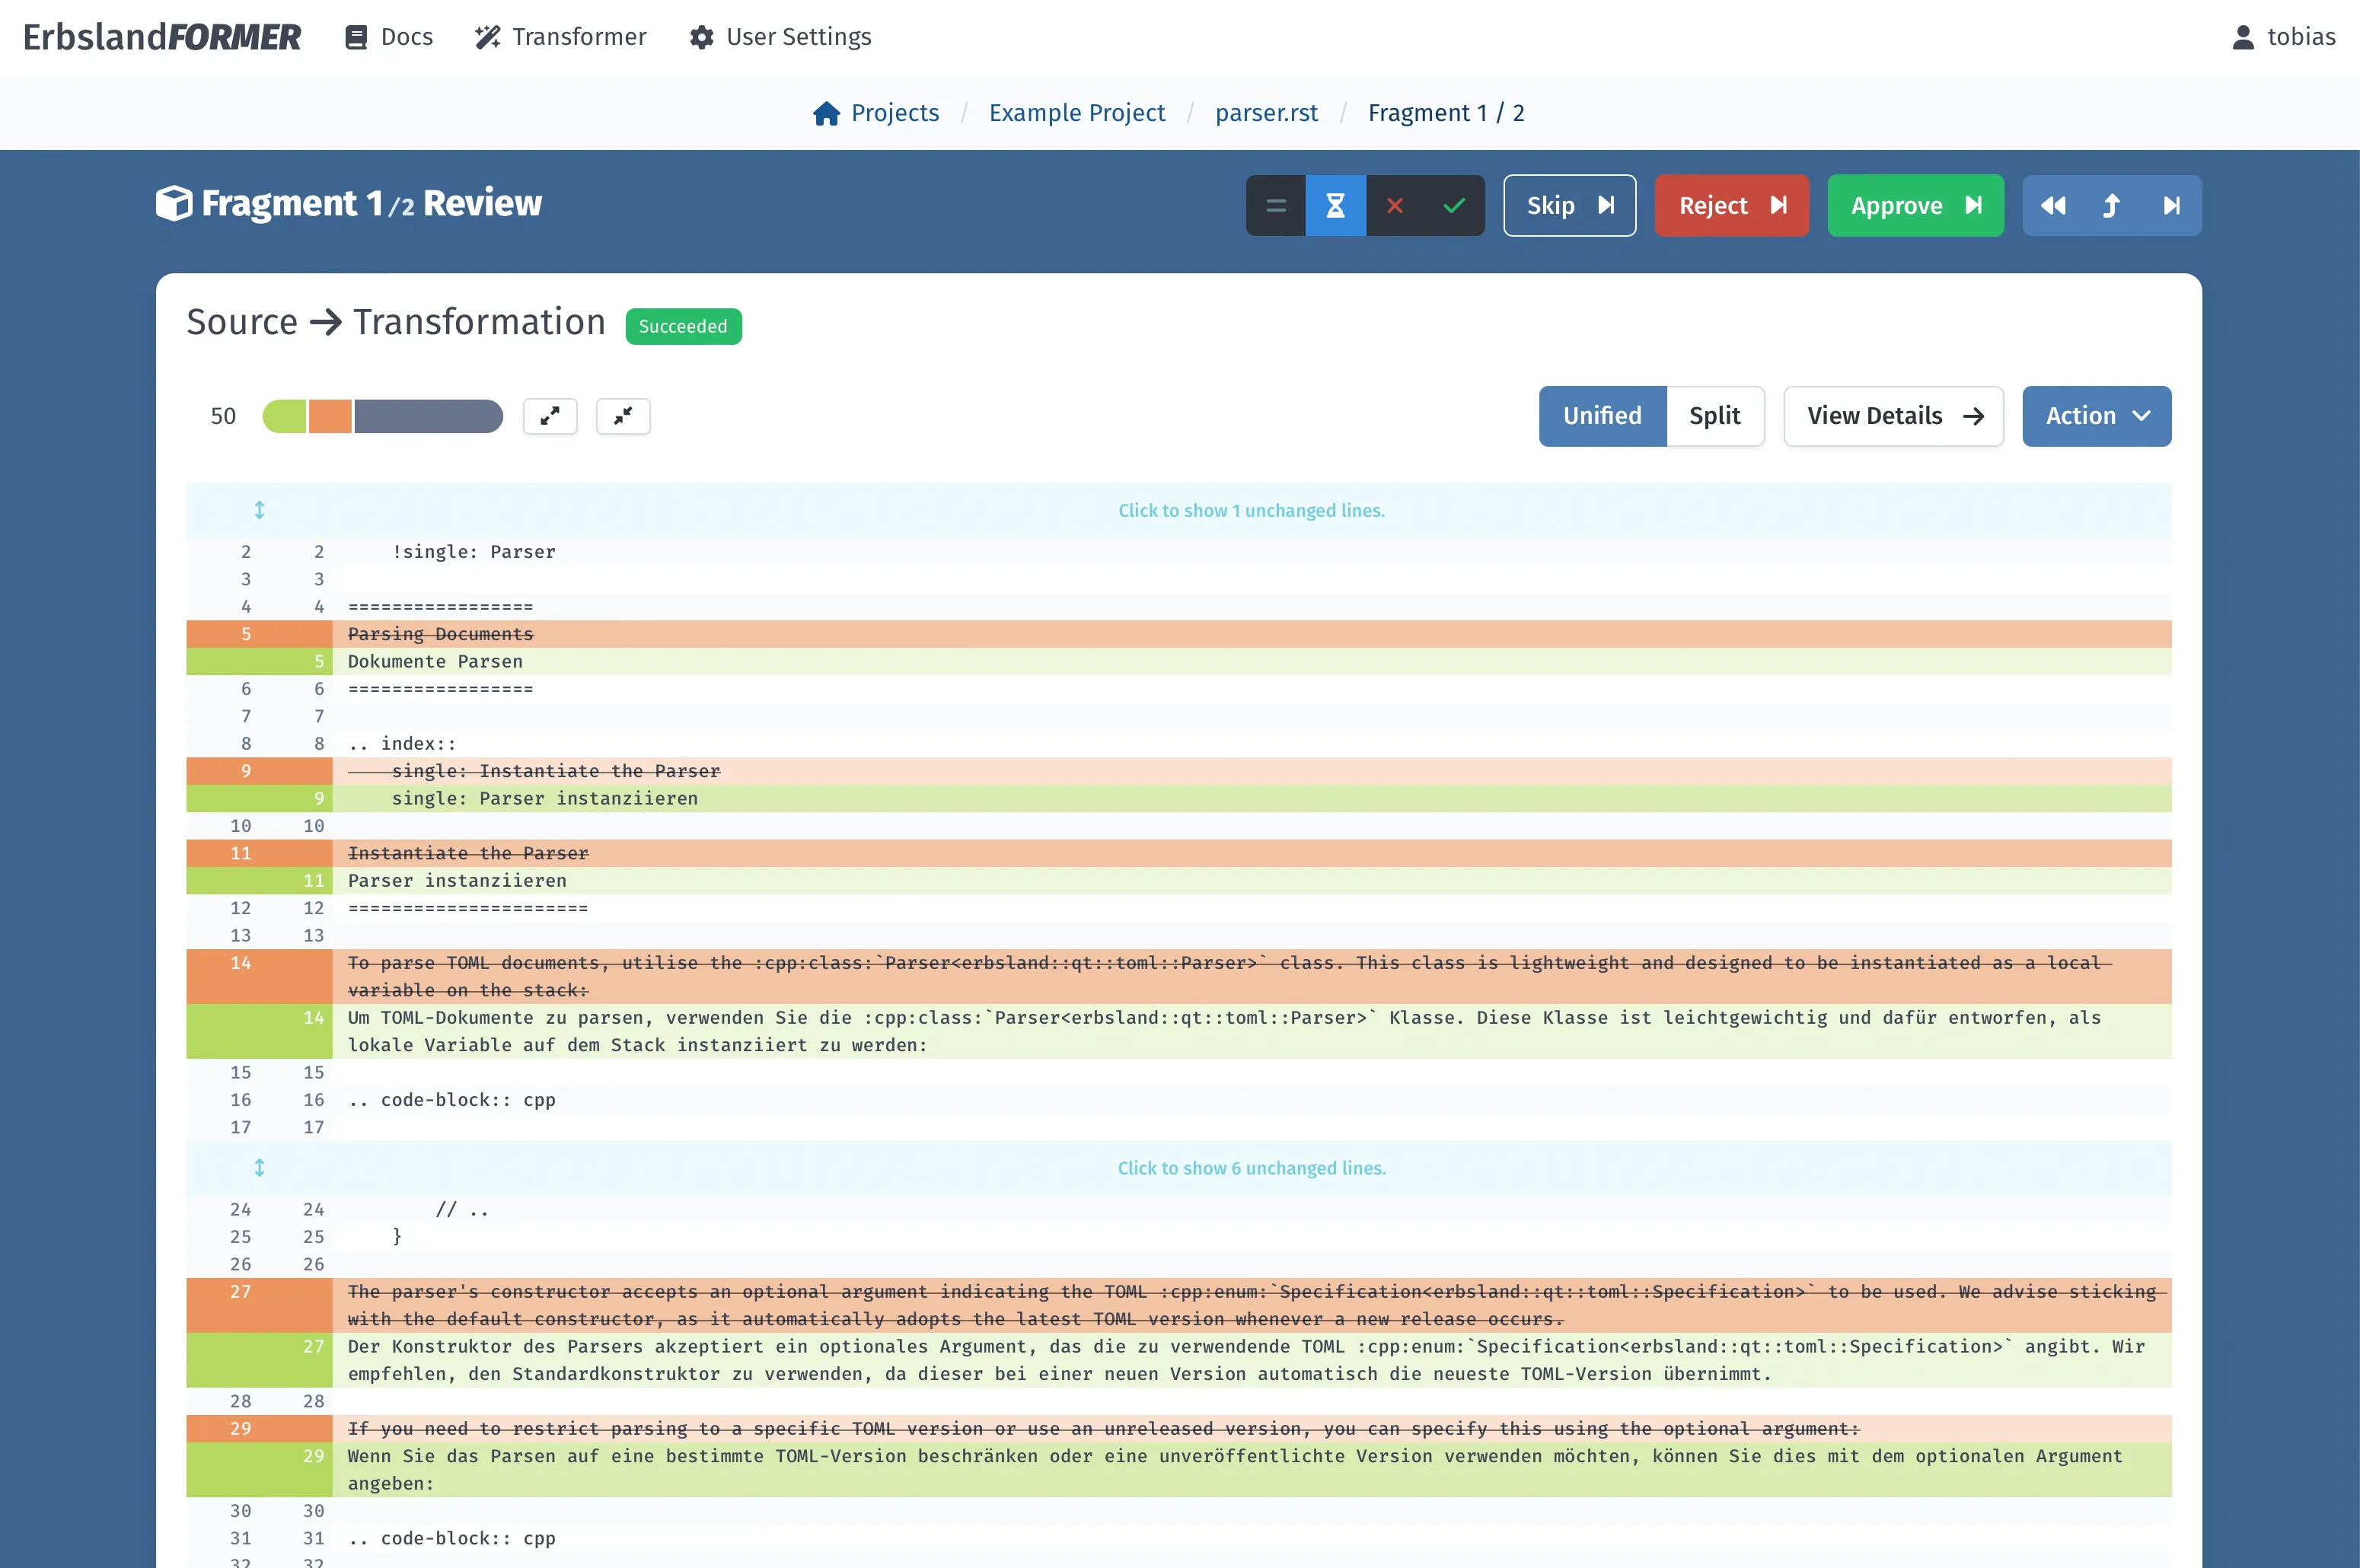
The difference view automatically hides unchanged parts of a fragment.
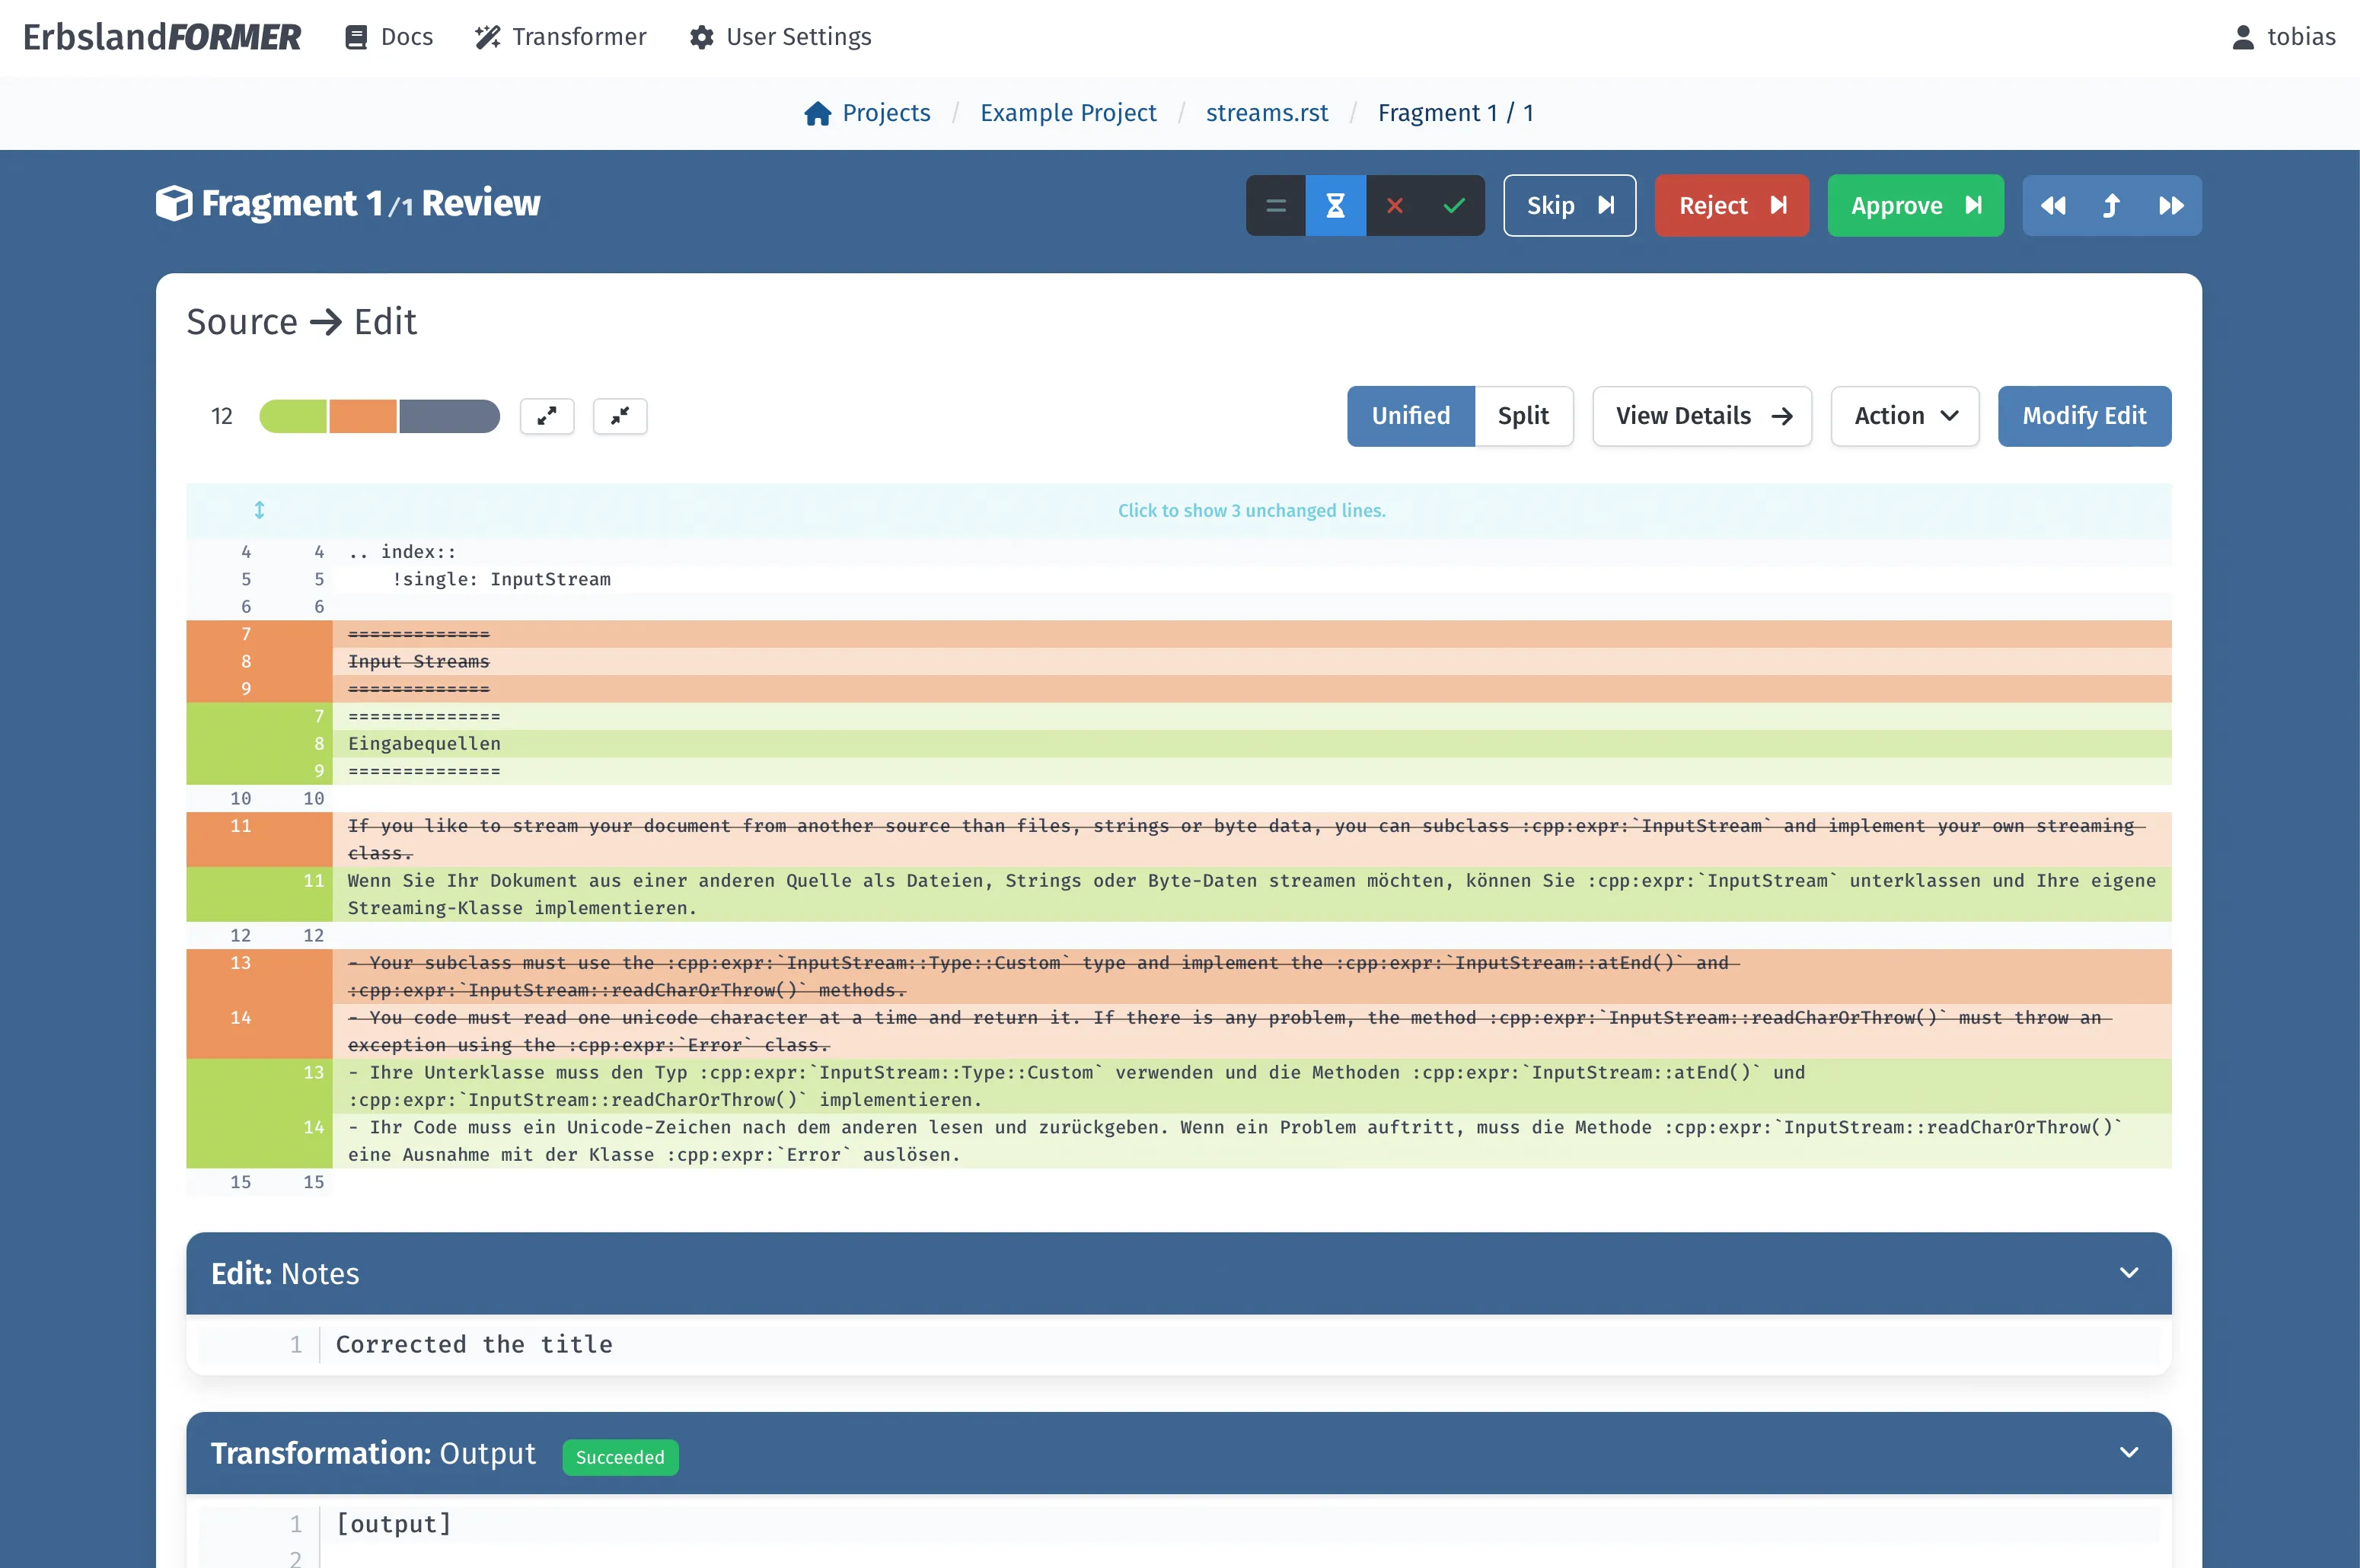
Manually edited documents are reviewed in the same comfortable way as transformed ones.
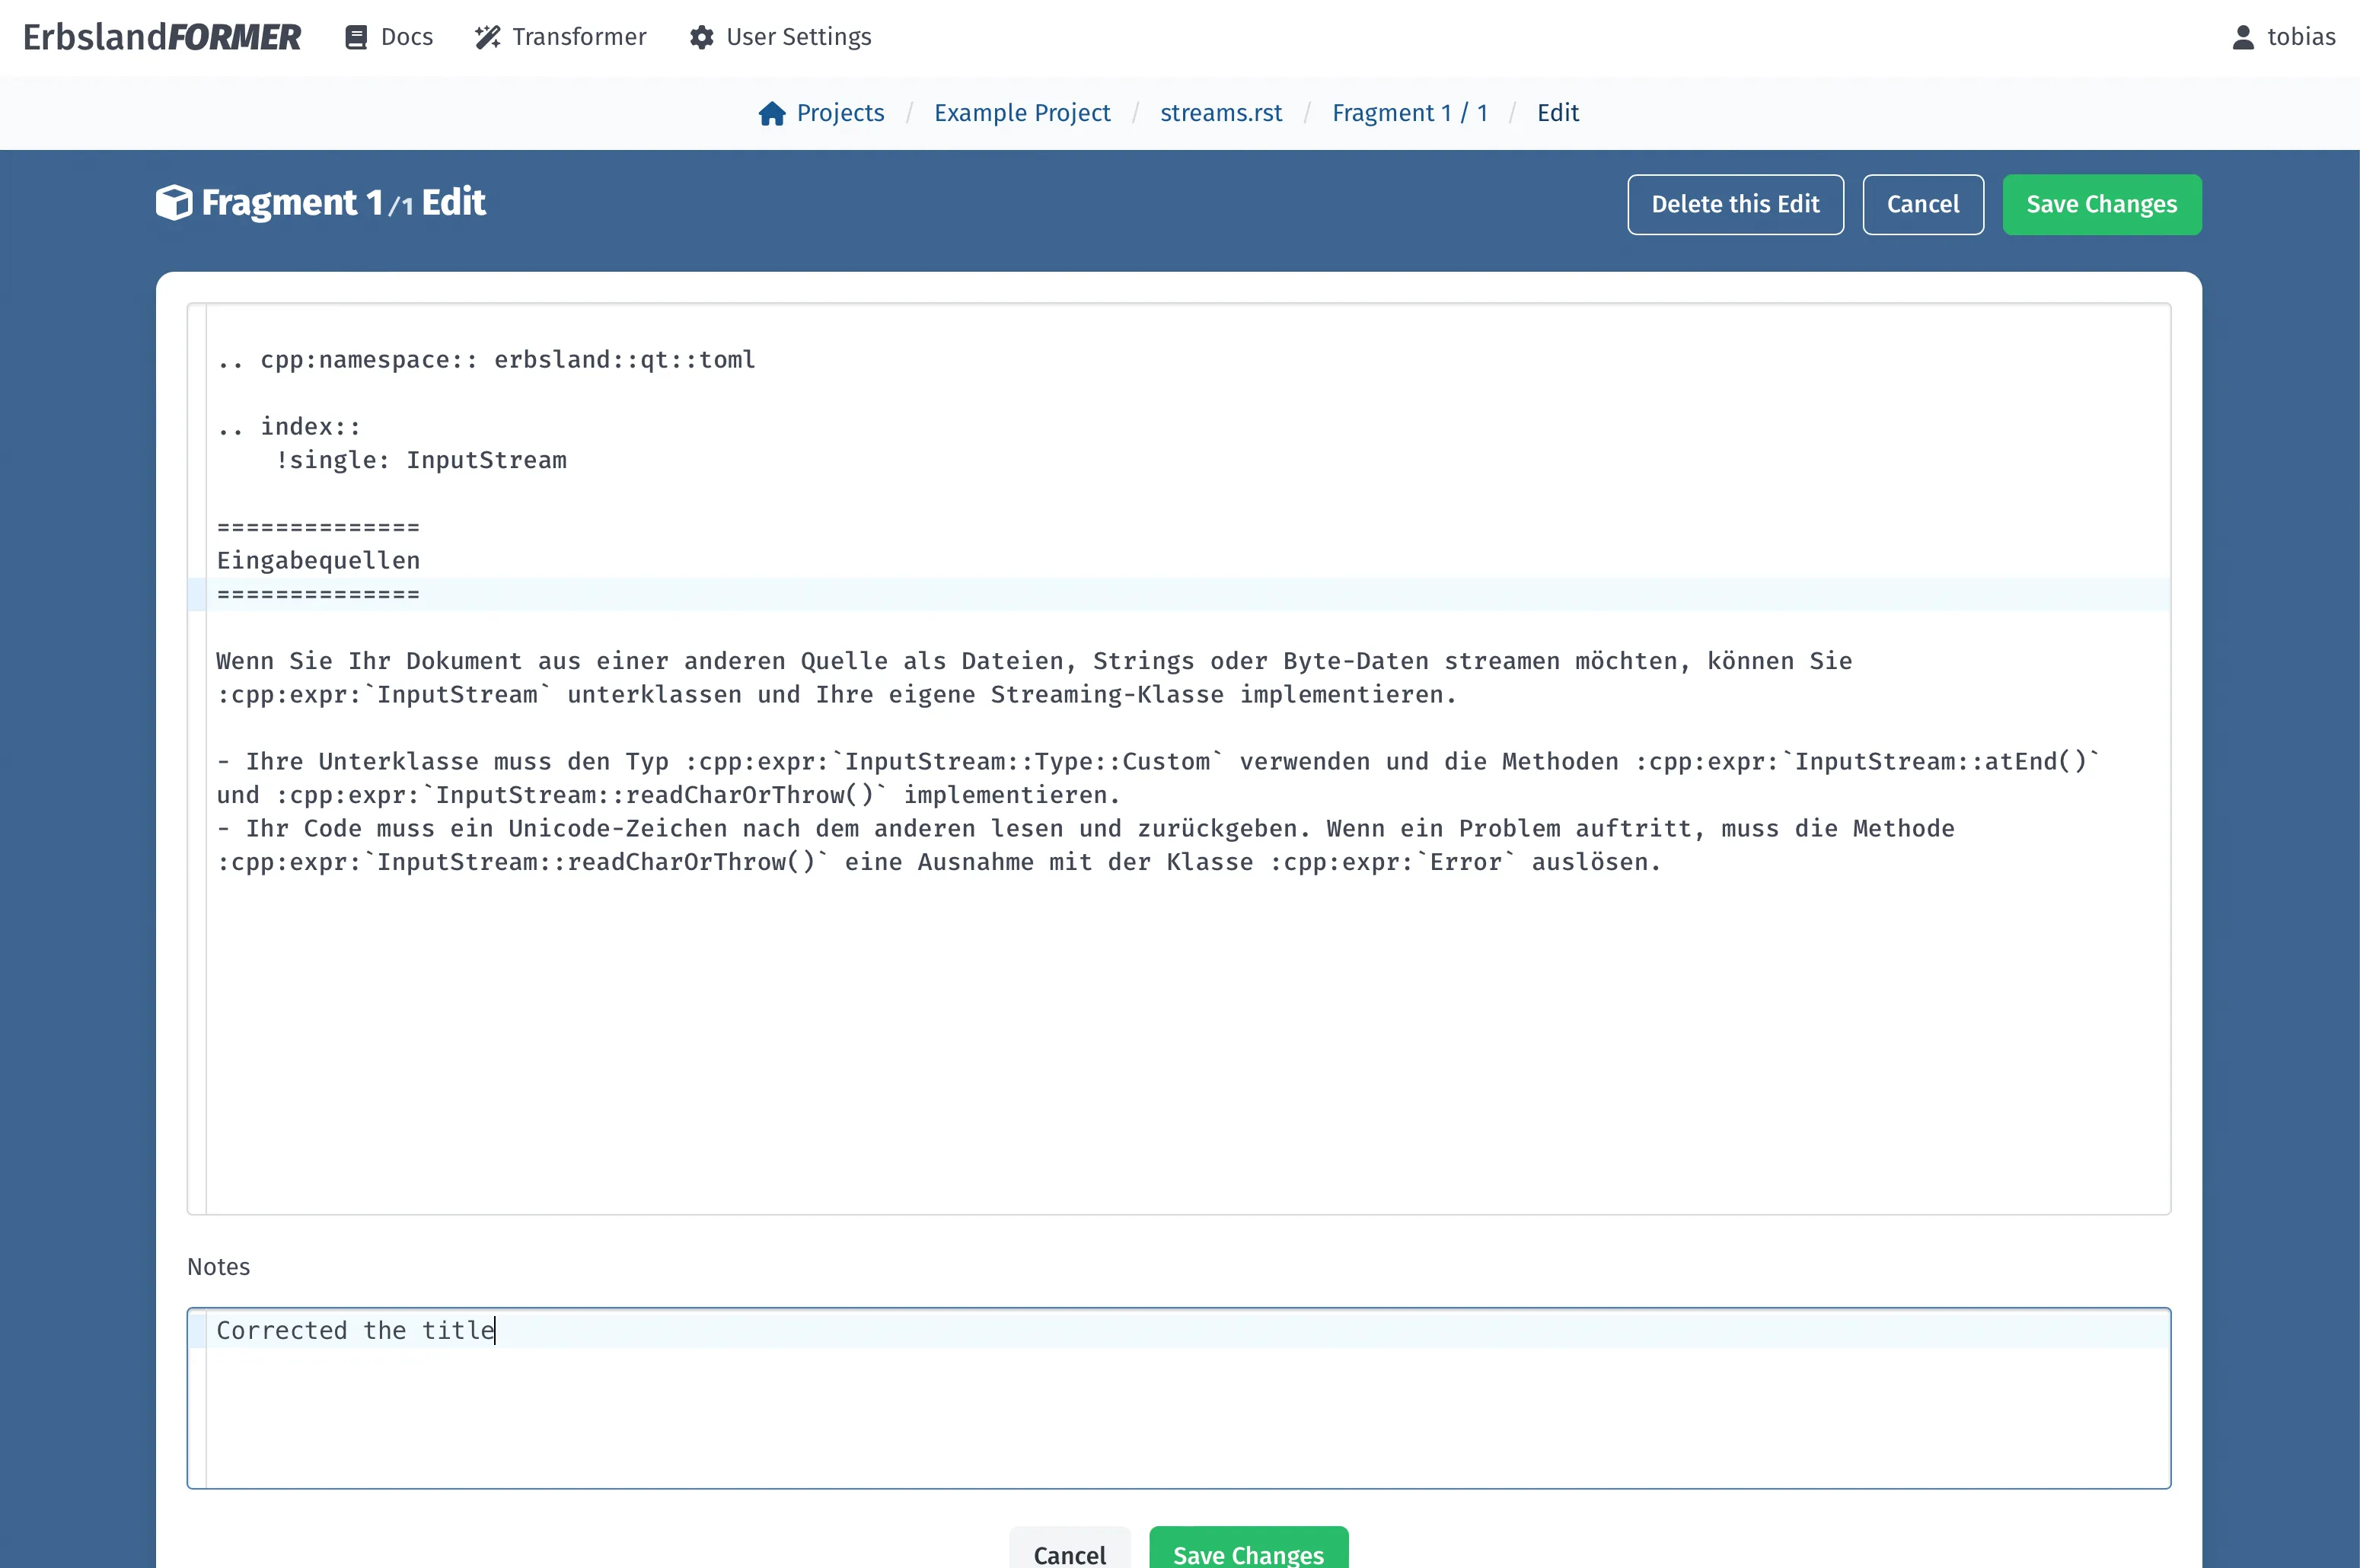
If you manually edit a fragment, you can also leave notes to explain why you had to do it.
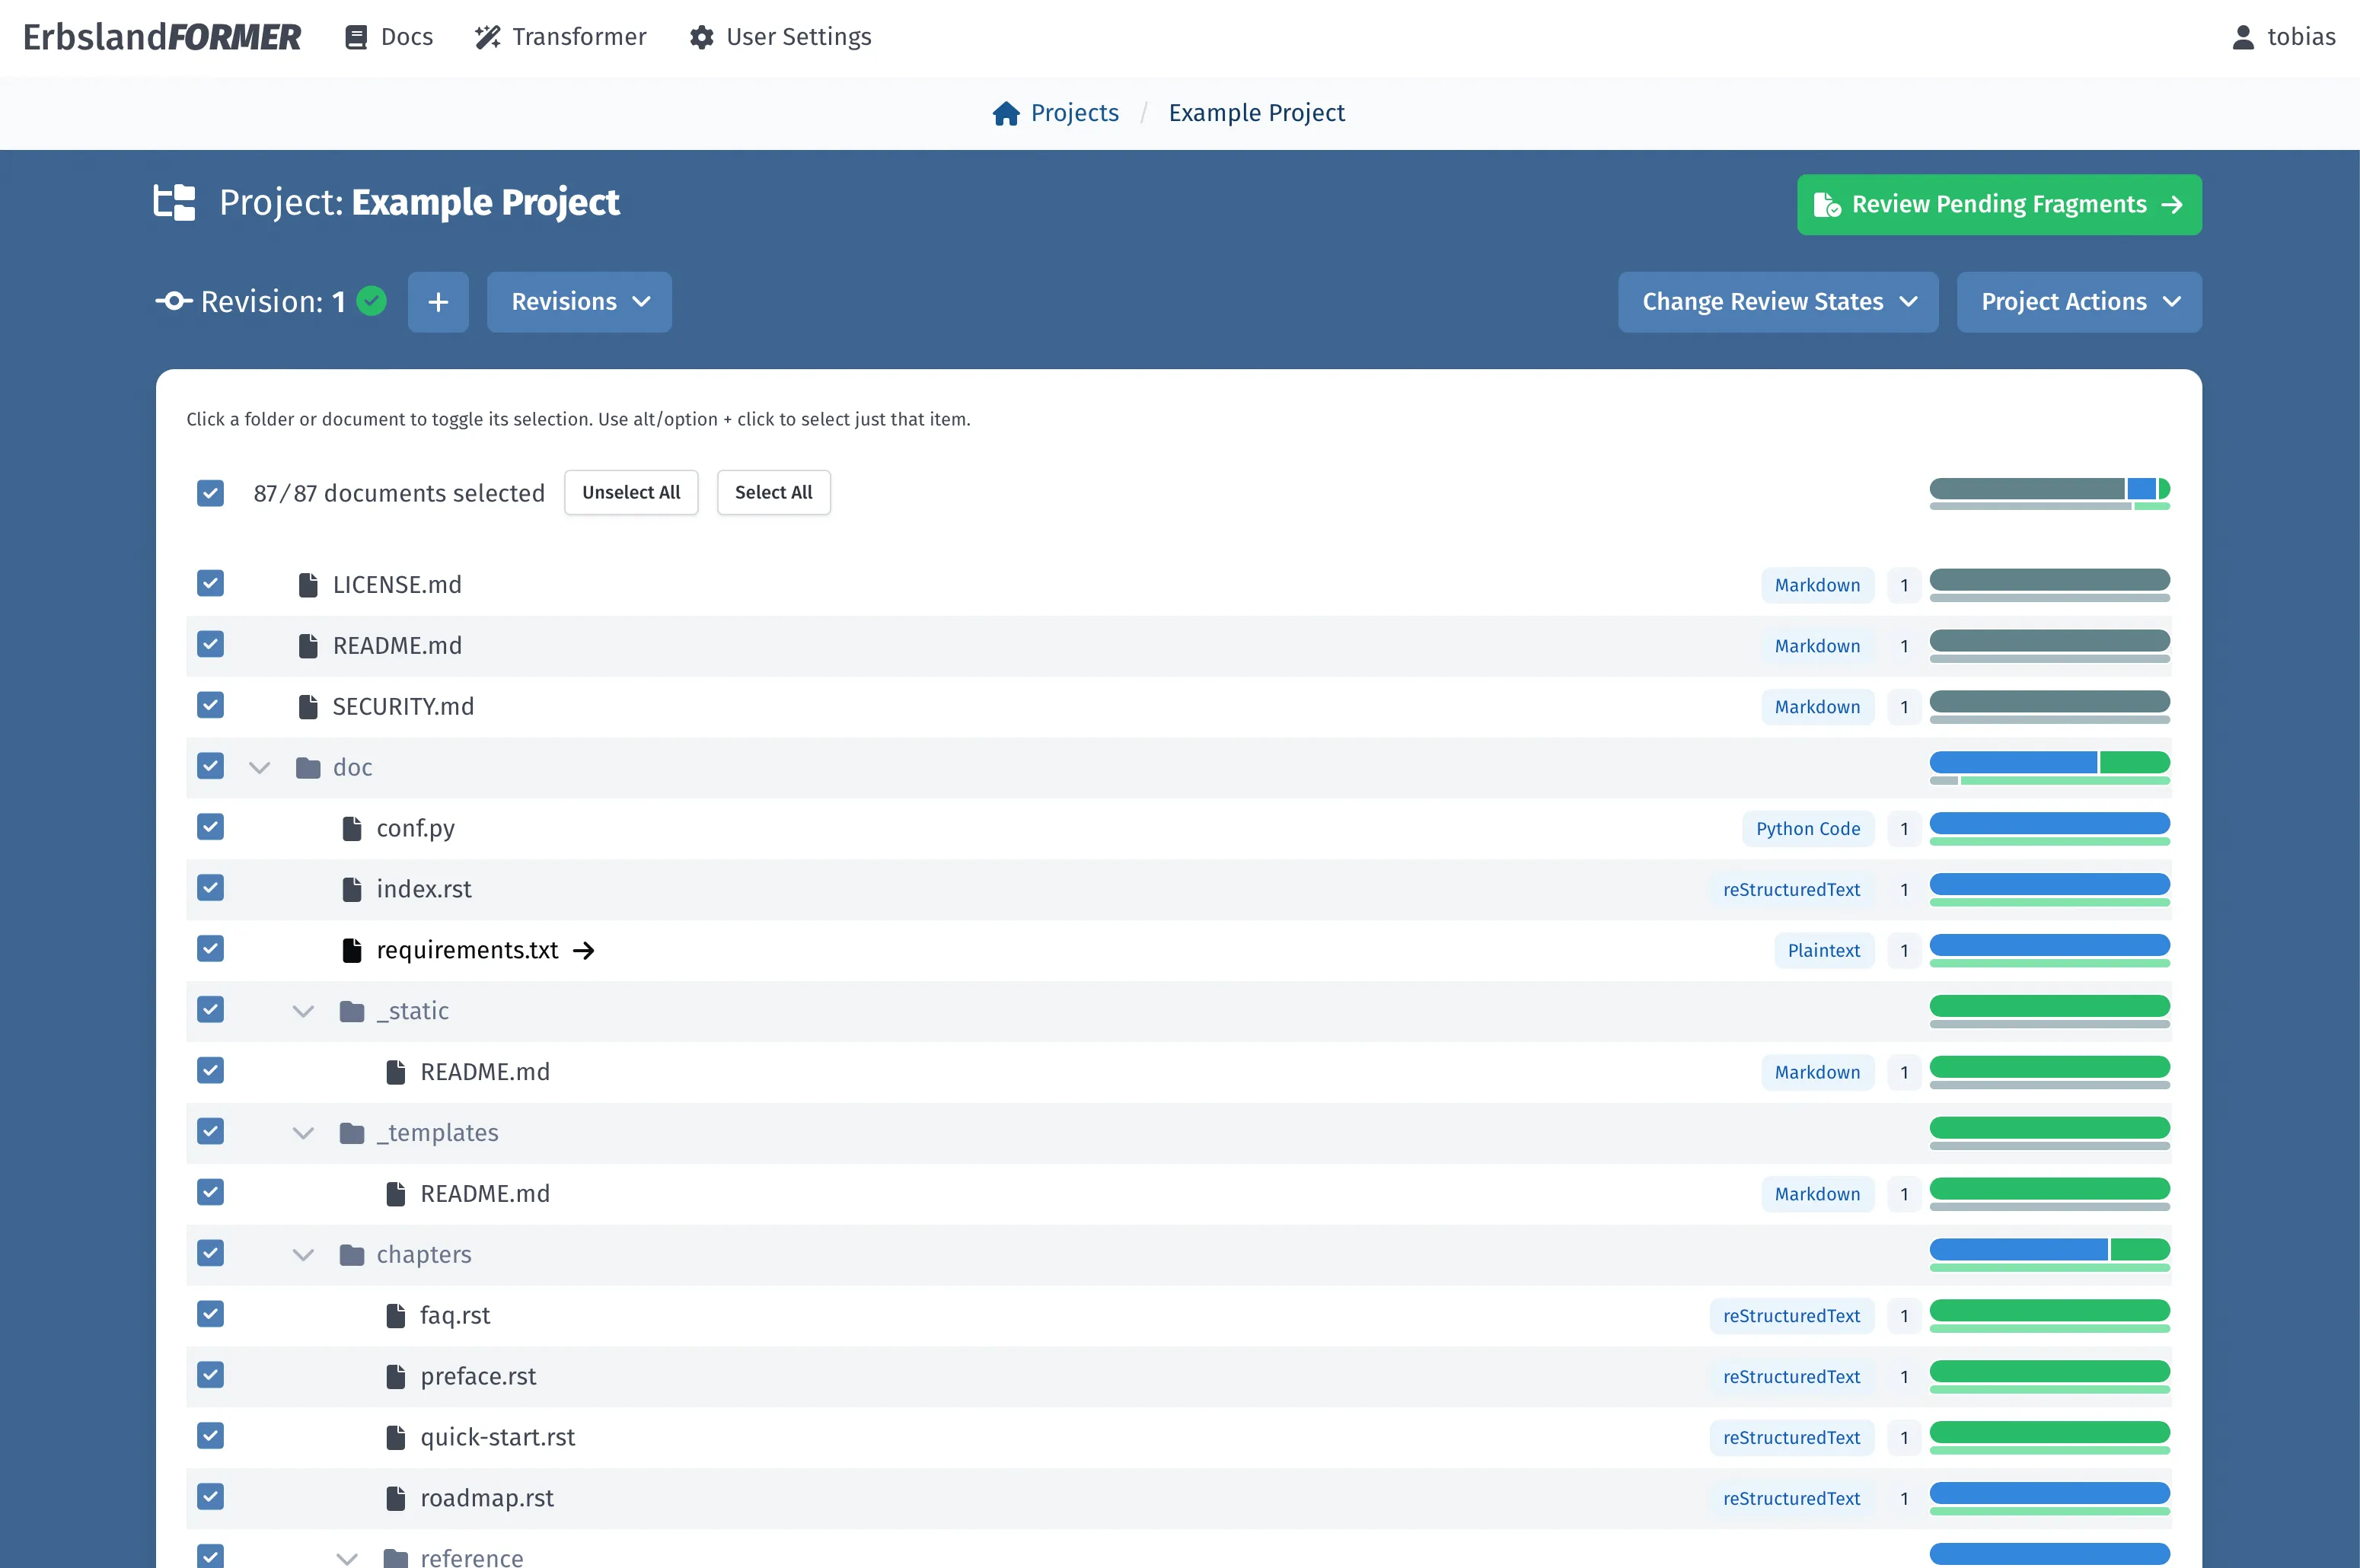
The review status of a project is visible at a single glance.
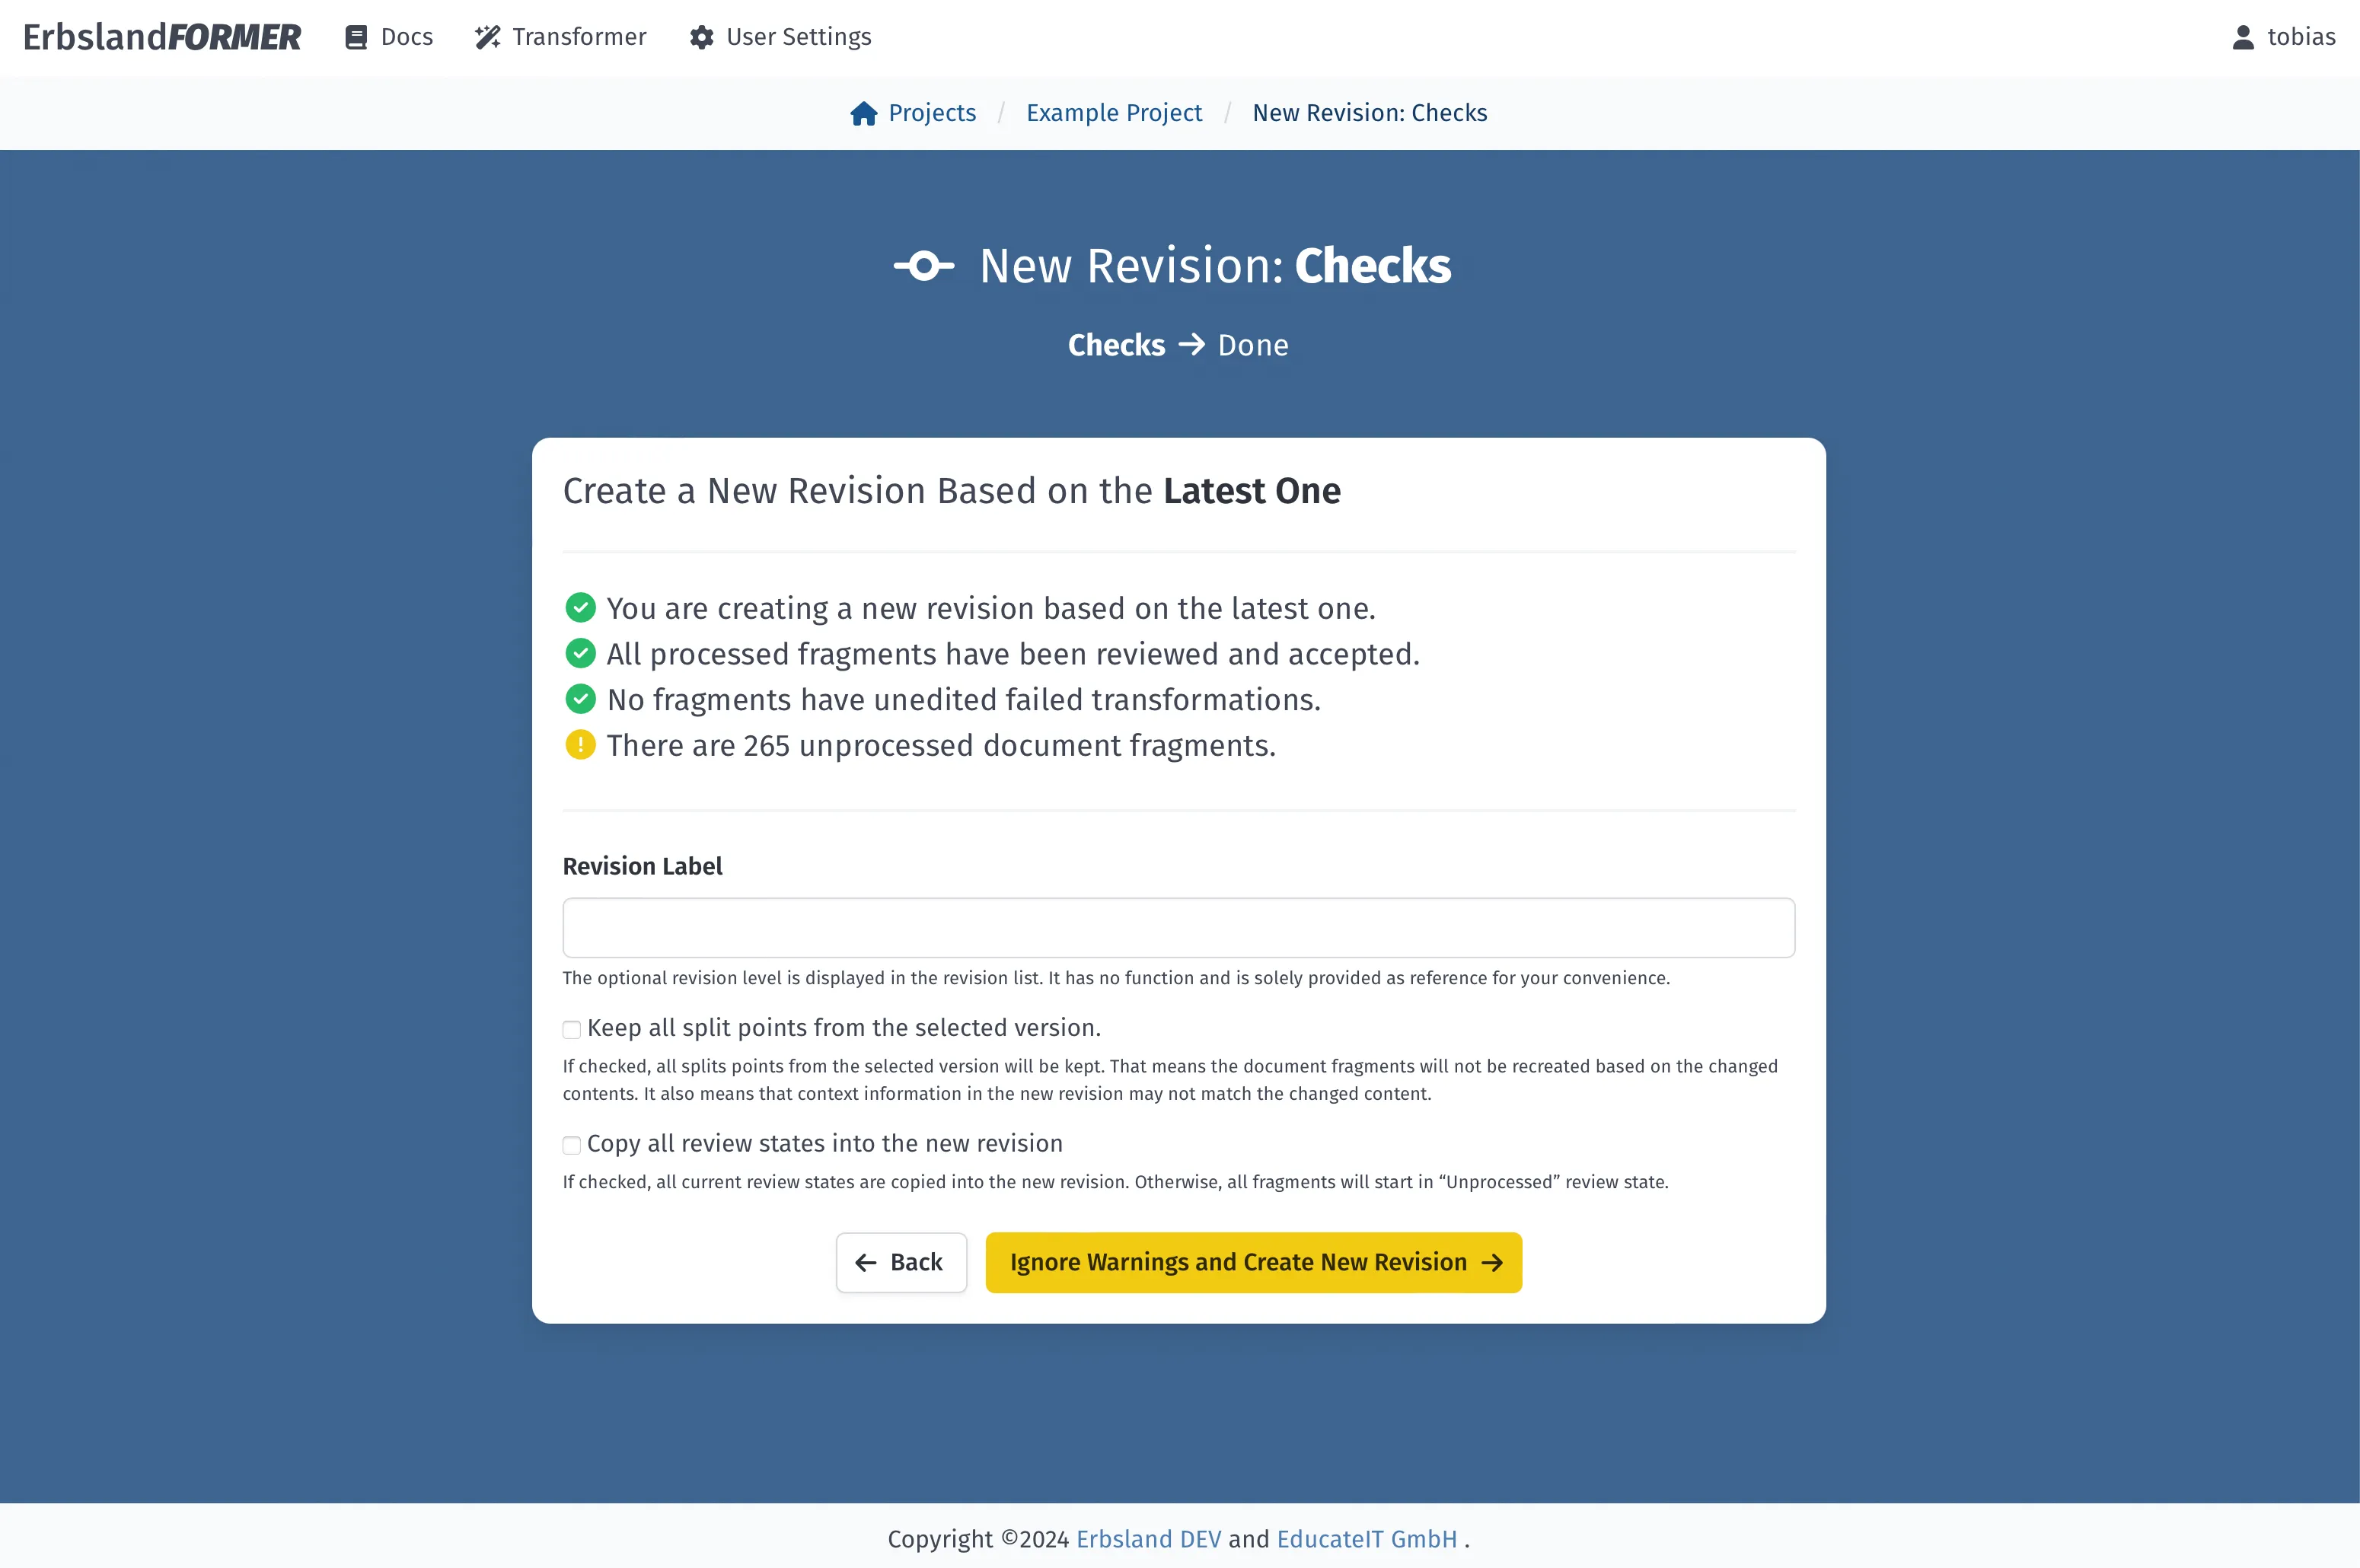
Revisions are a great way to incrementally edit a project.
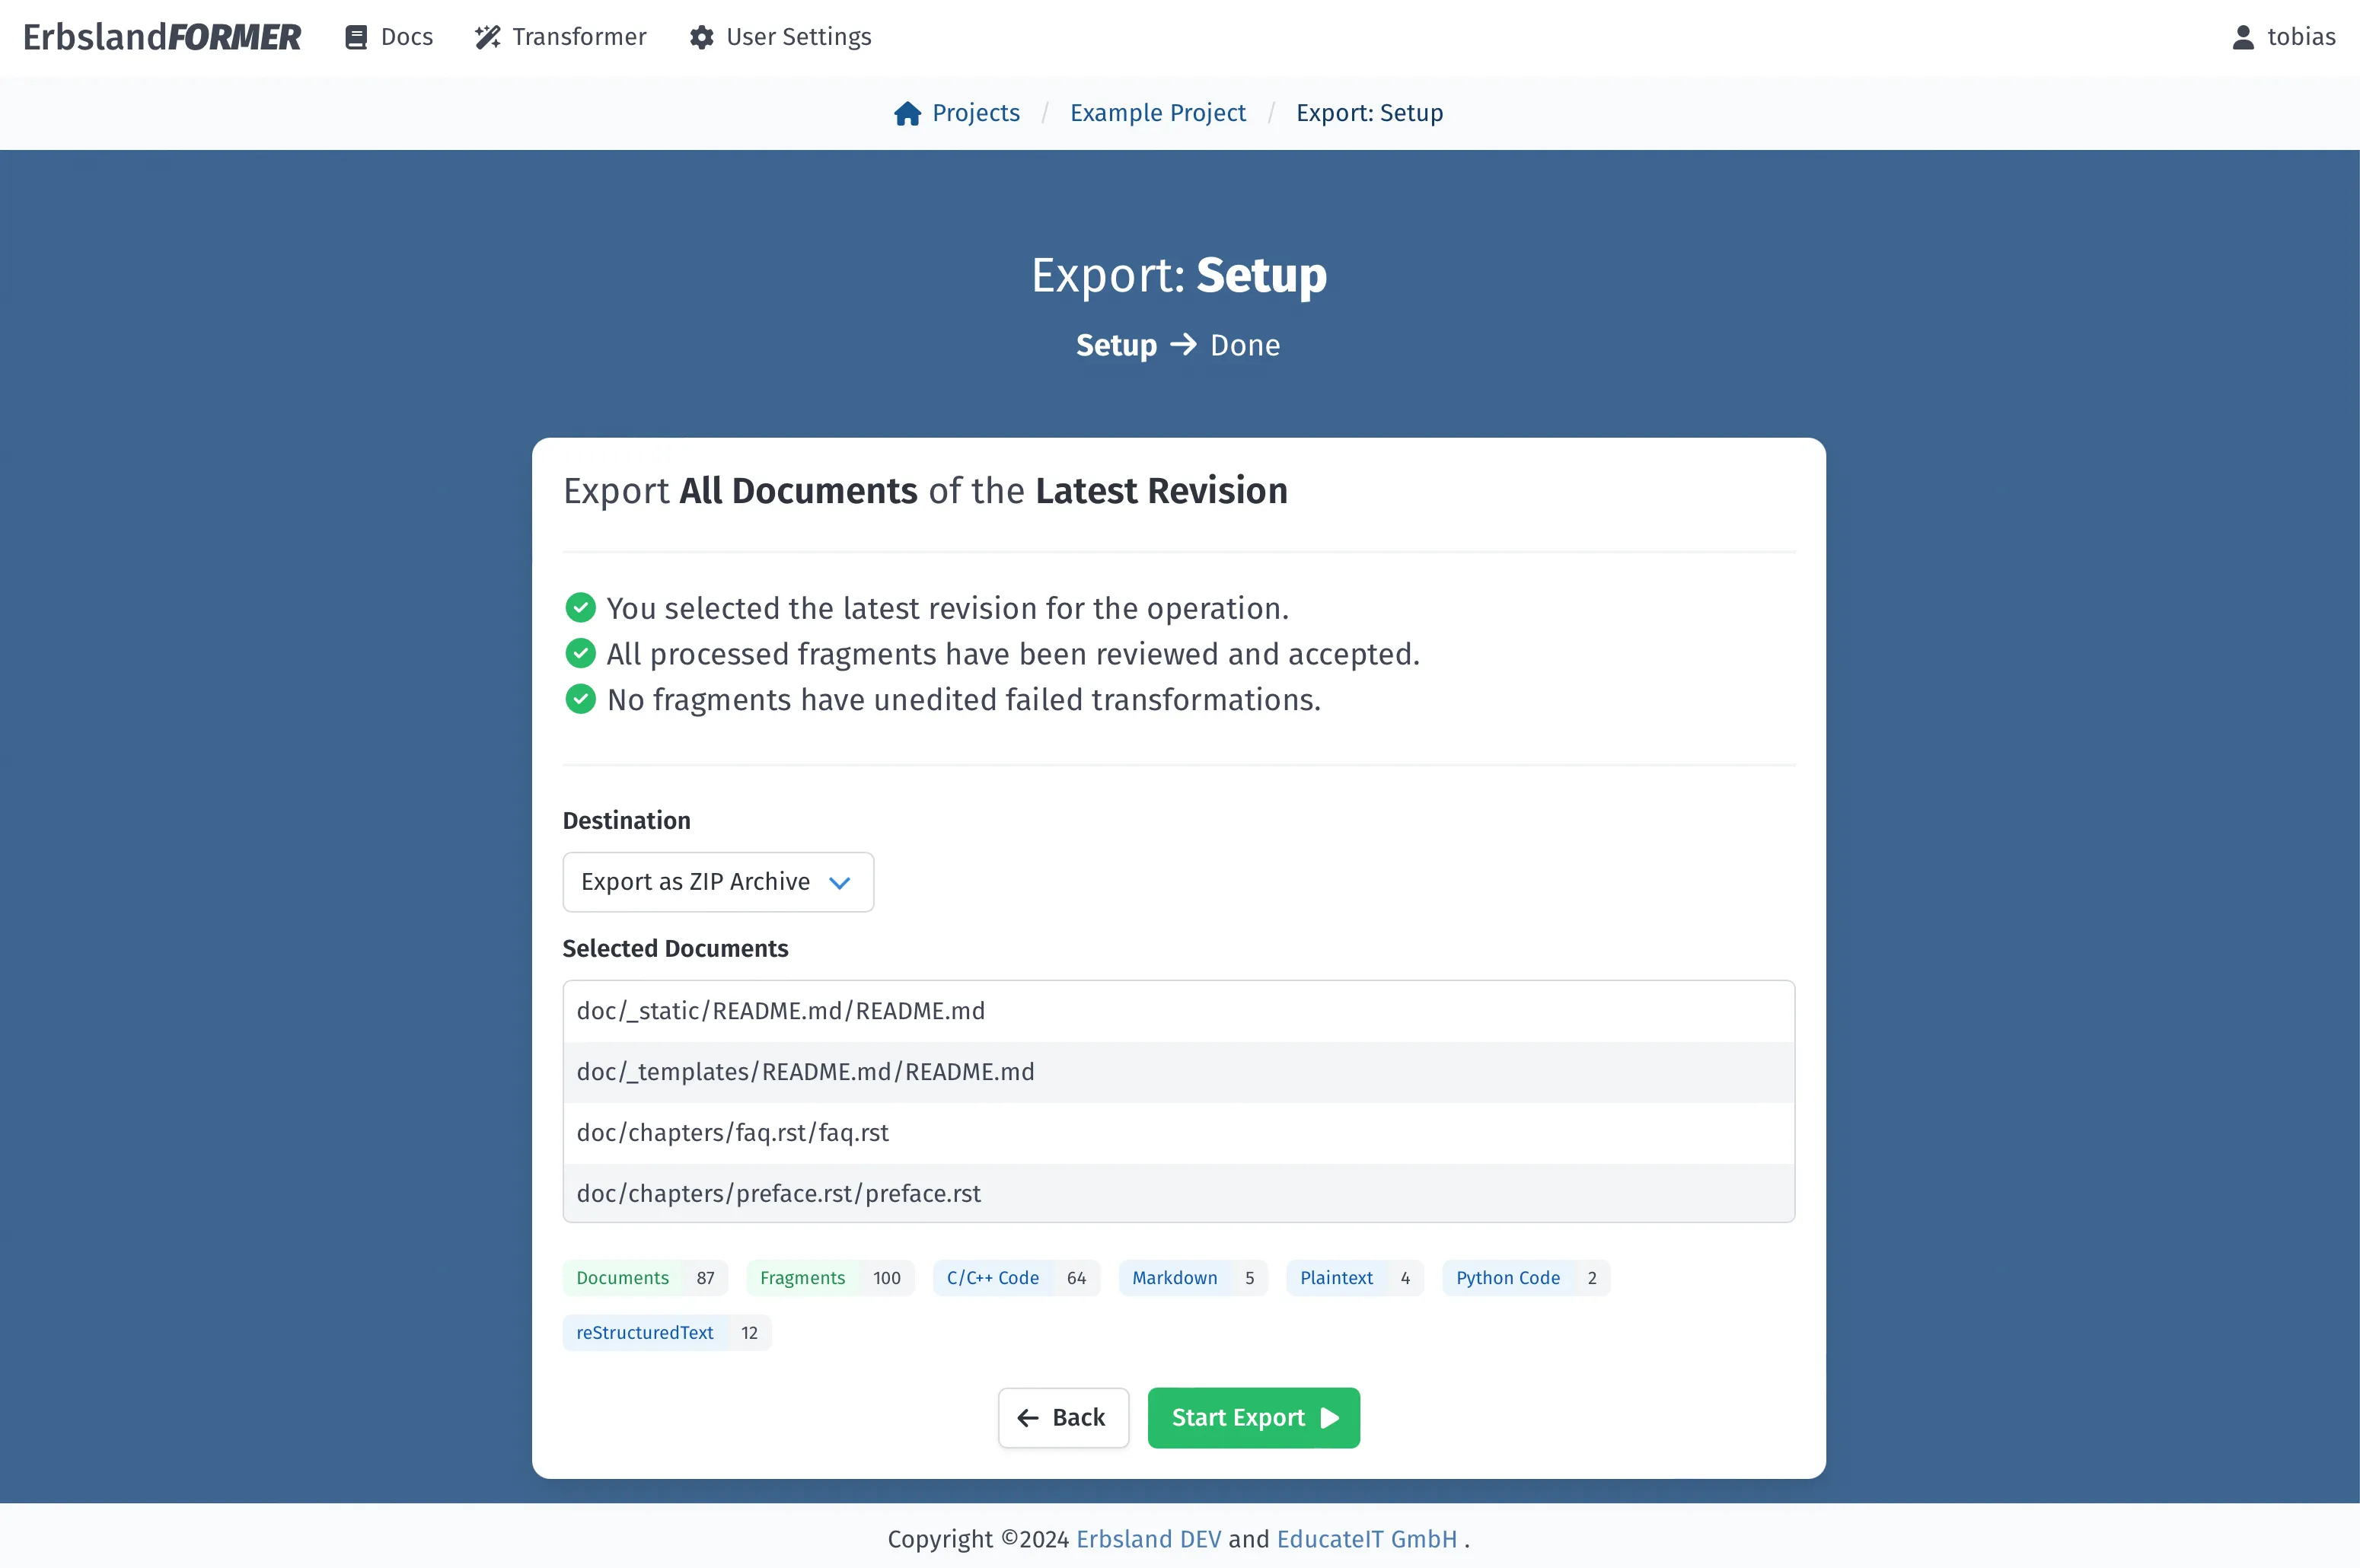
When your transformation is done and you reviewed the changes, you start the export.

Export all or individual files of a project as ZIP archive.