Installation, Step by Step
This guide provides a detailed step-by-step process for installing the ErbslandFORMER application on an Ubuntu Server 24.04 LTS in a small company environment. The target audience of this guide are people experienced working on a command shell with knowledge how to install a Linux distribution on a computer or in a virtual machine.
If you are a system administrator and just need the key points, have a look at the Installation for System Administrators. For an installation via Docker image, see Installation via Docker.
About this Guide
This documentation is designed for a fresh installation of the ErbslandFORMER application on Ubuntu Server 24.04 LTS. Commands should be entered at a prompt similar to test@erbsland-former:~$, where test is the user and erbsland-former is the server name. Your prompt may look different. In a few cases, I shortened the prompt to a single $.
Most commands require superuser privileges. This guide uses the sudo command for this purpose. If you are already operating in a root shell, you can omit sudo.
Output lines without a prompt indicate the expected output from the command, with most text omitted and indicated by (...).
Warning
The ErbslandFORMER application is intended for use in a local company network that is already protected from internet access. Do not install this application on a server accessible from the internet.
Note
This guide provides a straightforward setup to get the application running quickly. For a professional installation, consider setting up multiple server instances to test new releases before deploying them to employees. Additionally, you might want to implement redundancy by running multiple instances of the server. These advanced topics are beyond the scope of this guide.
Install the Required Packages
Start by installing all the necessary requirements for the project:
Python 3.12 or newer
For a full installation, the WSGI extension for Apache must match the Python version used to run the application.
MariaDB, MySQL, or PostgreSQL
The application has been tested successfully with MariaDB, but it should run flawlessly on MySQL or PostgreSQL as it has no special requirements.
Python MySQL Client
It is strongly recommended to install the Python MySQL Client package from the distribution rather than via
pip.Redis Server
A local Redis server is required for communication between the frontend and the Celery-powered backend.
Apache2 Server or nginx
For a production installation, a proxy or web server running the Python application using WSGI is needed. For local testing, you can start the built-in development server for the Django application without installing and setting up Apache.
This guide describes and recommends installing Apache for its flexibility in configuring the application and integrating with other tools.
test@erbsland-former:~$ sudo apt install mariadb-server python3 python3-venv python3-mysqldb redis-server apache2 libapache2-mod-wsgi-py3
Reading package lists... Done
(...)
Need to get 22.8 MB of archives.
After this operation, 214 MB of additional disk space will be used.
Do you want to continue? [Y/n] Y
Processing triggers for libc-bin (2.39-0ubuntu8.2) ...
Processing triggers for ufw (0.36.2-6) ...
(...)
test@erbsland-former:~$ █
Enable and Start Redis
After successfully installing all the required packages, you need to enable and start the Redis server. Use the systemctl command: first, use the enable option to ensure the service starts automatically when the system boots, then use start to actually start the service.
You don’t need to configure Redis further, as by default, it will accept connections from localhost, which is suitable for this application.
Note
If other services are running on your server or it is user-accessible, ensure you properly configure Redis with at least password-protected connections. In this case, you must also add these authentication details to the configuration of ErbslandFORMER.
test@erbsland-former:~$ sudo systemctl enable redis-server
Synchronizing state of redis-server.service with SysV service script with /usr/lib/systemd/systemd-sysv-install.
Executing: /usr/lib/systemd/systemd-sysv-install enable redis-server
test@erbsland-former:~$ sudo systemctl start redis-server
test@erbsland-former:~$ █
Enable and Start MariaDB
Next, you need to enable and start the MariaDB database server. Use the systemctl command: first, use the enable option to ensure the service starts automatically when the system boots, then use start to actually start the service.
test@erbsland-former:~$ sudo systemctl enable mariadb
Synchronizing state of mariadb.service with SysV service script with /usr/lib/systemd/systemd-sysv-install.
Executing: /usr/lib/systemd/systemd-sysv-install enable mariadb
test@erbsland-former:~$ sudo systemctl start mariadb
test@erbsland-former:~$ █
Set Up the Database
Next, you need to set up the MariaDB server with a user and a database for the application. Before executing the required SQL commands, generate a new password for the database user.
test@erbsland-former:~$ python3 -c "import secrets; print(secrets.token_urlsafe())"
4-TMk9od[don't copy this!!!]zNblTCy0
test@erbsland-former:~$ █
Store the generated password in your password manager immediately. It is recommended to create a new entry for this application installation, as you will need to store at least two additional secrets in the password manager.
Start the MariaDB command line client. By default, starting the mariadb client with sudo should give you immediate access to the database server without requiring a login. If your setup is different, ensure you have administrator access to the database, with permissions to create new users and databases.
test@erbsland-former:~$ sudo mariadb
Welcome to the MariaDB monitor.  Commands end with ; or \g.
Your MariaDB connection id is 33
Server version: 10.11.7-MariaDB-2ubuntu2 Ubuntu 24.04

Copyright (c) 2000, 2018, Oracle, MariaDB Corporation Ab and others.

Type 'help;' or '\h' for help. Type '\c' to clear the current input statement.

MariaDB-[(none)]> █
First, create a new database for the application.
MariaDB [(none)]> CREATE DATABASE erbsland_former CHARACTER SET utf8mb4 COLLATE utf8mb4_unicode_ci;
Query OK, 1 row affected (0.002 sec)

MariaDB-[(none)]> █
Next, create a new user with the generated password and grant the user the necessary access rights to the newly created database. Finally, flush the privileges to ensure they are active for the next steps.
MariaDB [(none)]> CREATE USER erbsland_former@localhost IDENTIFIED BY '4-TMk9od[don't copy this!!!]zNblTCy0';
Query OK, 0 rows affected (0.001 sec)

MariaDB [(none)]> GRANT ALL PRIVILEGES ON erbsland_former.* TO erbsland_former@localhost;
Query OK, 0 rows affected (0.001 sec)

MariaDB [(none)]> FLUSH PRIVILEGES;
Query OK, 0 rows affected (0.001 sec)

MariaDB-[(none)]> █
Create a new User for the Application
It is recommended to create a new system user to run the application. This simplifies access management and makes it easier to associate processes and operations with the application. Ensure the shell is set with --shell /bin/bash, which is required for setup, maintenance, and running services.
Note
For a quick local test, this step can be omitted.
test@erbsland-former:~$ sudo adduser --system --group --shell /bin/bash erbsland_former
[sudo] password for test:
info: Selecting UID from range 100 to 999 ...

info: Selecting GID from range 100 to 999 ...
info: Adding system user `erbsland_former' (UID 113) ...
info: Adding new group `erbsland_former' (GID 113) ...
info: Adding new user `erbsland_former' (UID 113) with group `erbsland_former' ...
info: Not creating `/nonexistent'.
test@erbsland-former:~$ █
Prepare the Application Directory
Next, download the application and create the required virtual environment for Python. On a Linux server, it is recommended to install the application and all its data in the typical location, usually /var/www.
Note
For a quick local test, you can install the application in a subfolder within your home directory.
First, create a new subdirectory named erbsland-former in /var/www and set the appropriate permissions for the new system user.
test@erbsland-former:~$ sudo mkdir /var/www/erbsland-former
test@erbsland-former:~$ sudo chown erbsland_former:erbsland_former /var/www/erbsland-former
test@erbsland-former:~$ sudo chmod 755 /var/www/erbsland-former
test@erbsland-former:~$ █
Next, create two subdirectories, static and working_dir, within the application directory. The static directory will be accessible by the web server to serve static files such as style sheets, images, and JavaScript files. The working_dir directory must be inaccessible to the rest of the system, as it is used to store temporary files during data upload, import, processing, or export.
test@erbsland-former:~$ sudo mkdir /var/www/erbsland-former/static
test@erbsland-former:~$ sudo chown erbsland_former:erbsland_former /var/www/erbsland-former/static
test@erbsland-former:~$ sudo chmod 755 /var/www/erbsland-former/static
test@erbsland-former:~$ sudo mkdir /var/www/erbsland-former/working_dir
test@erbsland-former:~$ sudo chown erbsland_former:erbsland_former /var/www/erbsland-former/working_dir
test@erbsland-former:~$ sudo chmod 700 /var/www/erbsland-former/working_dir
test@erbsland-former:~$ █
Clone the Application Repository
Switch to the new user with sudo su erbsland_former to ensure the correct permissions when working in the /var/www/erbsland-former directory.
Note
If you aren’t comfortable running git on the server, download the application as ZIP file and extract it into the app subdirectory.
test@erbsland-former:~$ sudo su erbsland_former
erbsland_former@erbsland-former:/home/test$ █
First, navigate to the /var/www/erbsland-former directory, then use the git command to clone the latest release of the application into the app subdirectory.
erbsland_former@erbsland-former:/home/test$ cd /var/www/erbsland-former
erbsland_former@erbsland-former:/var/www/erbsland-former$ git clone https://github.com/erbsland-dev/erbsland-former.git app
Cloning into 'app'...
remote: Enumerating objects: 875, done.
remote: Counting objects: 100% (875/875), done.
remote: Compressing objects: 100% (681/681), done.
remote: Total 875 (delta 160), reused 869 (delta 154), pack-reused 0
Receiving objects: 100% (875/875), 10.22 MiB | 24.22 MiB/s, done.
Resolving deltas: 100% (160/160), done.
erbsland_former@erbsland-former:/var/www/erbsland-former$ █
Create the Virtual Python Environment
Next, still as user erbsland_former, create the virtual Python environment. Make sure that you still are in the application directory /var/www/erbsland-former. The idea is to create a venv subdirectory for the virtual environment.
Important
It is very important that you use the option --system-site-packages when creating the new virtual environment. This will allow Python to use the system packages like python3-mysqldb we installed previously.
erbsland_former@erbsland-former:/home/test$ cd /var/www/erbsland-former
erbsland_former@erbsland-former:/var/www/erbsland-former$ python3 -m venv --system-site-packages venv
erbsland_former@erbsland-former:/var/www/erbsland-former$ █
Now, activate the virtual environment and install the requirements.
erbsland_former@erbsland-former:/var/www/erbsland-former$ source venv/bin/activate
(venv) erbsland_former@erbsland-former:/var/www/erbsland-former$ pip install -r app/requirements.txt
Collecting amqp==5.2.0 (from -r app/requirements.txt (line 7))
  Downloading amqp-5.2.0-py3-none-any.whl.metadata (8.9 kB)
Collecting annotated-types==0.7.0 (from -r app/requirements.txt (line 9))
  Downloading annotated_types-0.7.0-py3-none-any.whl.metadata (15 kB)
(...)
(venv) erbsland_former@erbsland-former:/var/www/erbsland-former$ █
Configure the Application
Before configuring the application, generate two secrets required for the configuration.
$ python3 -c "import secrets; print(secrets.token_urlsafe())"
Pu[.............secret key...............]ZU
$ python3 -c "import secrets; print(secrets.token_urlsafe())"
Xy[.......backend encryption key.........]nY
$ █
Store these two secrets in your password manager as “secret key” and “backend encryption key”. If these secrets are lost, users of the application will need to reauthenticate and reenter all stored API keys. While this is not catastrophic, it is inconvenient. Ensure that only authorized personnel can access the application’s configuration where these secrets are stored.
Ensure you are still operating as the user erbsland_former. Navigate to the /var/www/erbsland-former directory if you are not already there, and create a copy of the settings template settings.py in the app/ErbslandFormer directory:
$ cd /var/www/erbsland-former
$ cp app/ErbslandFormer/settings.py app/ErbslandFormer/my_settings.py
$ █
Next, edit the configuration file. Here is an example using the nano console editor, but you can use any editor you are comfortable with.
$ nano app/ErbslandFormer/my_settings.py
(...)
$ █
Below is an example of the unedited configuration file. The lines you need to change are highlighted. Note that as the application is still in development, the configuration in your installation may look slightly different. The line numbers in the instructions reference the version shown here.
 1#  Copyright © 2023-2024 Tobias Erbsland https://erbsland.dev/ and EducateIT GmbH https://educateit.ch/
 2#  According to the copyright terms specified in the file "COPYRIGHT.md".
 3#  SPDX-License-Identifier: GPL-3.0-or-later
 4
 5import sys
 6from pathlib import Path
 7
 8from .app_settings import *
 9
10# README - Settings Template
11# -------------------------------------------------------------------------------------------------------------------
12# This template assists in setting up the application.
13# Do not use as-is for production; it's configured for development purposes.
14# -------------------------------------------------------------------------------------------------------------------
15# All configurations in `app_settings.py` are essential for proper functionality and should remain unchanged.
16# -------------------------------------------------------------------------------------------------------------------
17# Individual applications within this project have `settings.py` files. You can override their local settings by
18# defining variables in the main settings file.
19# -------------------------------------------------------------------------------------------------------------------
20# Refer to the Django Documentation for guidance on secure setup.
21
22
23# Create a random secret key for your application.
24# Use the following command to generate a suitable secret key:
25# ```
26# python -c "import secrets; print(secrets.token_urlsafe(64))"
27# ```
28SECRET_KEY = "django-insecure-*2k$#0$30=80%oaa_hf)=tfatkqzg&sjgr=q8aa-%@)%*4!(1^"
29
30# Create a random secret key that is used to encrypt/decrypt passwords and keys in the user settings.
31# Changing this key will render all sensitive settings useless and require that the user needs to enter
32# credentials and API keys again. See also `BACKEND_ENCRYPTION_KEY_FALLBACKS` for a way to rotate
33# the encryption key.
34BACKEND_ENCRYPTION_KEY = "backend-insecure-DuJcyCCAEXtelpSUCIwYlQCZaZ3Xfwfo4Le3bTas1w8"
35
36# SECURITY WARNING: don't run with debug turned on in production!
37DEBUG = False
38
39# Limit your instance to hosts in your local network.
40ALLOWED_HOSTS = [".localhost", "127.0.0.1", "[::1]"]
41
42# Database
43# https://docs.djangoproject.com/en/4.2/ref/settings/#databases
44if "test" in sys.argv:
45    DATABASES = {
46        "default": {
47            "ENGINE": "django.db.backends.sqlite3",
48            "NAME": BASE_DIR / "db.sqlite3",
49        }
50    }
51else:
52    DATABASES = {
53        "default": {
54            "ENGINE": "django.db.backends.mysql",
55            "NAME": "erbsland_former",
56            "USER": "erbsland_former",
57            "PASSWORD": "***",
58            "HOST": "localhost",
59            "OPTIONS": {
60                "charset": "utf8mb4",
61            },
62        }
63    }
64
65# Use the Redis Server also as a cache.
66CACHES = {
67    "default": {
68        "BACKEND": "django.core.cache.backends.redis.RedisCache",
69        "LOCATION": "redis://127.0.0.1:6379",
70        "OPTIONS": {
71            "db": "2",
72        },
73    }
74}
75
76# Static files (CSS, JavaScript, Images)
77# https://docs.djangoproject.com/en/4.2/howto/static-files/
78STATIC_URL = "static/"
79STATIC_ROOT = "/var/www/erbsland-former/static/"
80
81# Email settings, required for password reset.
82# https://docs.djangoproject.com/en/4.2/topics/email/#smtp-backend
83EMAIL_HOST = "smtp.example.com"
84EMAIL_PORT = 587
85EMAIL_HOST_USER = "former@example.com"
86EMAIL_HOST_PASSWORD = "******"
87EMAIL_SUBJECT_PREFIX = "ErbslandFORMER: "
88
89# The working directory for handling temporary files.
90BACKEND_WORKING_DIR = "/var/www/erbsland-former/working_dir"
91
92# [remove]
93# Remove these lines from your local settings file
94raise ValueError("\n" + "!" * 78 + "\n!!!\n!!!   Do not use the settings template!\n!!!\n" + "!" * 78)
95# [/remove]
In line 28: Replace the text between the quotes with the secret key you generated.
In line 34: Replace the text between the quotes with the backend encryption key you generated.
In line 57: Replace the
***with the password for the database user you created earlier.In line 79: Verify that this path points to the
staticdir you created earlier.In line 90: Verify that this path points to the
working_dirdir you created earlier.Lines 92-95: Remove these lines. They are there to prevent the application from starting without proper configuration.
As last step, change the permissions of the application configuration so it can only be read by the application user.
$ chmod 600 app/ErbslandFormer/my_settings.py
$ █
A First Test
Now, let’s test if your basic configuration works and ensure the management tool is usable. Make sure the following conditions are met:
You are working as the user
erbsland_former.You have activated the virtual environment with
source venv/bin/activate. If activated, you will see(venv)in front of your prompt.You are in the
/var/www/erbsland-formerdirectory.
First set the DJANGO_SETTINGS_MODULE to your configuration module ErbslandFormer.my_settings, then run the check command of the management tool:
$ export DJANGO_SETTINGS_MODULE=ErbslandFormer.my_settings
$ python app/manage.py check
System check identified no issues (0 silenced).

$ █
Collect All Static Files
Next, collect all static files into the configured folder by running the collectstatic management command:
$ python app/manage.py collectstatic
189 static files copied to '/var/www/erbsland-former/static'.
$ █
Note
You must run the collectstatic command every time you update the application.
Initialize the Database
Now it’s time to initialize the database. Run the migrate command to analyze your current database and migrate all tables to the current version of the application. Since the database is empty, it will be initialized with empty tables.
$ python app/manage.py migrate
Operations to perform:
  Apply all migrations: admin, auth, backend, contenttypes, sessions, tasks
Running migrations:
  Applying contenttypes.0001_initial... OK
  Applying auth.0001_initial... OK
  Applying admin.0001_initial... OK
  Applying admin.0002_logentry_remove_auto_add... OK
  Applying admin.0003_logentry_add_action_flag_choices... OK
  Applying contenttypes.0002_remove_content_type_name... OK
  Applying auth.0002_alter_permission_name_max_length... OK
  Applying auth.0003_alter_user_email_max_length... OK
  Applying auth.0004_alter_user_username_opts... OK
  Applying auth.0005_alter_user_last_login_null... OK
  Applying auth.0006_require_contenttypes_0002... OK
  Applying auth.0007_alter_validators_add_error_messages... OK
  Applying auth.0008_alter_user_username_max_length... OK
  Applying auth.0009_alter_user_last_name_max_length... OK
  Applying auth.0010_alter_group_name_max_length... OK
  Applying auth.0011_update_proxy_permissions... OK
  Applying auth.0012_alter_user_first_name_max_length... OK
  Applying tasks.0001_initial... OK
  Applying backend.0001_initial... OK
  Applying sessions.0001_initial... OK
$ █
Create the Super User Account
After initializing the database, create the superuser account. This account will primarily be used to manage user accounts for the application on the server. It should not be used for regular activities. A superuser account is only necessary if you plan to manage users via the web interface. If this is a single-user setup and you are unlikely to need user management, you can skip this step and create the superuser account later if needed.
Hint
As a best practice, choose a non-obvious administrator name that cannot be easily guessed. Combine this with a strong, random password of at least 30 characters.
You can either set the username and email address via command-line arguments, as shown in the example below, or omit these arguments to enter the details interactively on the console.
$ python app/manage.py createsuperuser --username ef_admin --email ef_admin@example.com
Password: ********************************
Password (again): ********************************
Superuser created successfully.
$ █
Add the First User
Next, add the first regular user to the database. The application provides a simple add_user management command for this purpose. It is best to use the command as shown in the example below, which automatically creates a secure random password for the user. Currently, the email address is only used for password resets.
$ python app/manage.py add_user user1 user1@example.com
Successfully created a new user:
Username: user1
Email: user1@example.com
Password: ***[..............password...............]***
$ █
Save the returned user details in your password manager.
Set Up the Backend System Service
If you are currently working as the erbsland_former user, exit this shell and return to your admin user.
(venv) erbsland_former@erbsland-former:/var/www/erbsland-former/app$ exit
exit
test@erbsland-former:~$ █
There is an example service file erbsland-former.service in the ErbslandFormer directory of the application. Use this as a starting point for the following setup. If you installed your application with the same username and location shown in this guide, you can copy the service file unchanged.
After copying the file, change the owner and permissions to fit the service file into your system.
test@erbsland-former:~$ sudo cp /var/www/erbsland-former/app/ErbslandFormer/erbsland-former.service /etc/systemd/system/
test@erbsland-former:~$ sudo chown root:root /etc/systemd/system/erbsland-former.service
test@erbsland-former:~$ sudo chmod 644 /etc/systemd/system/erbsland-former.service
test@erbsland-former:~$ █
If you installed the application under a different name or location, edit the file to adjust the username, group, and paths.
test@erbsland-former:~$ sudo nano /etc/systemd/system/erbsland-former.service
test@erbsland-former:~$ █
 1[Unit]
 2Description=ErbslandFORMER Celery Service
 3After=network.target
 4
 5[Service]
 6Type=simple
 7User=erbsland_former
 8Group=erbsland_former
 9WorkingDirectory=/var/www/erbsland-former/app/
10Environment="DJANGO_SETTINGS_MODULE=ErbslandFormer.my_settings"
11ExecStart=/usr/bin/env bash -c 'source /var/www/erbsland-former/venv/bin/activate && exec python3 -m celery -A tasks.celery_app worker --loglevel=info'
12ExecStop=/usr/bin/env bash -c 'source /var/www/erbsland-former/venv/bin/activate && exec python3 -m celery -A tasks.celery_app control shutdown'
13Restart=always
14
15[Install]
16WantedBy=multi-user.target
Line 7-8: Set these to the username and group you created for the application.
Line 9: Set the working directory to the application path where you cloned the git repository.
Line 10: If you named your configuration file differently than
my_settings, adjust the name in this line.Line 11: Set the correct path to the
activatescript for the virtual Python environment you created.
If you followed this guide, the example should already match your configuration, and no adjustments are necessary.
Next, enable and start the service.
test@erbsland-former:~$ sudo systemctl enable erbsland-former
Created symlink /etc/systemd/system/multi-user.target.wants/erbsland-former.service → /etc/systemd/system/erbsland-former.service.
test@erbsland-former:~$ sudo systemctl start erbsland-former
test@erbsland-former:~$ █
After these commands, the background service for ErbslandFORMER will automatically start when the system boots. Check the system log to verify that the background process has successfully started.
test@erbsland-former:~$ journalctl -r
(... see below ...)
test@erbsland-former:~$ █
You should see output similar to the example below. Look for the line celery@erbsland-former ready., indicating that Celery has started successfully and is ready to accept commands from the frontend. Also, check for Connected to redis://127.0.0.1:6379// to ensure the background process successfully connected to the Redis server.
(...): [2024-06-15 07:26:33,056: INFO/MainProcess] celery@erbsland-former ready.
(...): [2024-06-15 07:26:33,048: INFO/MainProcess] mingle: all alone
(...): [2024-06-15 07:26:32,040: INFO/MainProcess] mingle: searching for neighbors
(...): [2024-06-15 07:26:32,036: INFO/MainProcess] Connected to redis://127.0.0.1:6379//
(...):   . tasks.tasks.run_task_action
(...): [tasks]
(...):
(...):                 .> celery           exchange=celery(direct) key=celery
(...):  -------------- [queues]
(...): --- ***** -----
(...): -- ******* ---- .> task events: OFF (enable -E to monitor tasks in this worker)
(...): - *** --- * --- .> concurrency: 6 (prefork)
(...): - ** ---------- .> results:     disabled://
(...): - ** ---------- .> transport:   redis://127.0.0.1:6379//
(...): - ** ---------- .> app:         tasks:0x73ad49fb3080
(...): - ** ---------- [config]
(...): - *** --- * ---
(...): -- ******* ---- Linux-6.8.0-35-generic-x86_64-with-glibc2.39 2024-06-15 07:26:31
(...): --- ***** -----
(...):  -------------- celery@erbsland-former v5.4.0 (opalescent)
Update the WSGI Configuration
The wsgi.py file in the ErbslandFormer directory contains a reference to the application’s configuration module. If you used a different name than my_settings for your configuration, edit this file to change the configuration module name.
test@erbsland-former:~$ sudo nano /var/www/erbsland-former/app/ErbslandFormer/wsgi.py
test@erbsland-former:~$
Below is an example of what the wsgi.py file might look like. Ensure that line 9 reflects your actual configuration module name.
 1#  Copyright © 2023-2024 Tobias Erbsland https://erbsland.dev/ and EducateIT GmbH https://educateit.ch/
 2#  According to the copyright terms specified in the file "COPYRIGHT.md".
 3#  SPDX-License-Identifier: GPL-3.0-or-later
 4
 5import os
 6
 7from django.core.wsgi import get_wsgi_application
 8
 9os.environ.setdefault("DJANGO_SETTINGS_MODULE", "ErbslandFormer.my_settings")
10
11application = get_wsgi_application()
Configure Apache for the Frontend
You will find an example Apache configuration file named apache.conf in the ErbslandFormer directory. This configuration is intended as a starting point and creates an unencrypted web service. For a production server, ensure you enable SSL and disable unencrypted HTTP by adding a redirect to the HTTPS URL.
First, copy the example configuration file to the sites-available directory, naming it appropriately for your domain. In this example, the application will be available at former.erbsland.com.
test@erbsland-former:~$ sudo cp /var/www/erbsland-former/app/ErbslandFormer/apache.conf /etc/apache2/sites-available/former.erbsland.com.conf
test@erbsland-former:~$
The configuration file should look like the following. Adjust the paths and usernames as necessary if you used a different installation location or user name.
# This configuration is a starting point; enable SSL for a production environment!
<VirtualHost *:80>
    ServerName former.erbsland.com

    DocumentRoot /var/www/html
    Alias /static/ /var/www/erbsland-former/static/

    WSGIDaemonProcess former.erbsland.com \
        home=/var/www/erbsland-former/ \
        python-home=/var/www/erbsland-former/venv \
        python-path=/var/www/erbsland-former/app:/var/www/erbsland-former/venv/lib/python3.12/site-packages \
        user=erbsland_former
    WSGIProcessGroup former.erbsland.com
    WSGIScriptAlias / /var/www/erbsland-former/app/ErbslandFormer/wsgi.py
    <Directory /var/www/erbsland-former/app>
        <Files wsgi.py>
            Require all granted
        </Files>
    </Directory>
    <Directory /var/www/erbsland-former/static>
            Require all granted
    </Directory>
    ErrorLog ${APACHE_LOG_DIR}/former.erbsland.com_error.log
    CustomLog ${APACHE_LOG_DIR}/former.erbsland.com_access.log combined
</VirtualHost>
Next, enable the new site configuration and disable the default sites on the server.
Warning
If you are integrating this application into an existing environment, only disable the default sites if they are not configured for an existing website.
test@erbsland-former:~$ sudo a2ensite former.erbsland.com.conf
Enabling site former.erbsland.com.
To activate the new configuration, you need to run:
  systemctl reload apache2
test@erbsland-former:~$ sudo a2dissite 000-default.conf
Site 000-default disabled.
To activate the new configuration, you need to run:
  systemctl reload apache2
test@erbsland-former:~$ sudo a2dissite default-ssl.conf
Site default-ssl already disabled
Finally, restart Apache to apply the changes.
test@erbsland-former:~$ sudo systemctl restart apache2
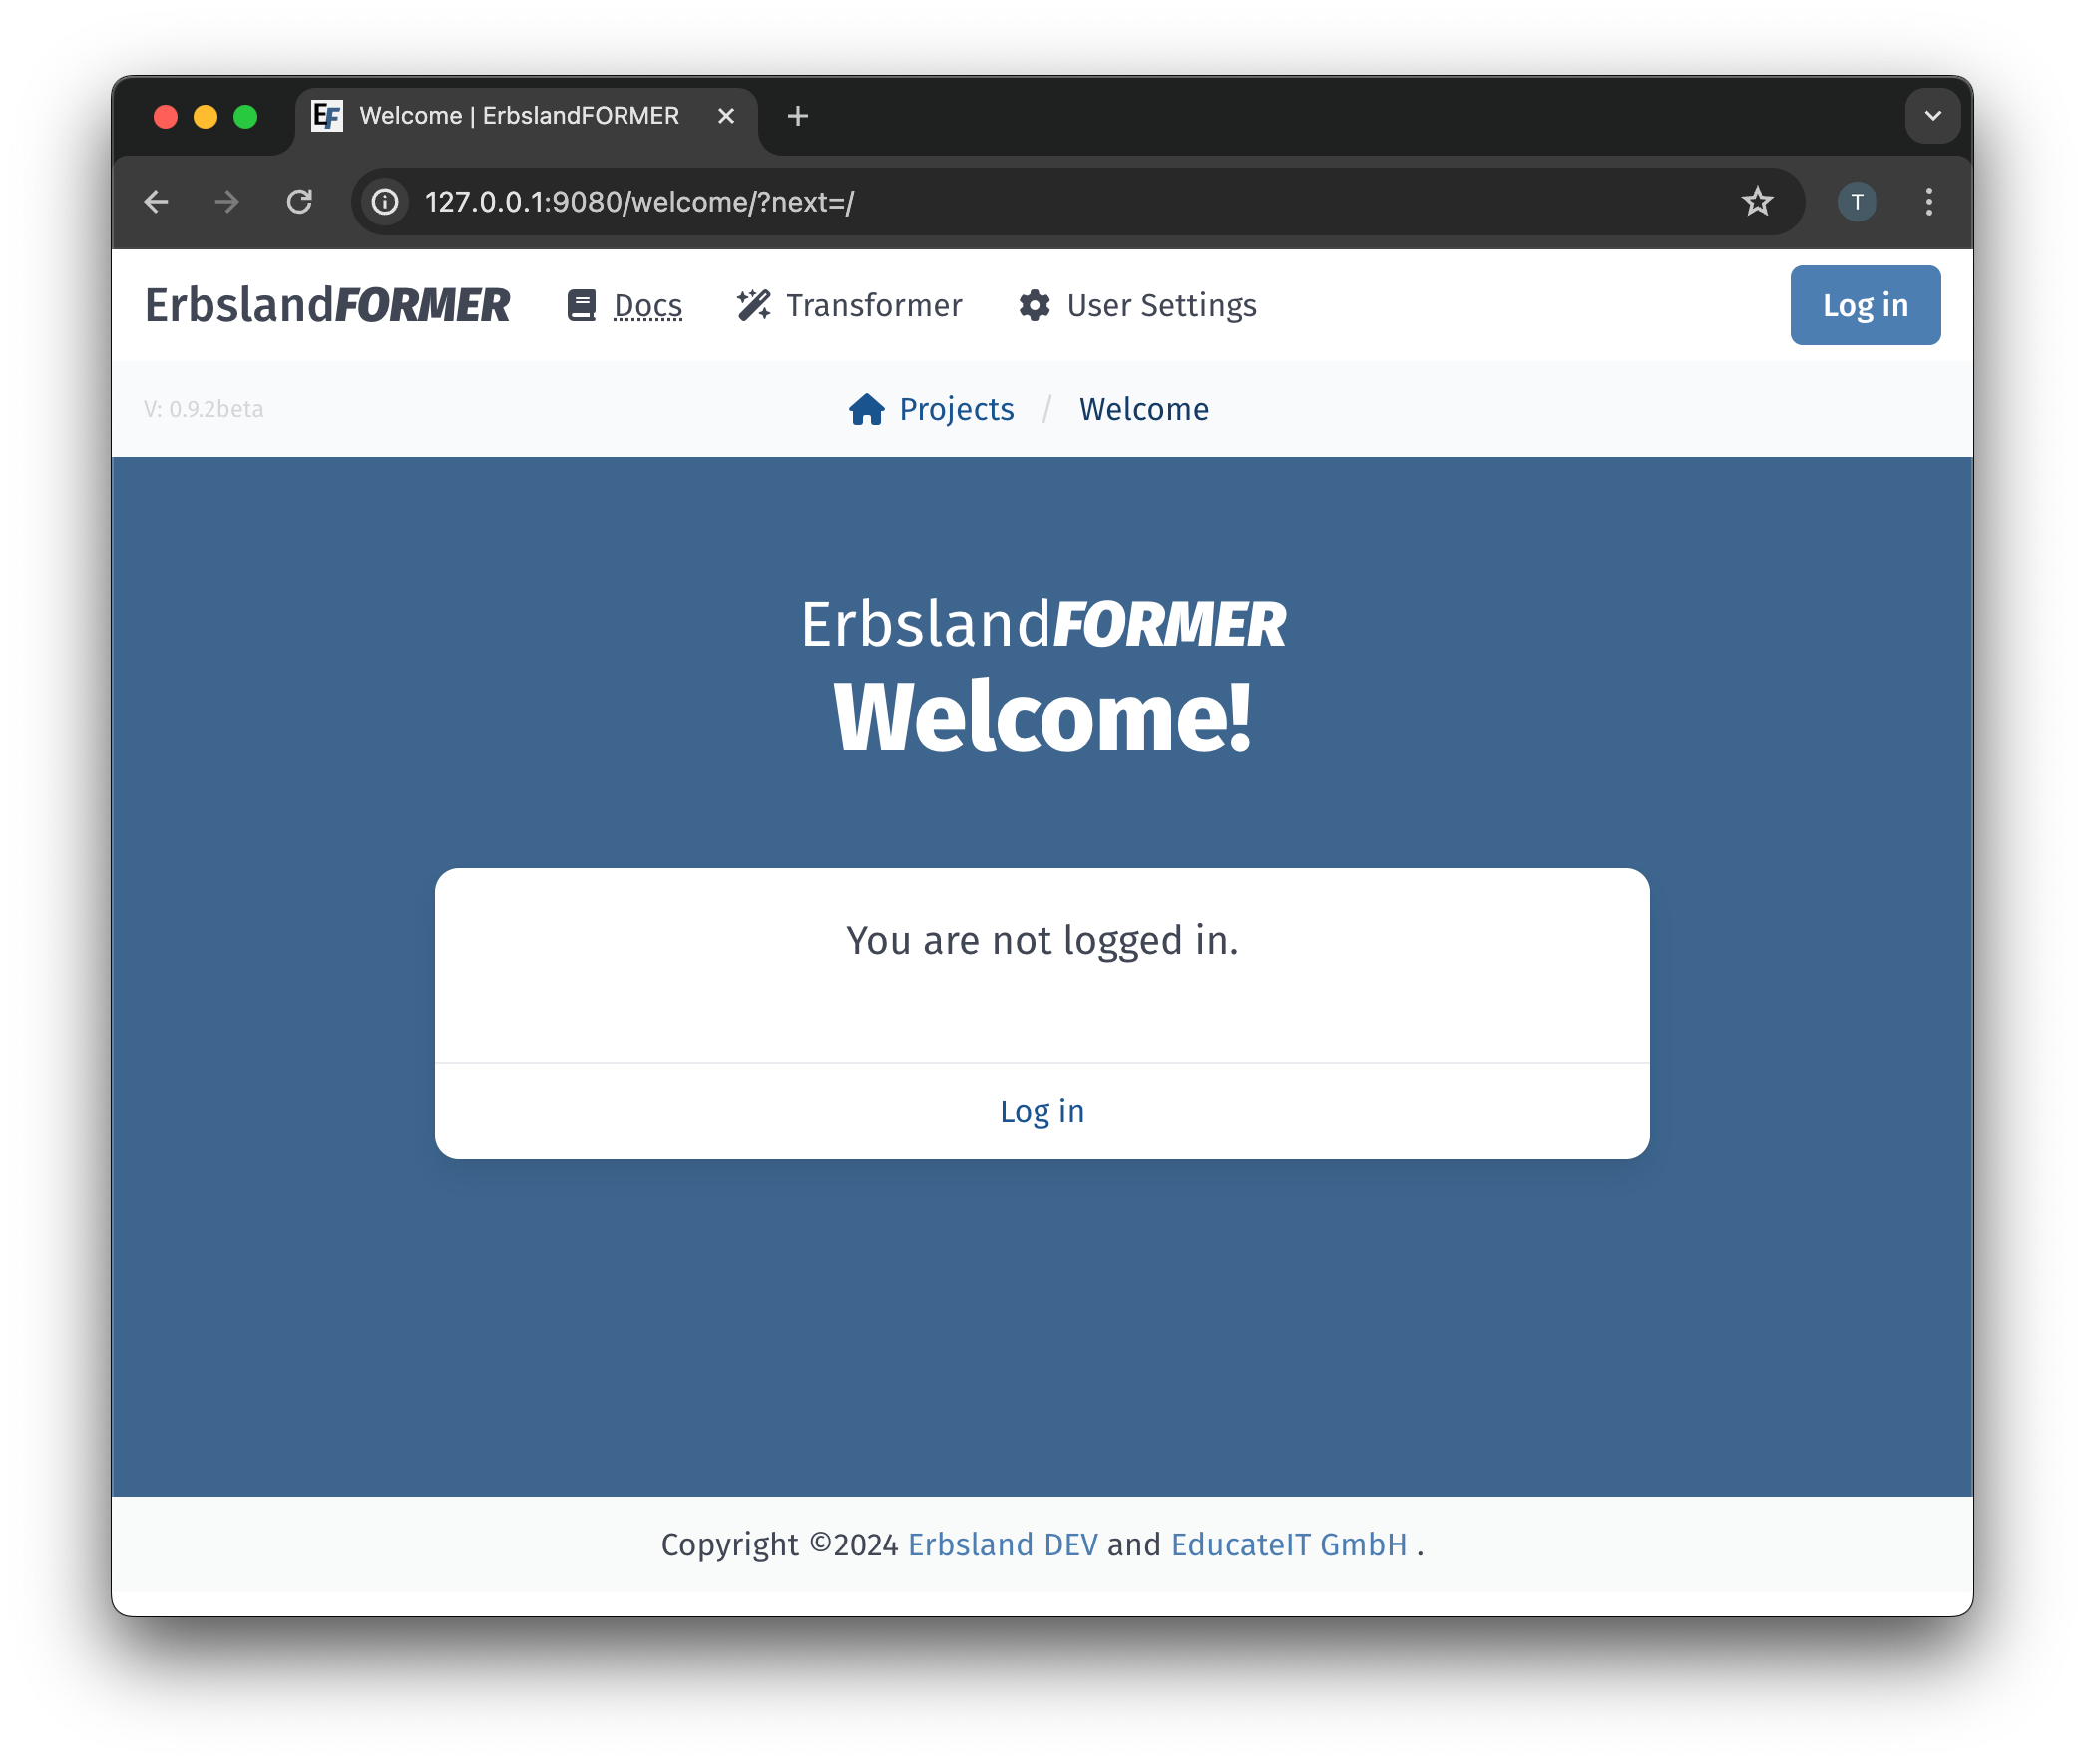
Test the Application
At this point, the application should be up and running. Open a browser and enter the URL http://[Server IP/domain]/, with the IP address or domain name of the server that just configured in this guide. If you configured everything correctly, you will be greeted with the login page.